I love hosting parties. I get into all the little details – from the menu planning, to making hors d’oeuvres, dips, and desserts, to putting out the trays of food on my favorite platters and dishes. I like thinking about a theme and bringing the idea to life with decorations and even costumes.
My partner and I have been together for 9 years and the first party we threw was our annual halloween party. Her idea of throwing a party and mine were two different concepts. When I dug out my cookbooks and recipe binder, she dug out her food catalogs. I was against the idea of ordering food for our first party any party because I really do love the process of conceptualizing all the details, making the little finger foods, and presenting a beautiful celebration for friends and family.
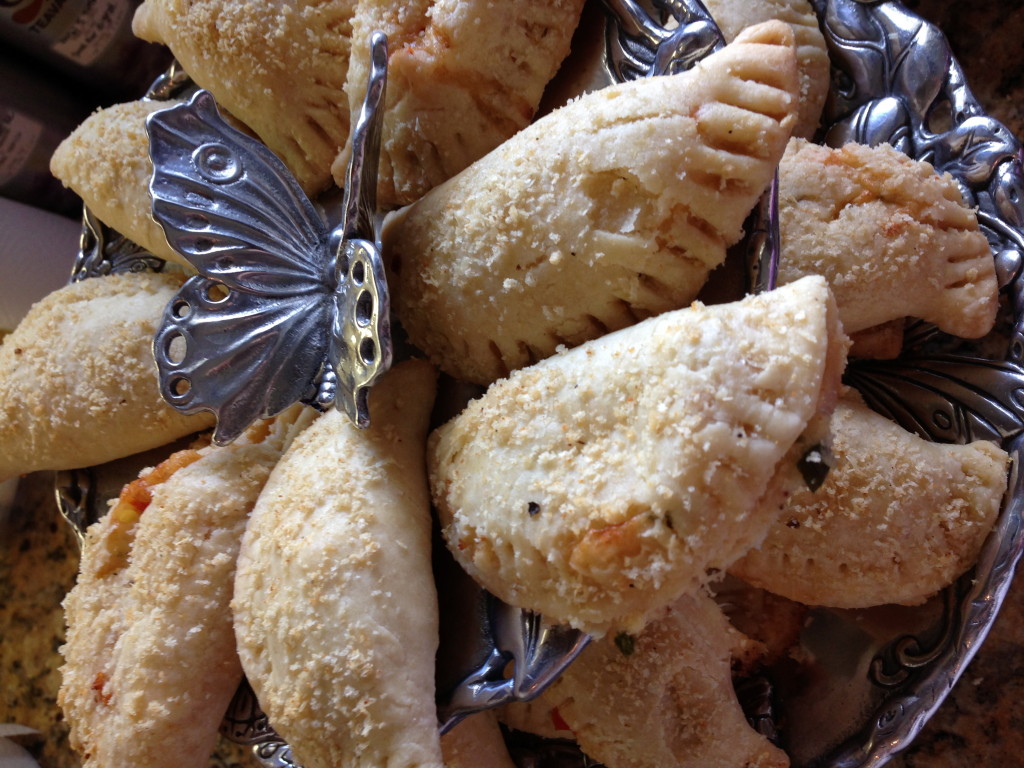
During that long-ago party planning, I looked at the collection of mini tartlet’s Rhonda wanted to order from Neiman Marcus – yep that’s right, Neiman Marcus, and I said, “I can make these myself.” And my crab and cheese turnovers were born.
I was already making mini quiches for that party, and wanted a different presentation for another appetizer, so I decided to put the crab and cheese into the center of a pastry and call them turnovers.
The ingredients in these crab and cheese turnovers are loosely based on the Neiman Marcus food catalog tartlets, which after a quick look at their website, it doesn’t appear are available any more. I’ve added some of my own touches. I also use the most amazing and easy pate’ brisee recipe for the pastry. My Aunt Betsy gave me this recipe years ago and said it came from the little cookbook that came with her very first Cuisinart food processor. I think Cuisinart is onto something here – this recipe is quick to mix up in the food processor, and is one of the easiest doughs I’ve ever worked with.
This week, I wasn’t planning my own party but needed something to take to our best friend’s housewarming party. The crab and cheese turnovers were a huge hit. Next time you need something for a get together, consider making these delicious party treats.
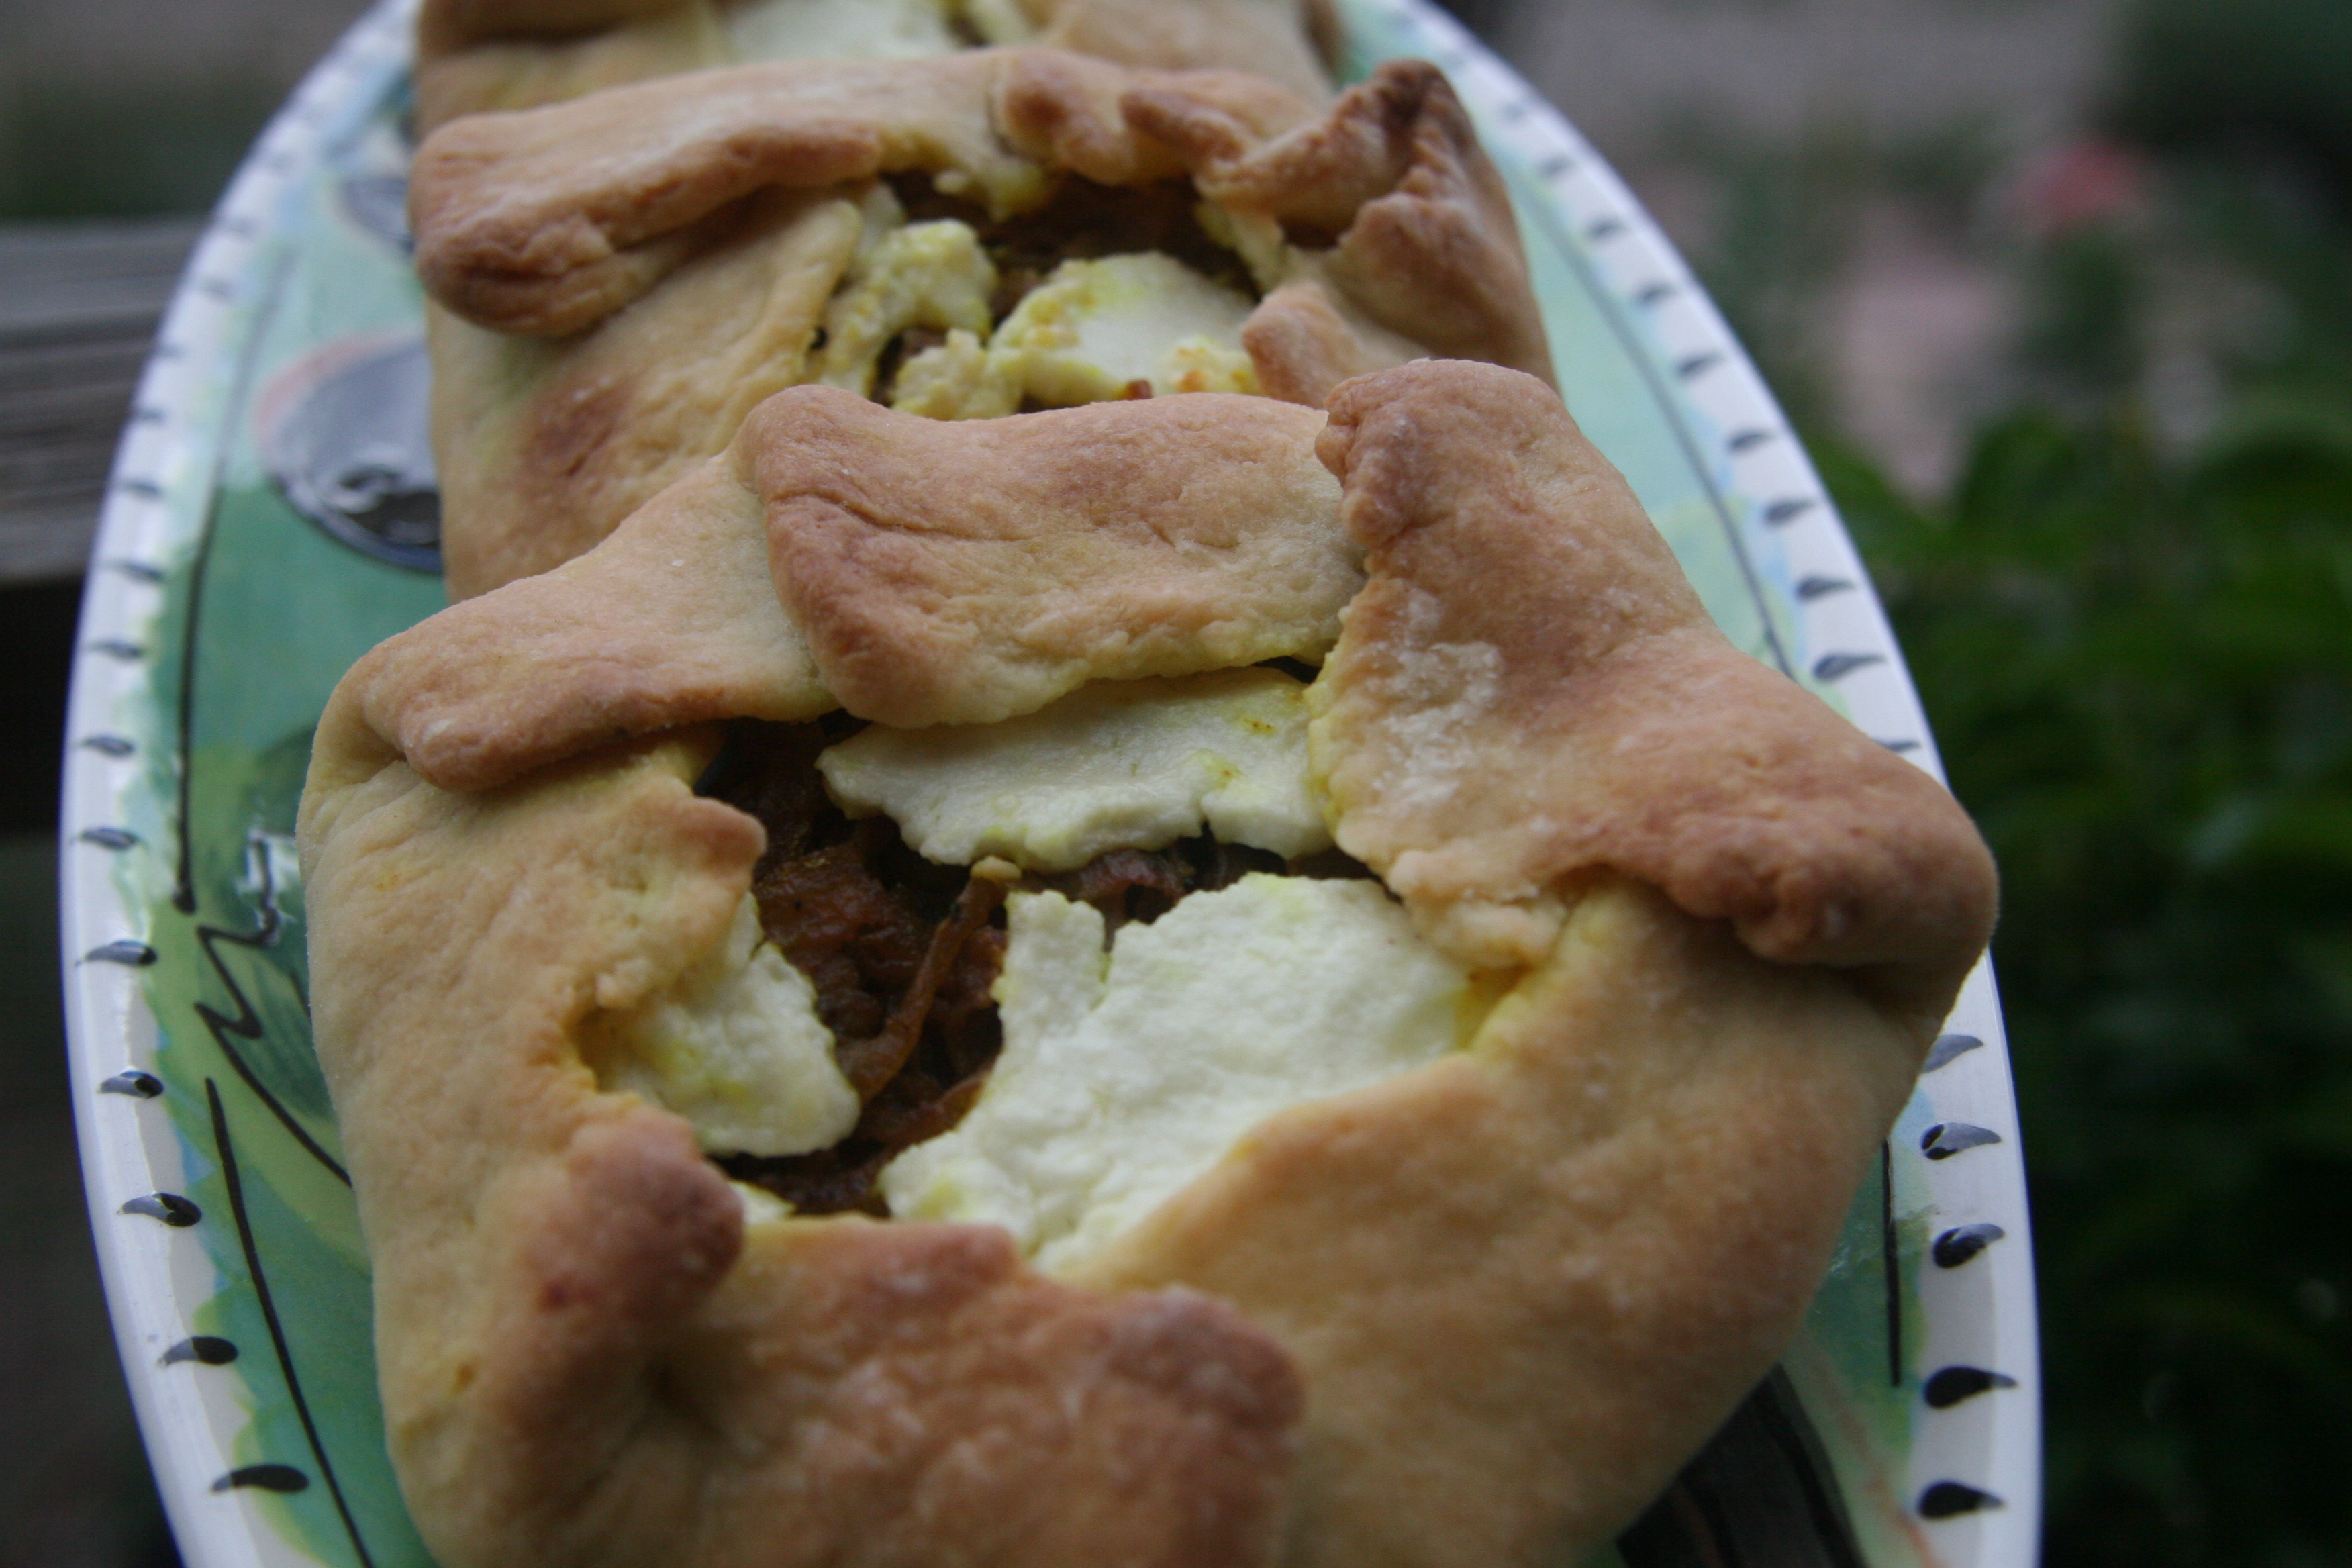
Crab & Cheese Turnovers

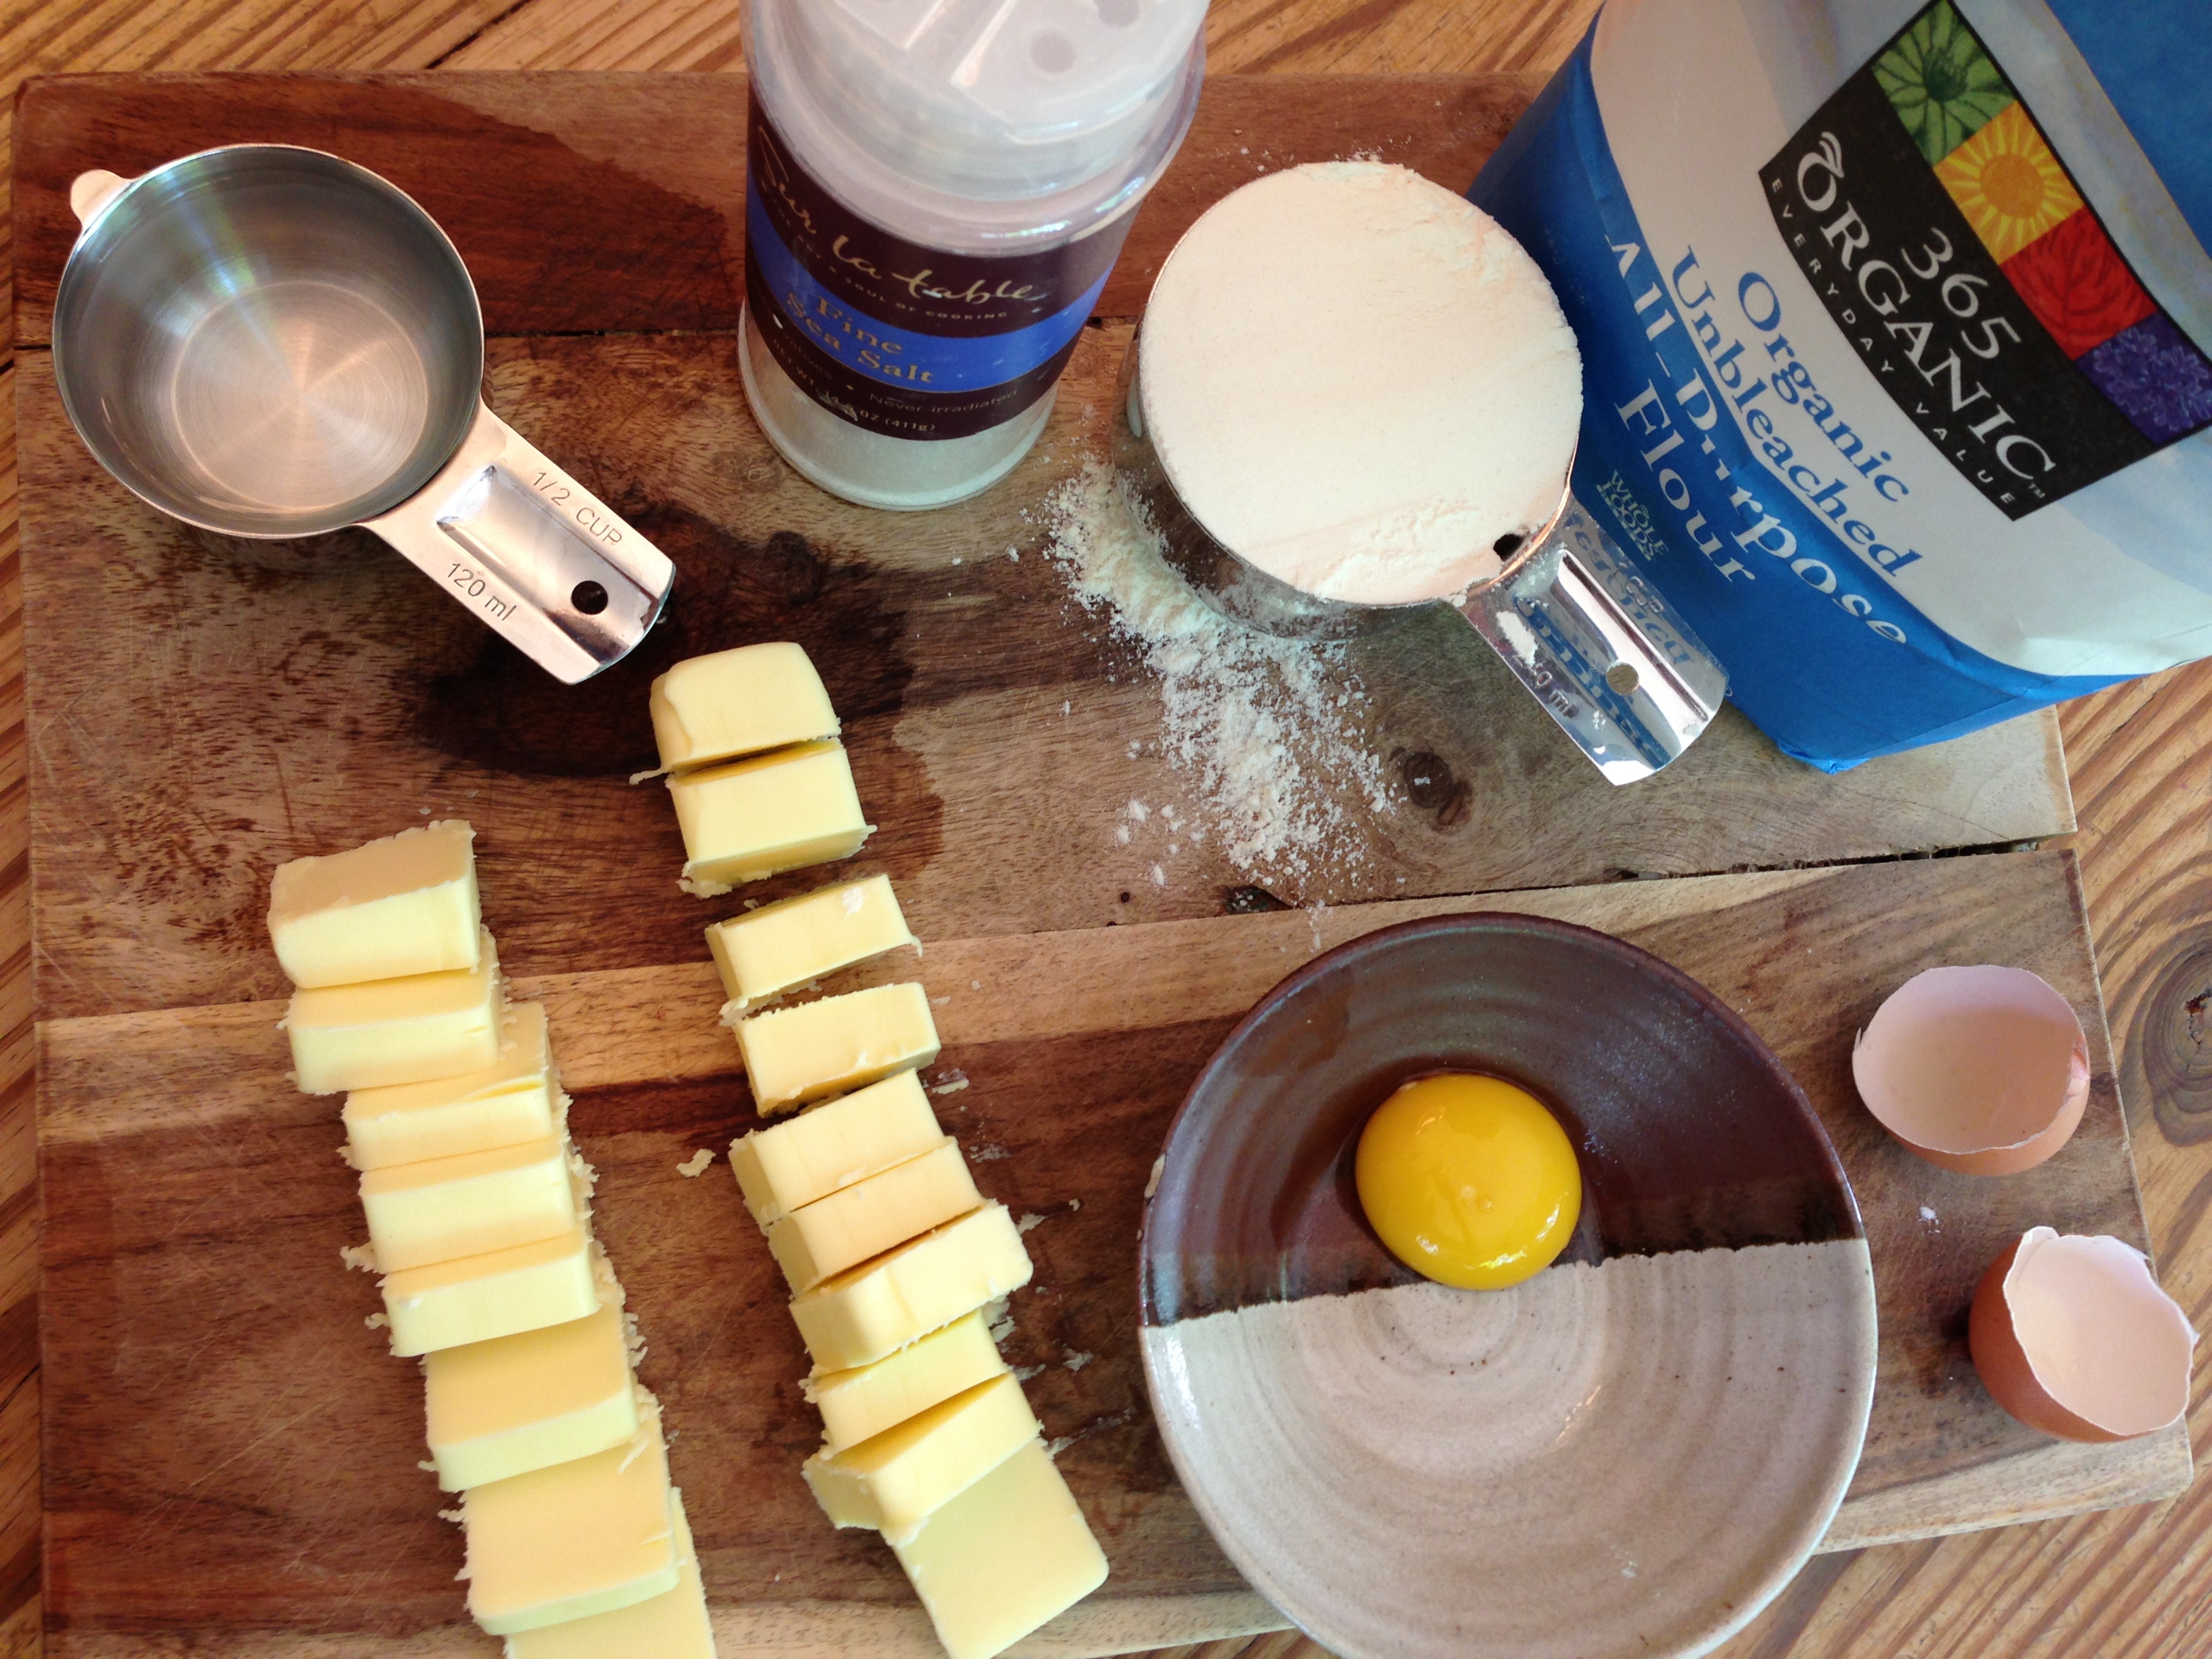
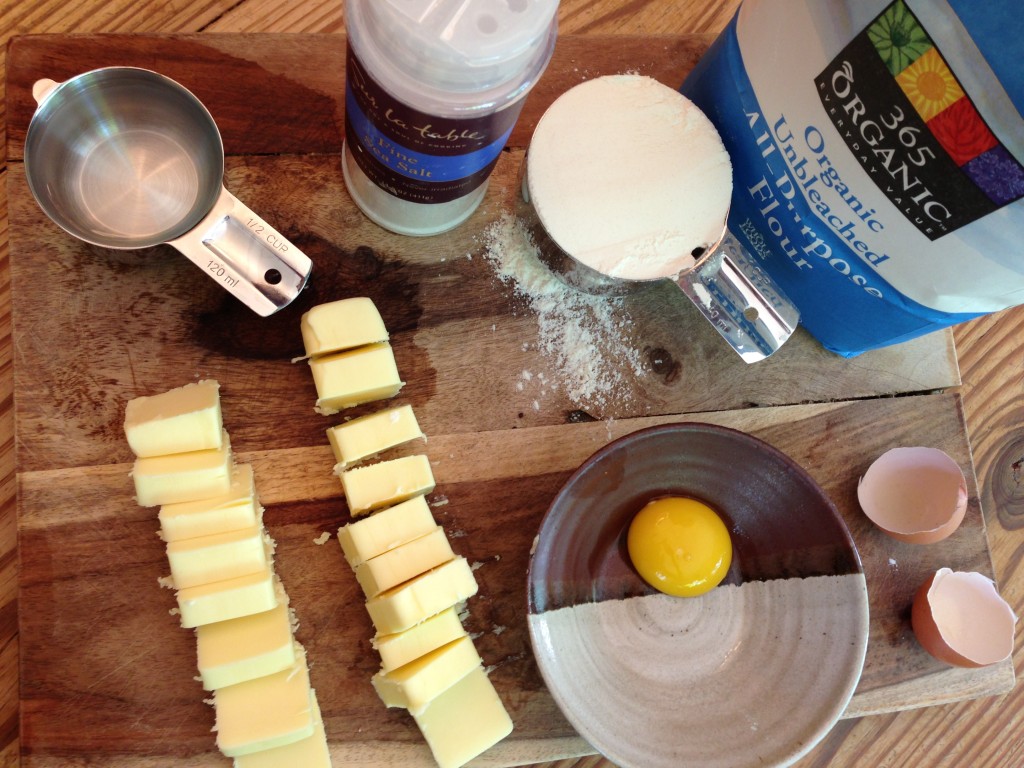
Pate’ Brisee Ingredients (Compliments of My Aunt Betsy Dodge via her Cuisinart Food Processor Cookbook):
2 2/3 cups all purpose flour
1 cup (2 sticks) very cold butter cut into 1 inch pieces
2 tsp salt (less 1 tsp if using salted butter)
1/2 cup ice water (minus 1 tbsp)
1 egg yolk
Note: This is a rich, basic pastry dough to be used for pies, tarts, quiches, and turnovers. If you are using this dough in a sweet treat, then you can add 2 tablespoons of sugar. The above recipe includes an egg yolk and one tablespoon less ice water, which creates a less flaky, more tender, and easy to handle pastry dough. If you want a more flaky dough, then skip the egg yolk and add the full 1/2 cup of ice water.
Making the Dough:
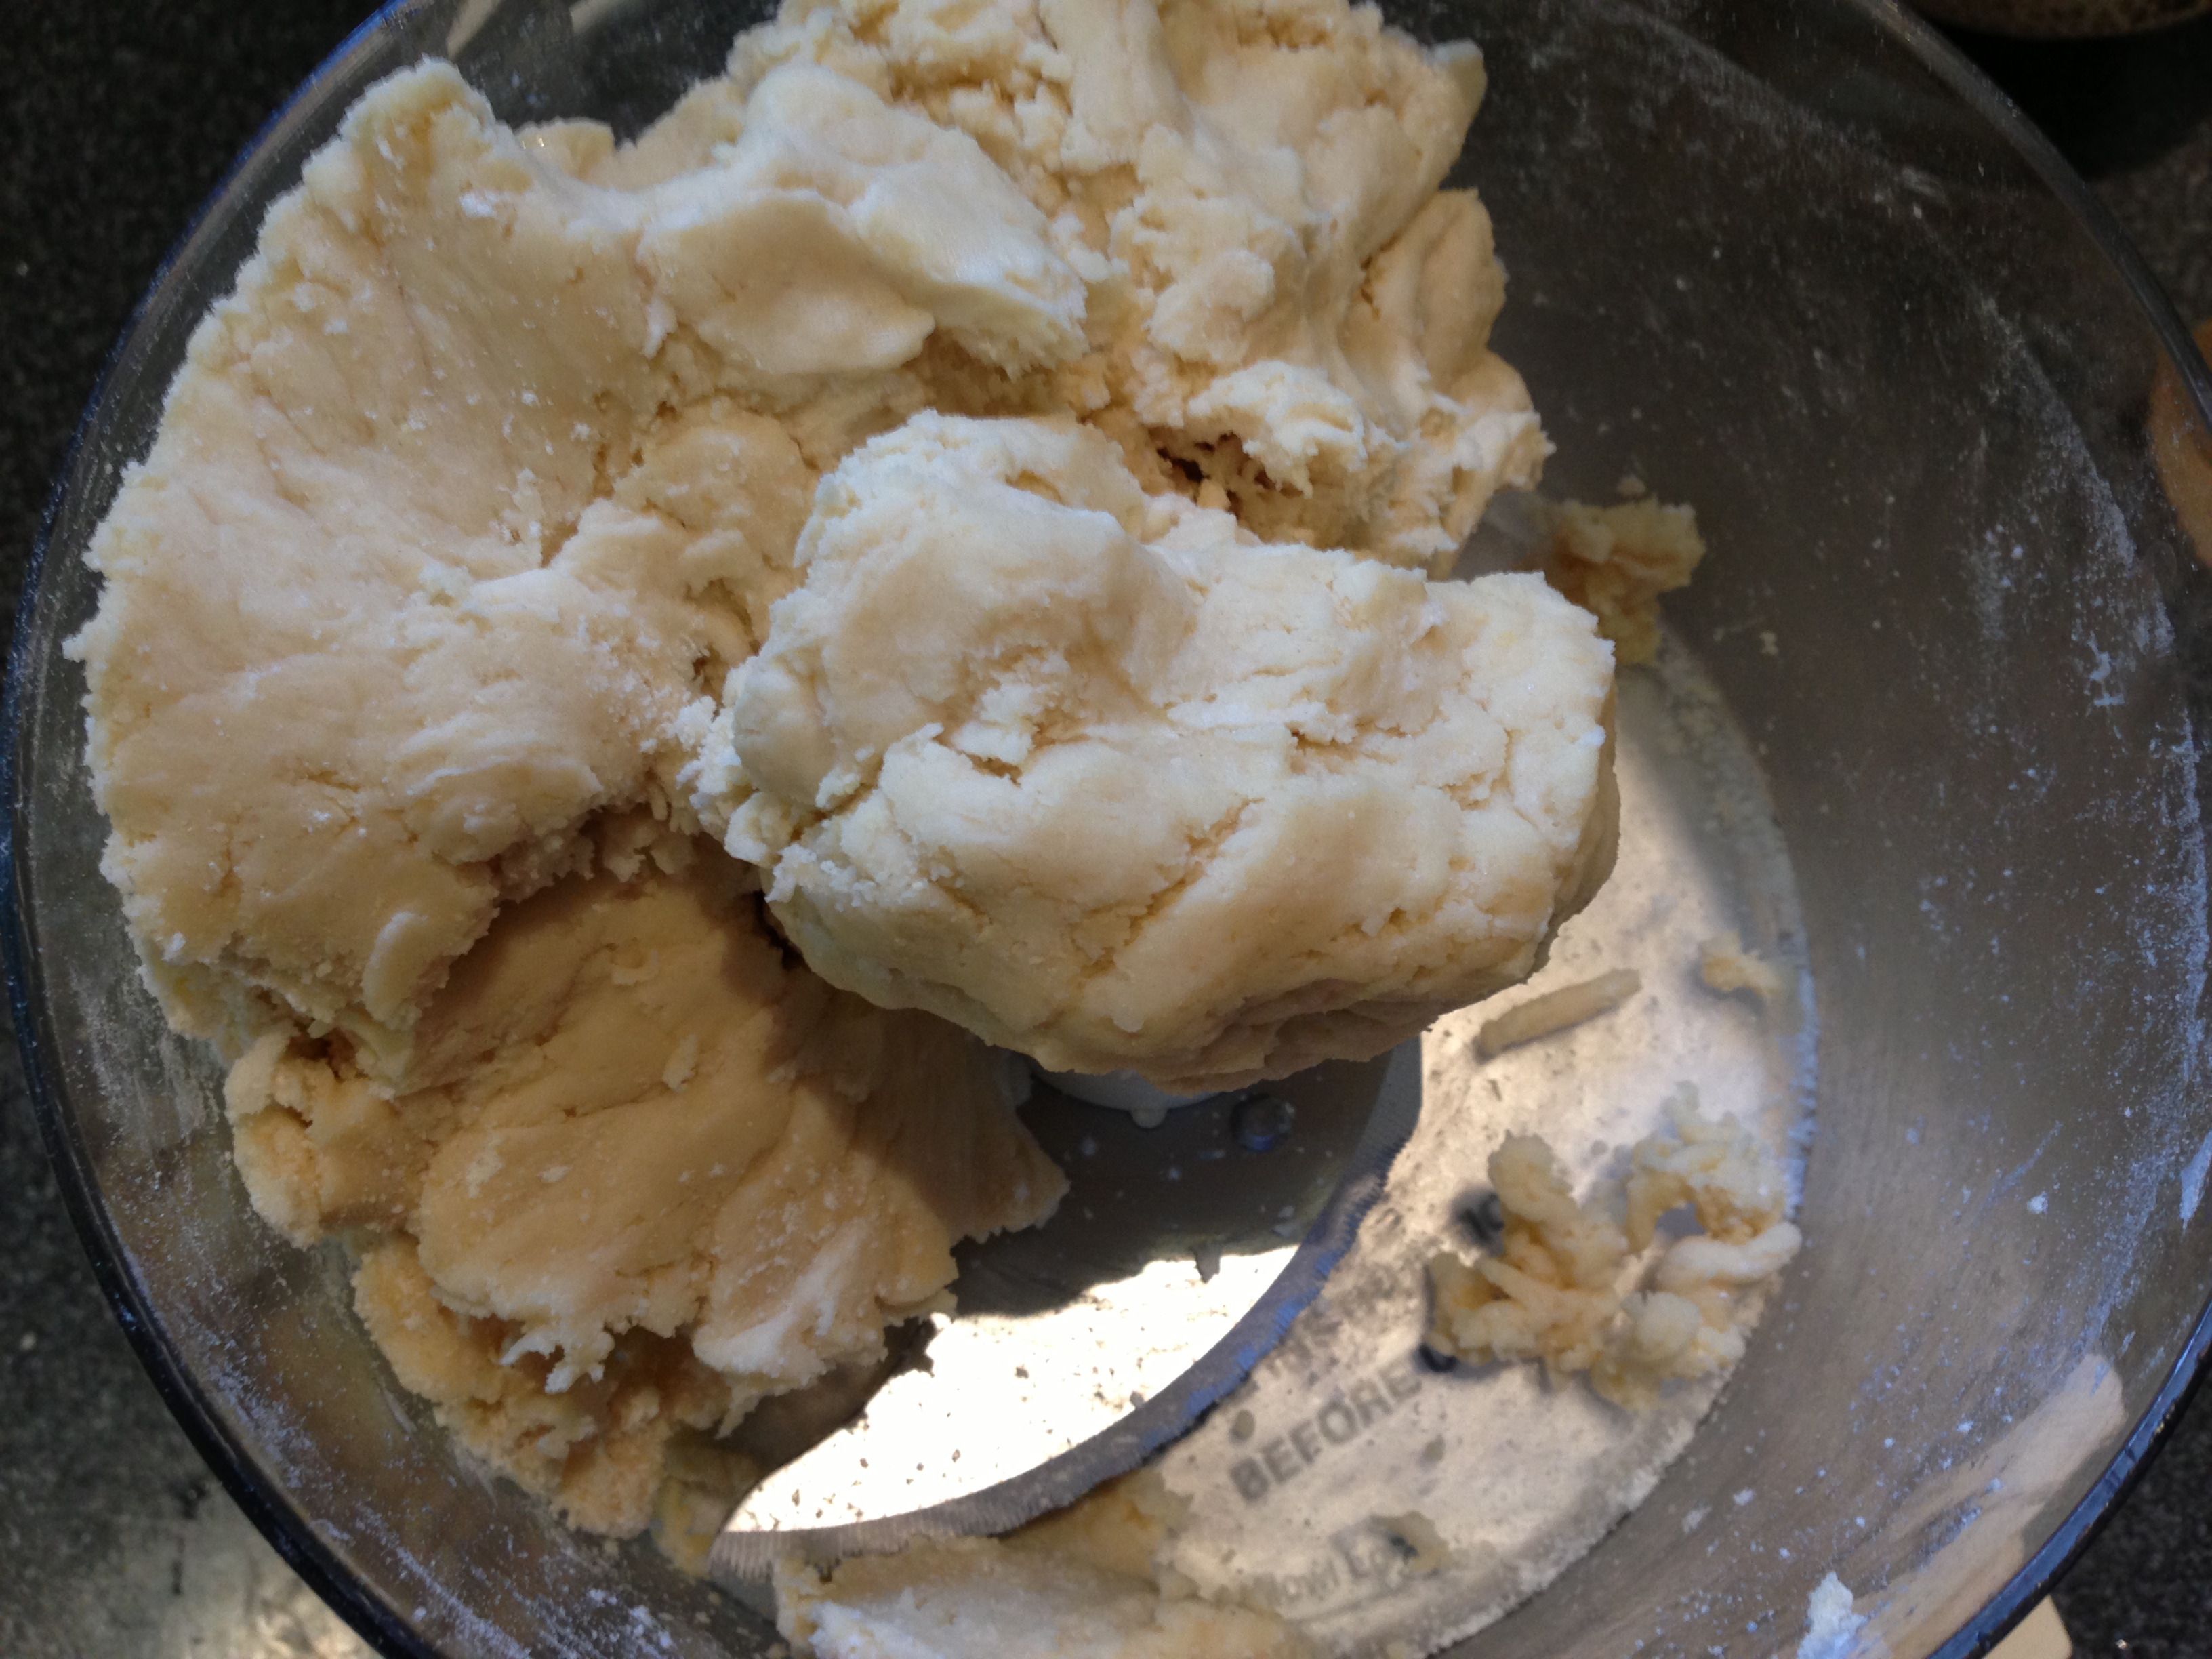
Put all of the ingredients except the water into your food processor fitted with the metal blade.
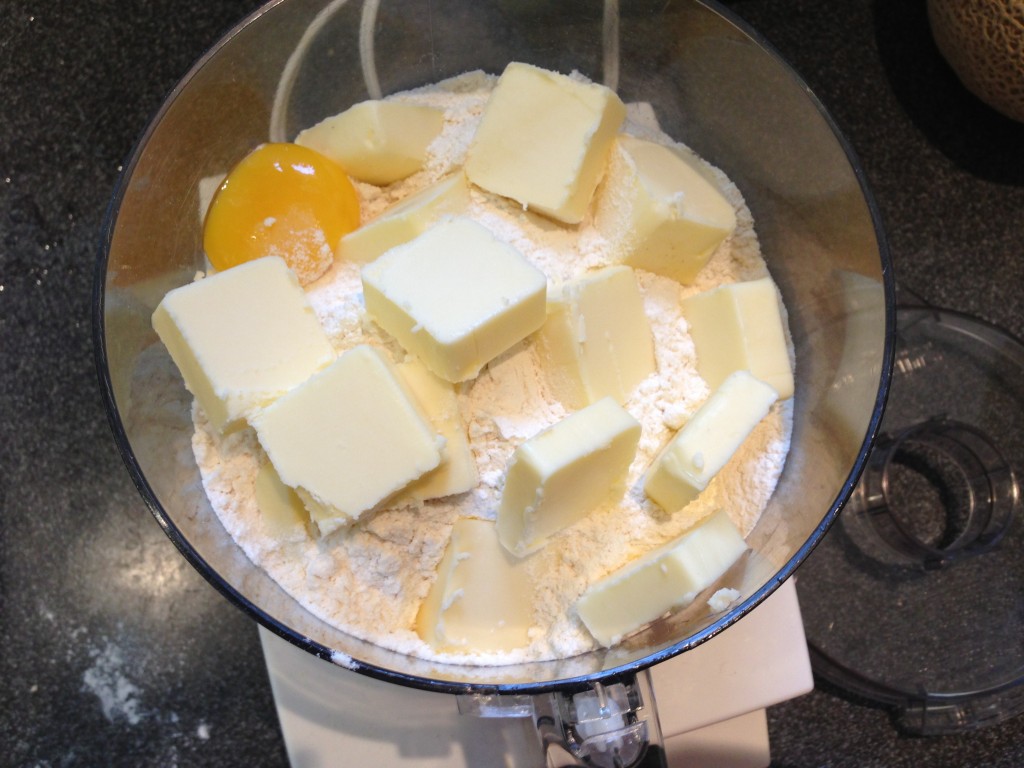
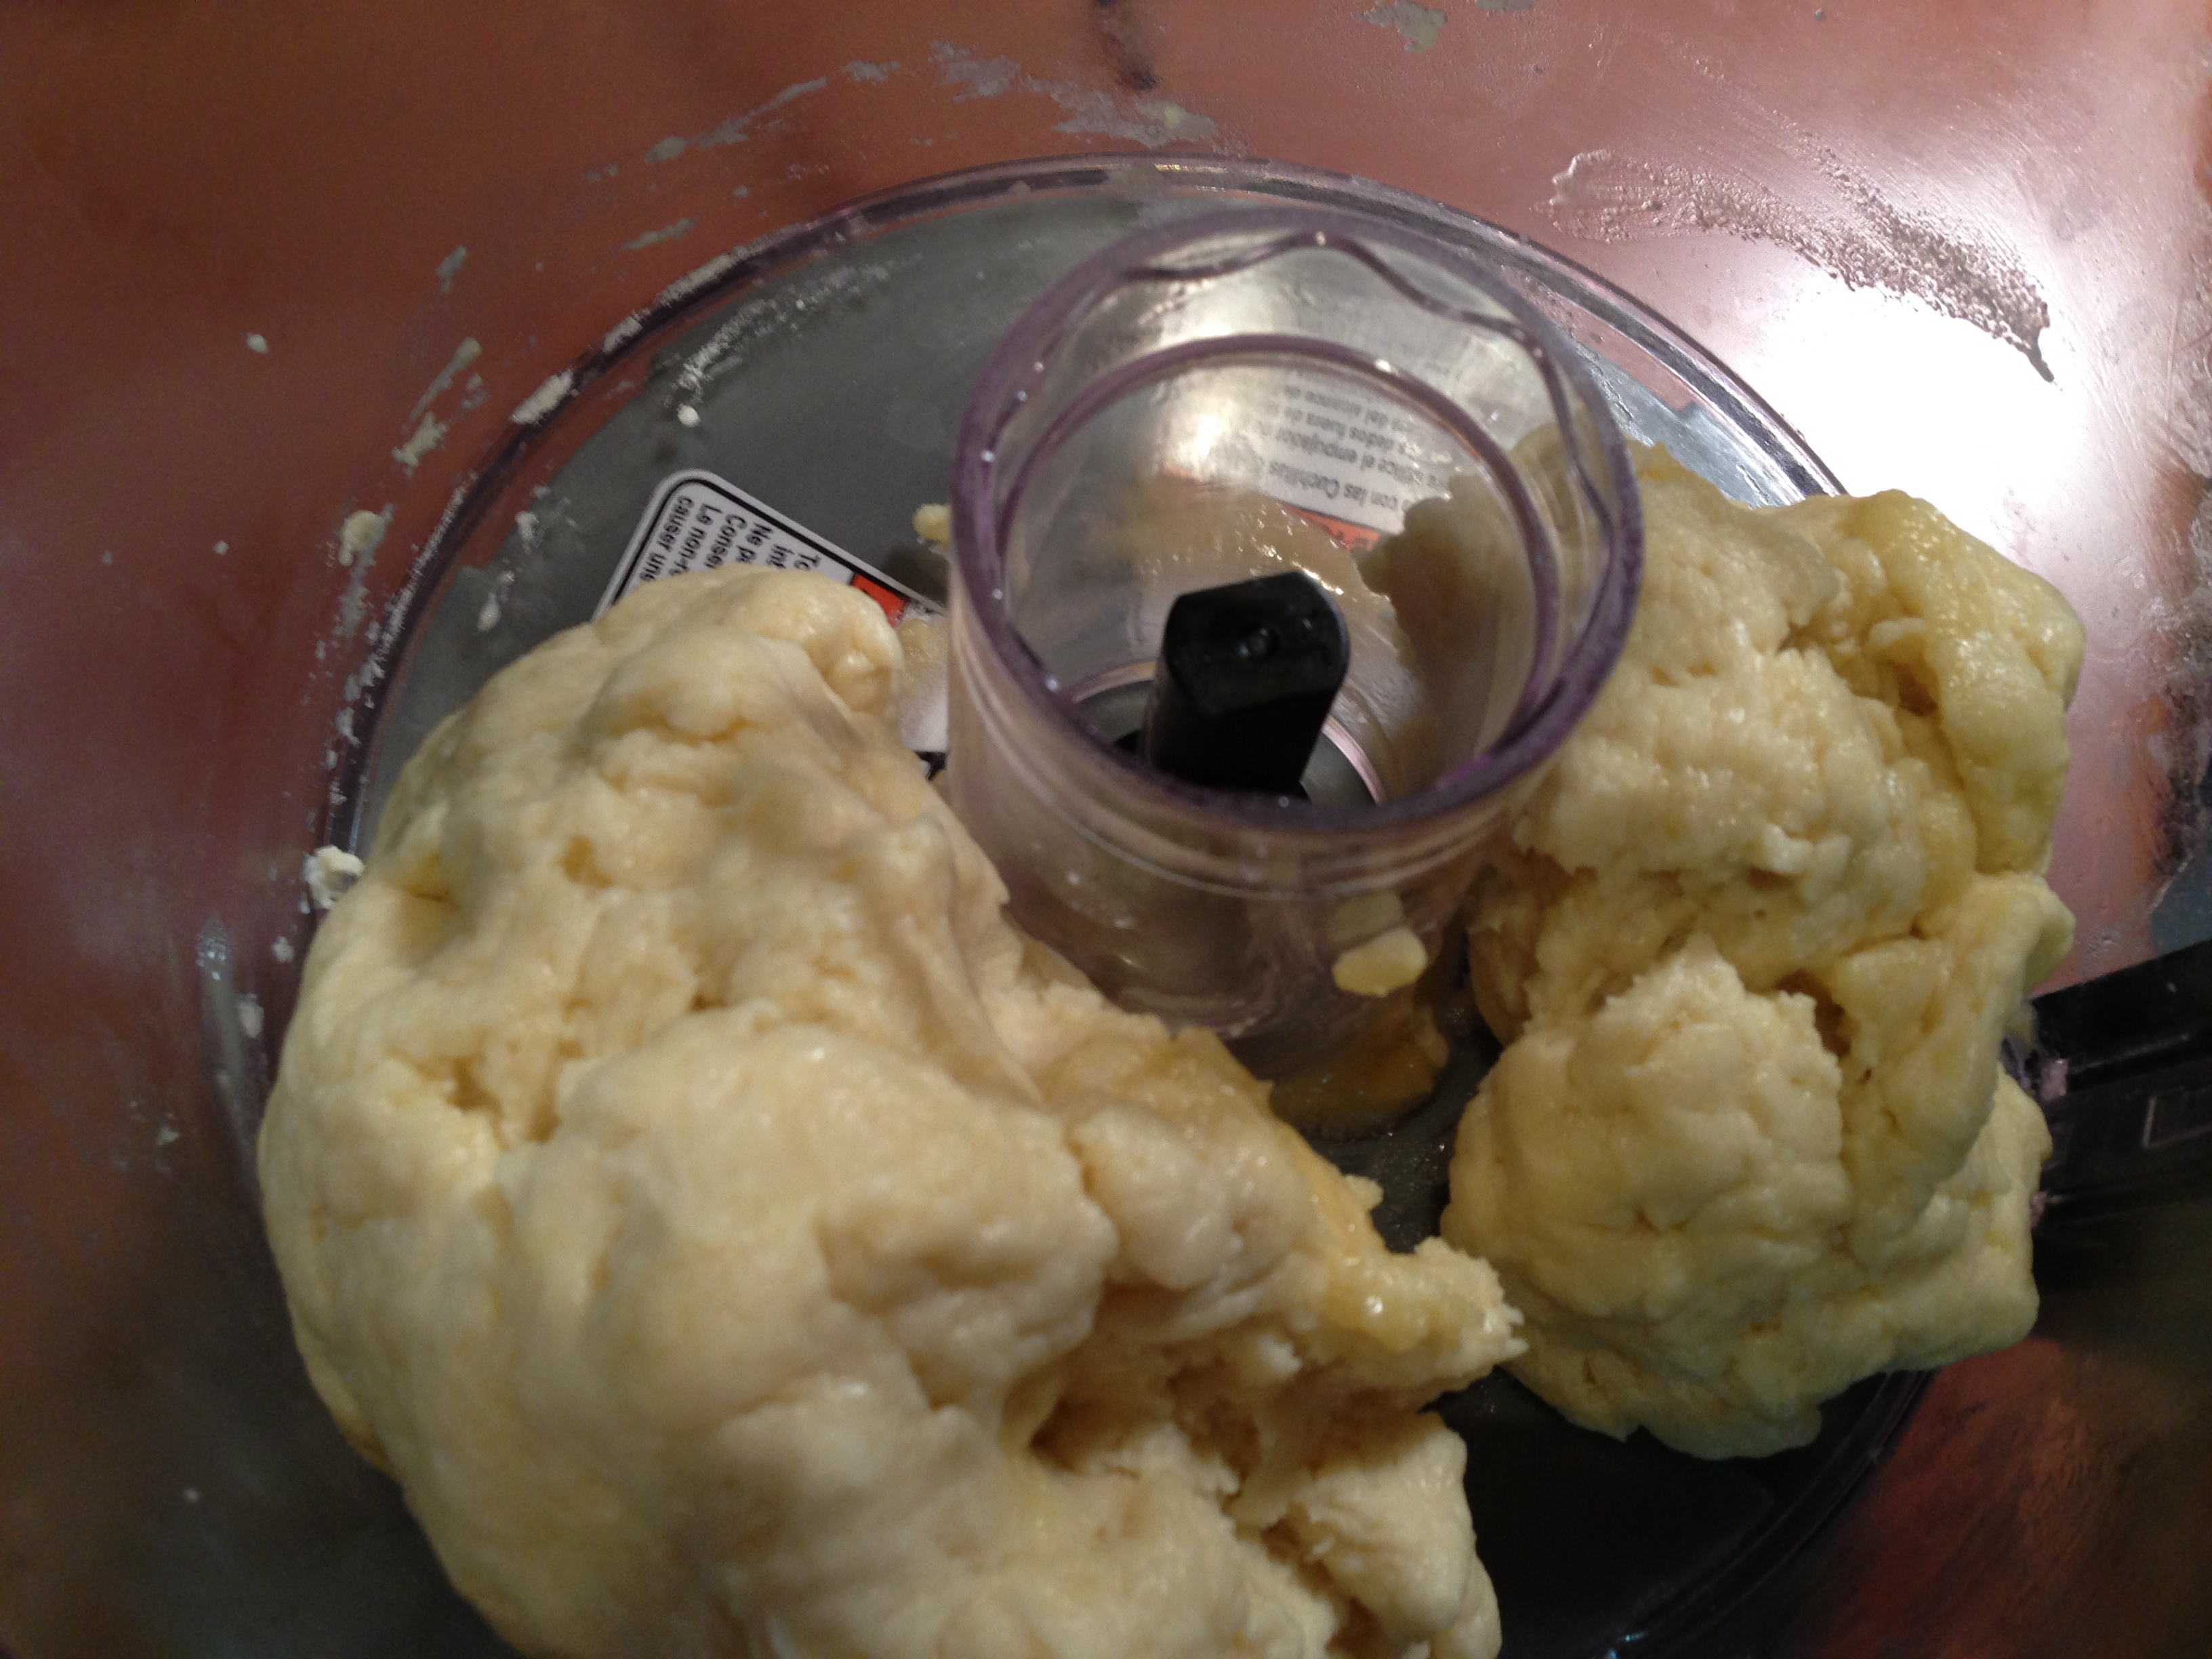
Process for about 10 seconds or until the mixture resembles a coarse meal. With the processor running pour the ice water through the feed tube in a steady stream and process until a dough ball begins to form – about another 10 to 20 seconds.
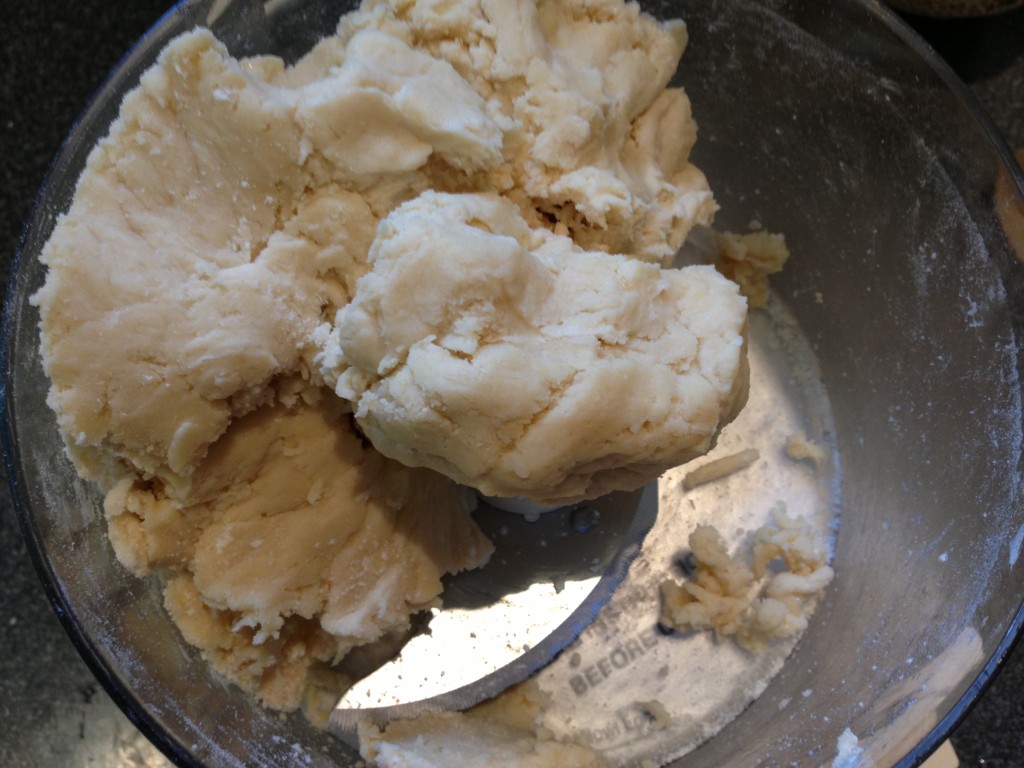
Turn the dough out onto a piece of wax or parchment paper and separate into two balls.
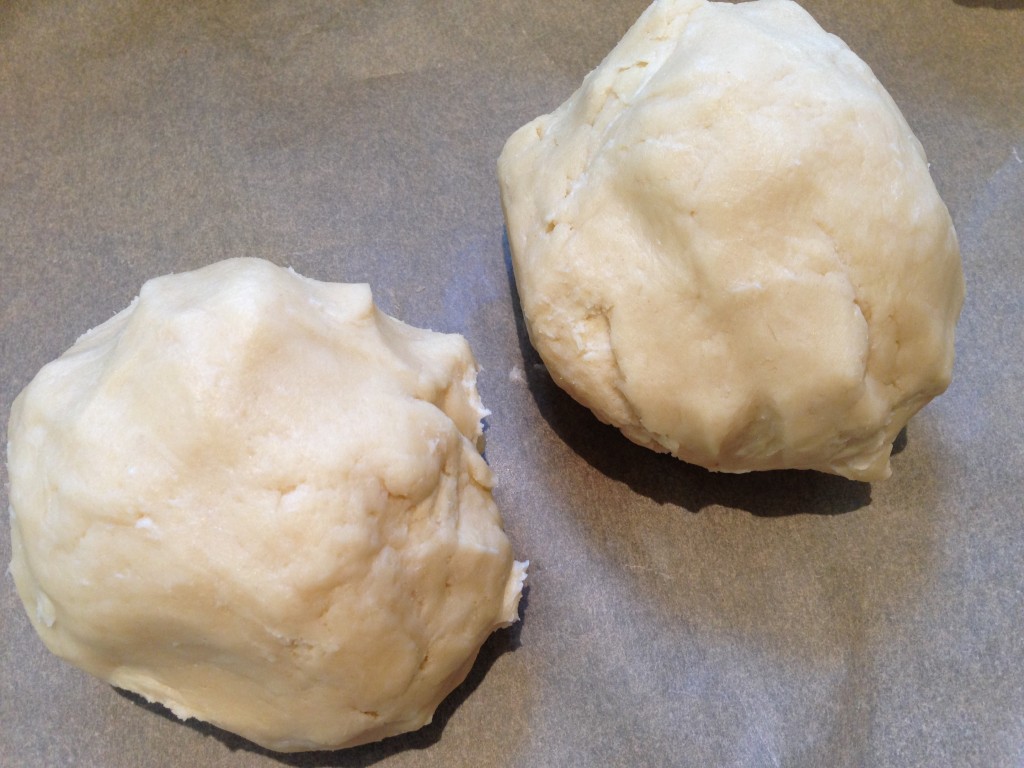
Use immediately or wrap in the paper and refrigerate or freeze for later use.
If you refrigerate the dough then allow it to sit at room temperature until slightly softened. If you freeze the dough then thaw it for 30 minutes before use.
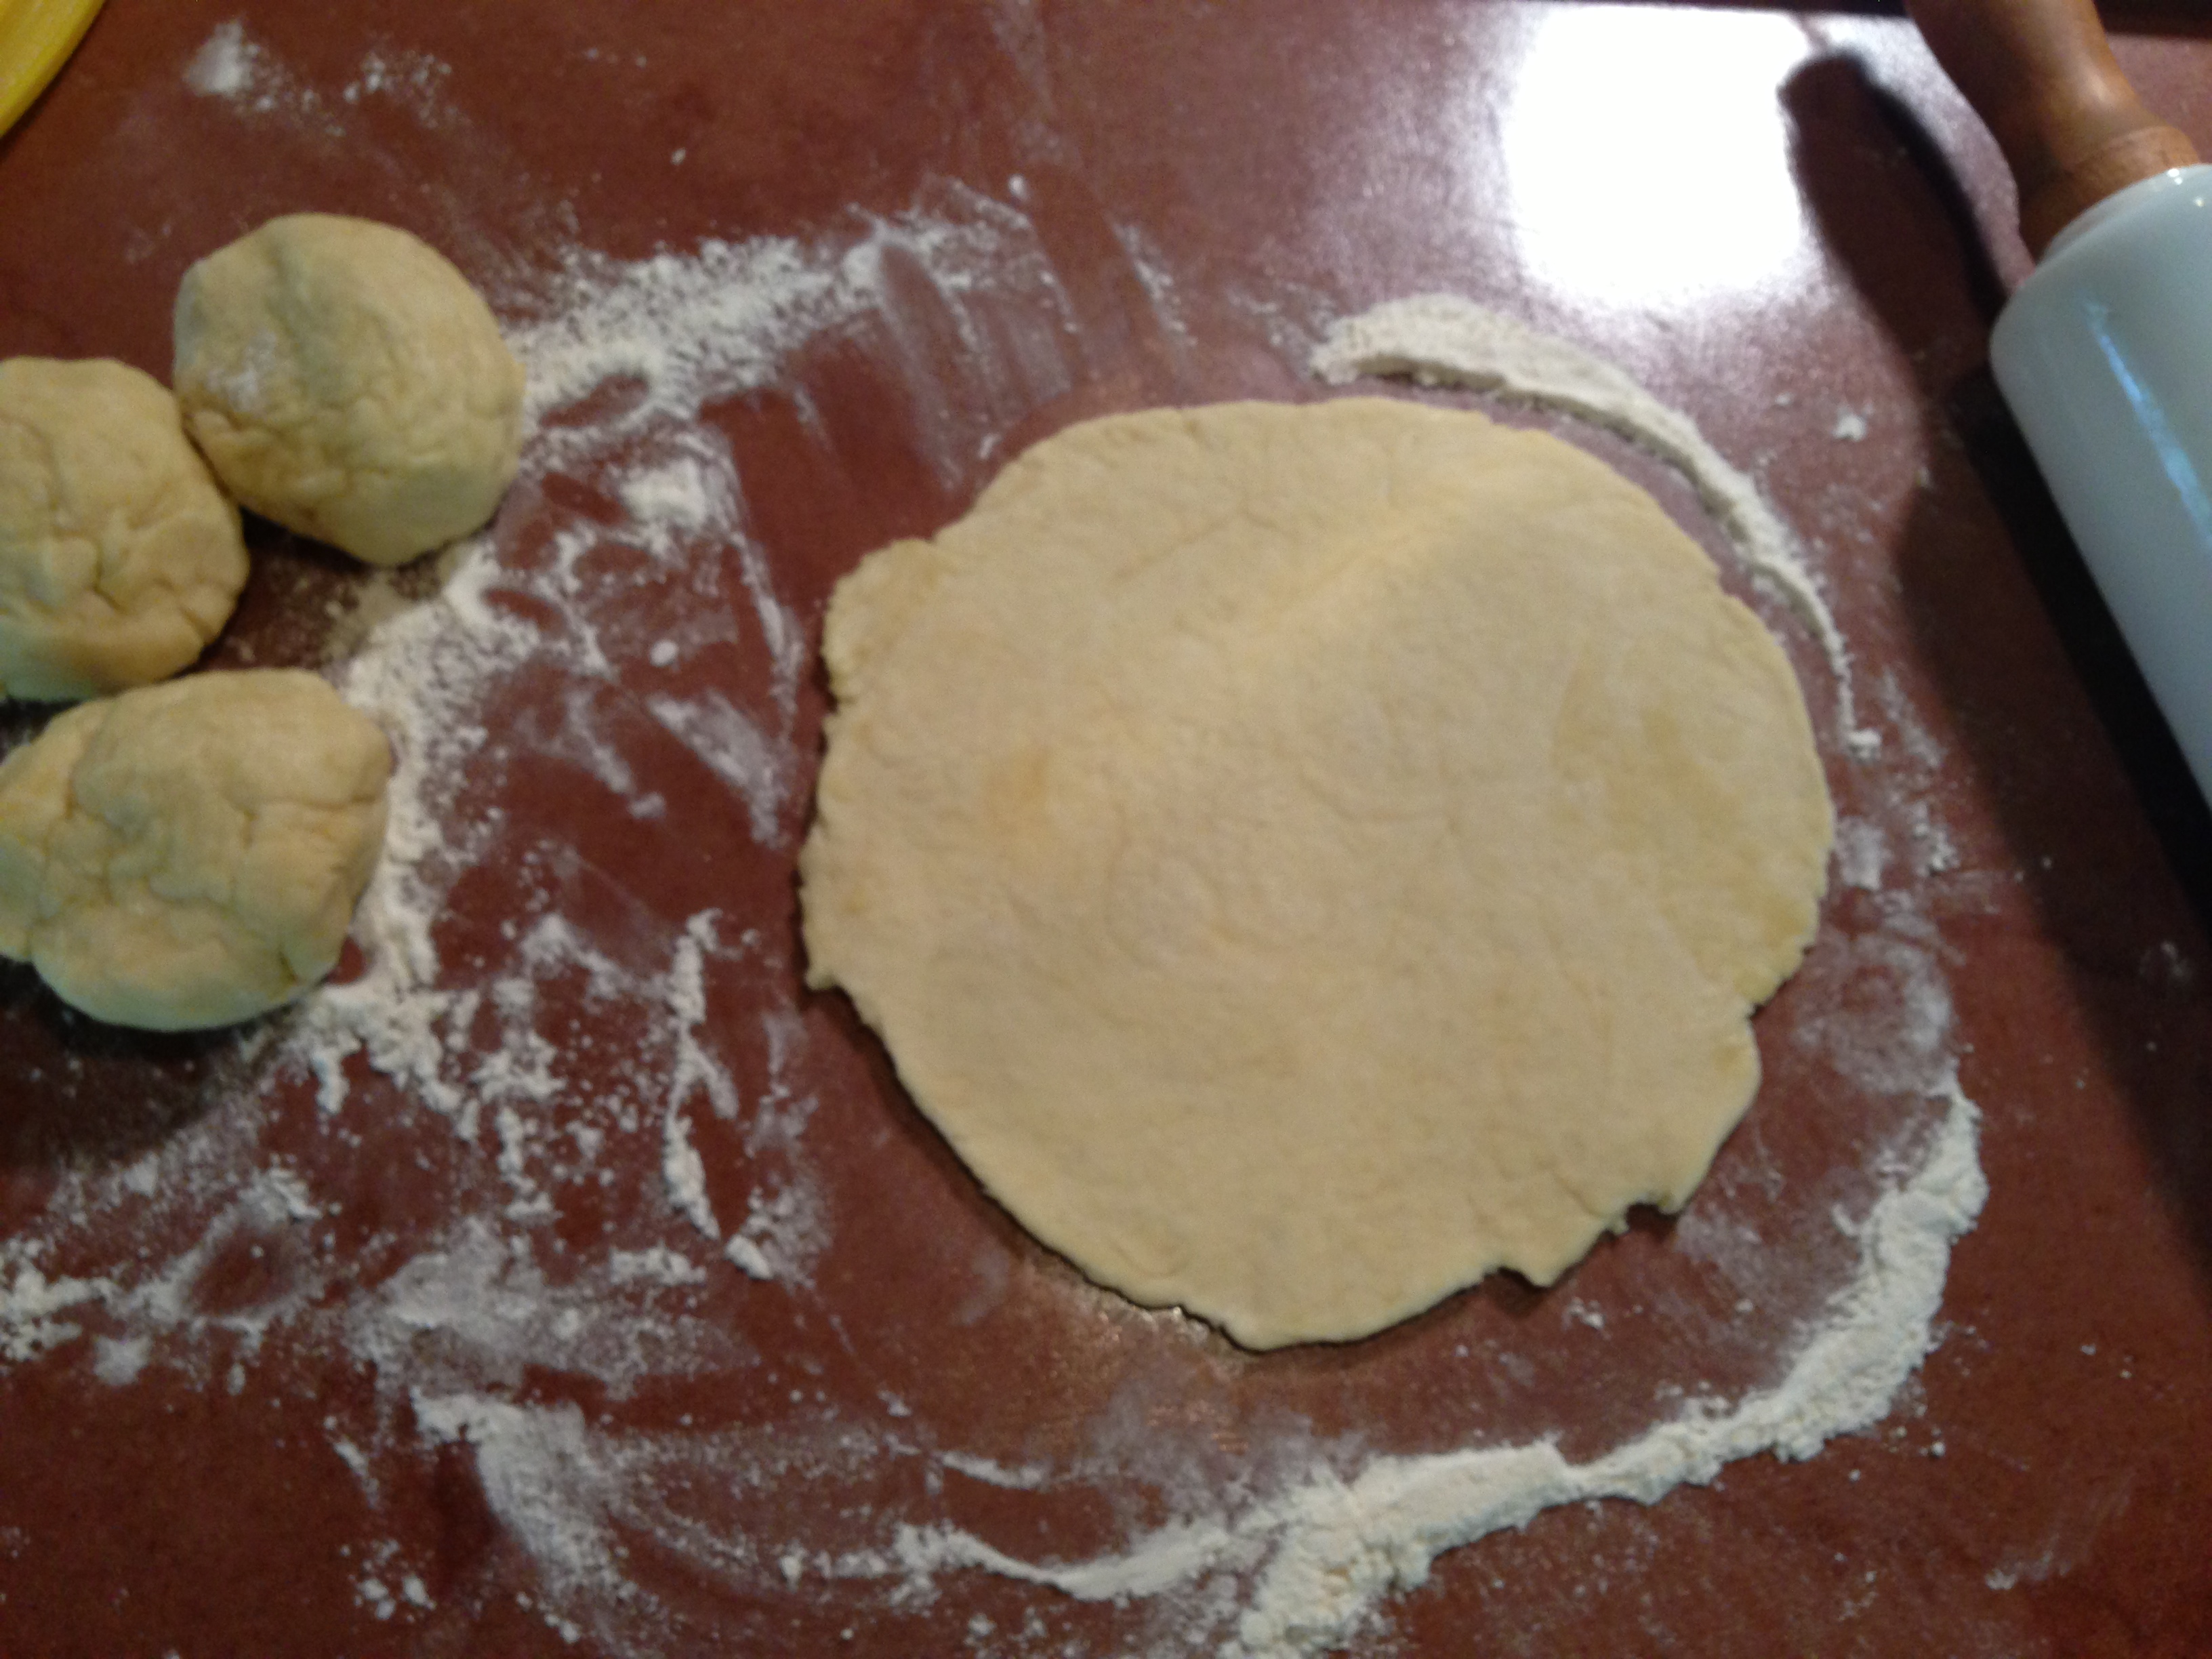
Roll the dough on a lightly floured surface to approximately 1/8 inch thickness and use for pies, tarts, quiches, or turnovers.
To bake unfilled pie shells, prick the bottom with a fork, cover with a round of wax paper, and fill with 2 cups uncooked rice or beans. Bake at 425° for 15 to 18 minutes or until golden brown. Carefully remove rice or beans and allow to cool before filling.
To bake a filled pie, do not prick the bottom. Fill and bake according to your recipe.
Makes enough pastry dough for one double crust 10 inch pie, or two 10 inch pies, or approximately 32-3 inch tart or turnover shells.
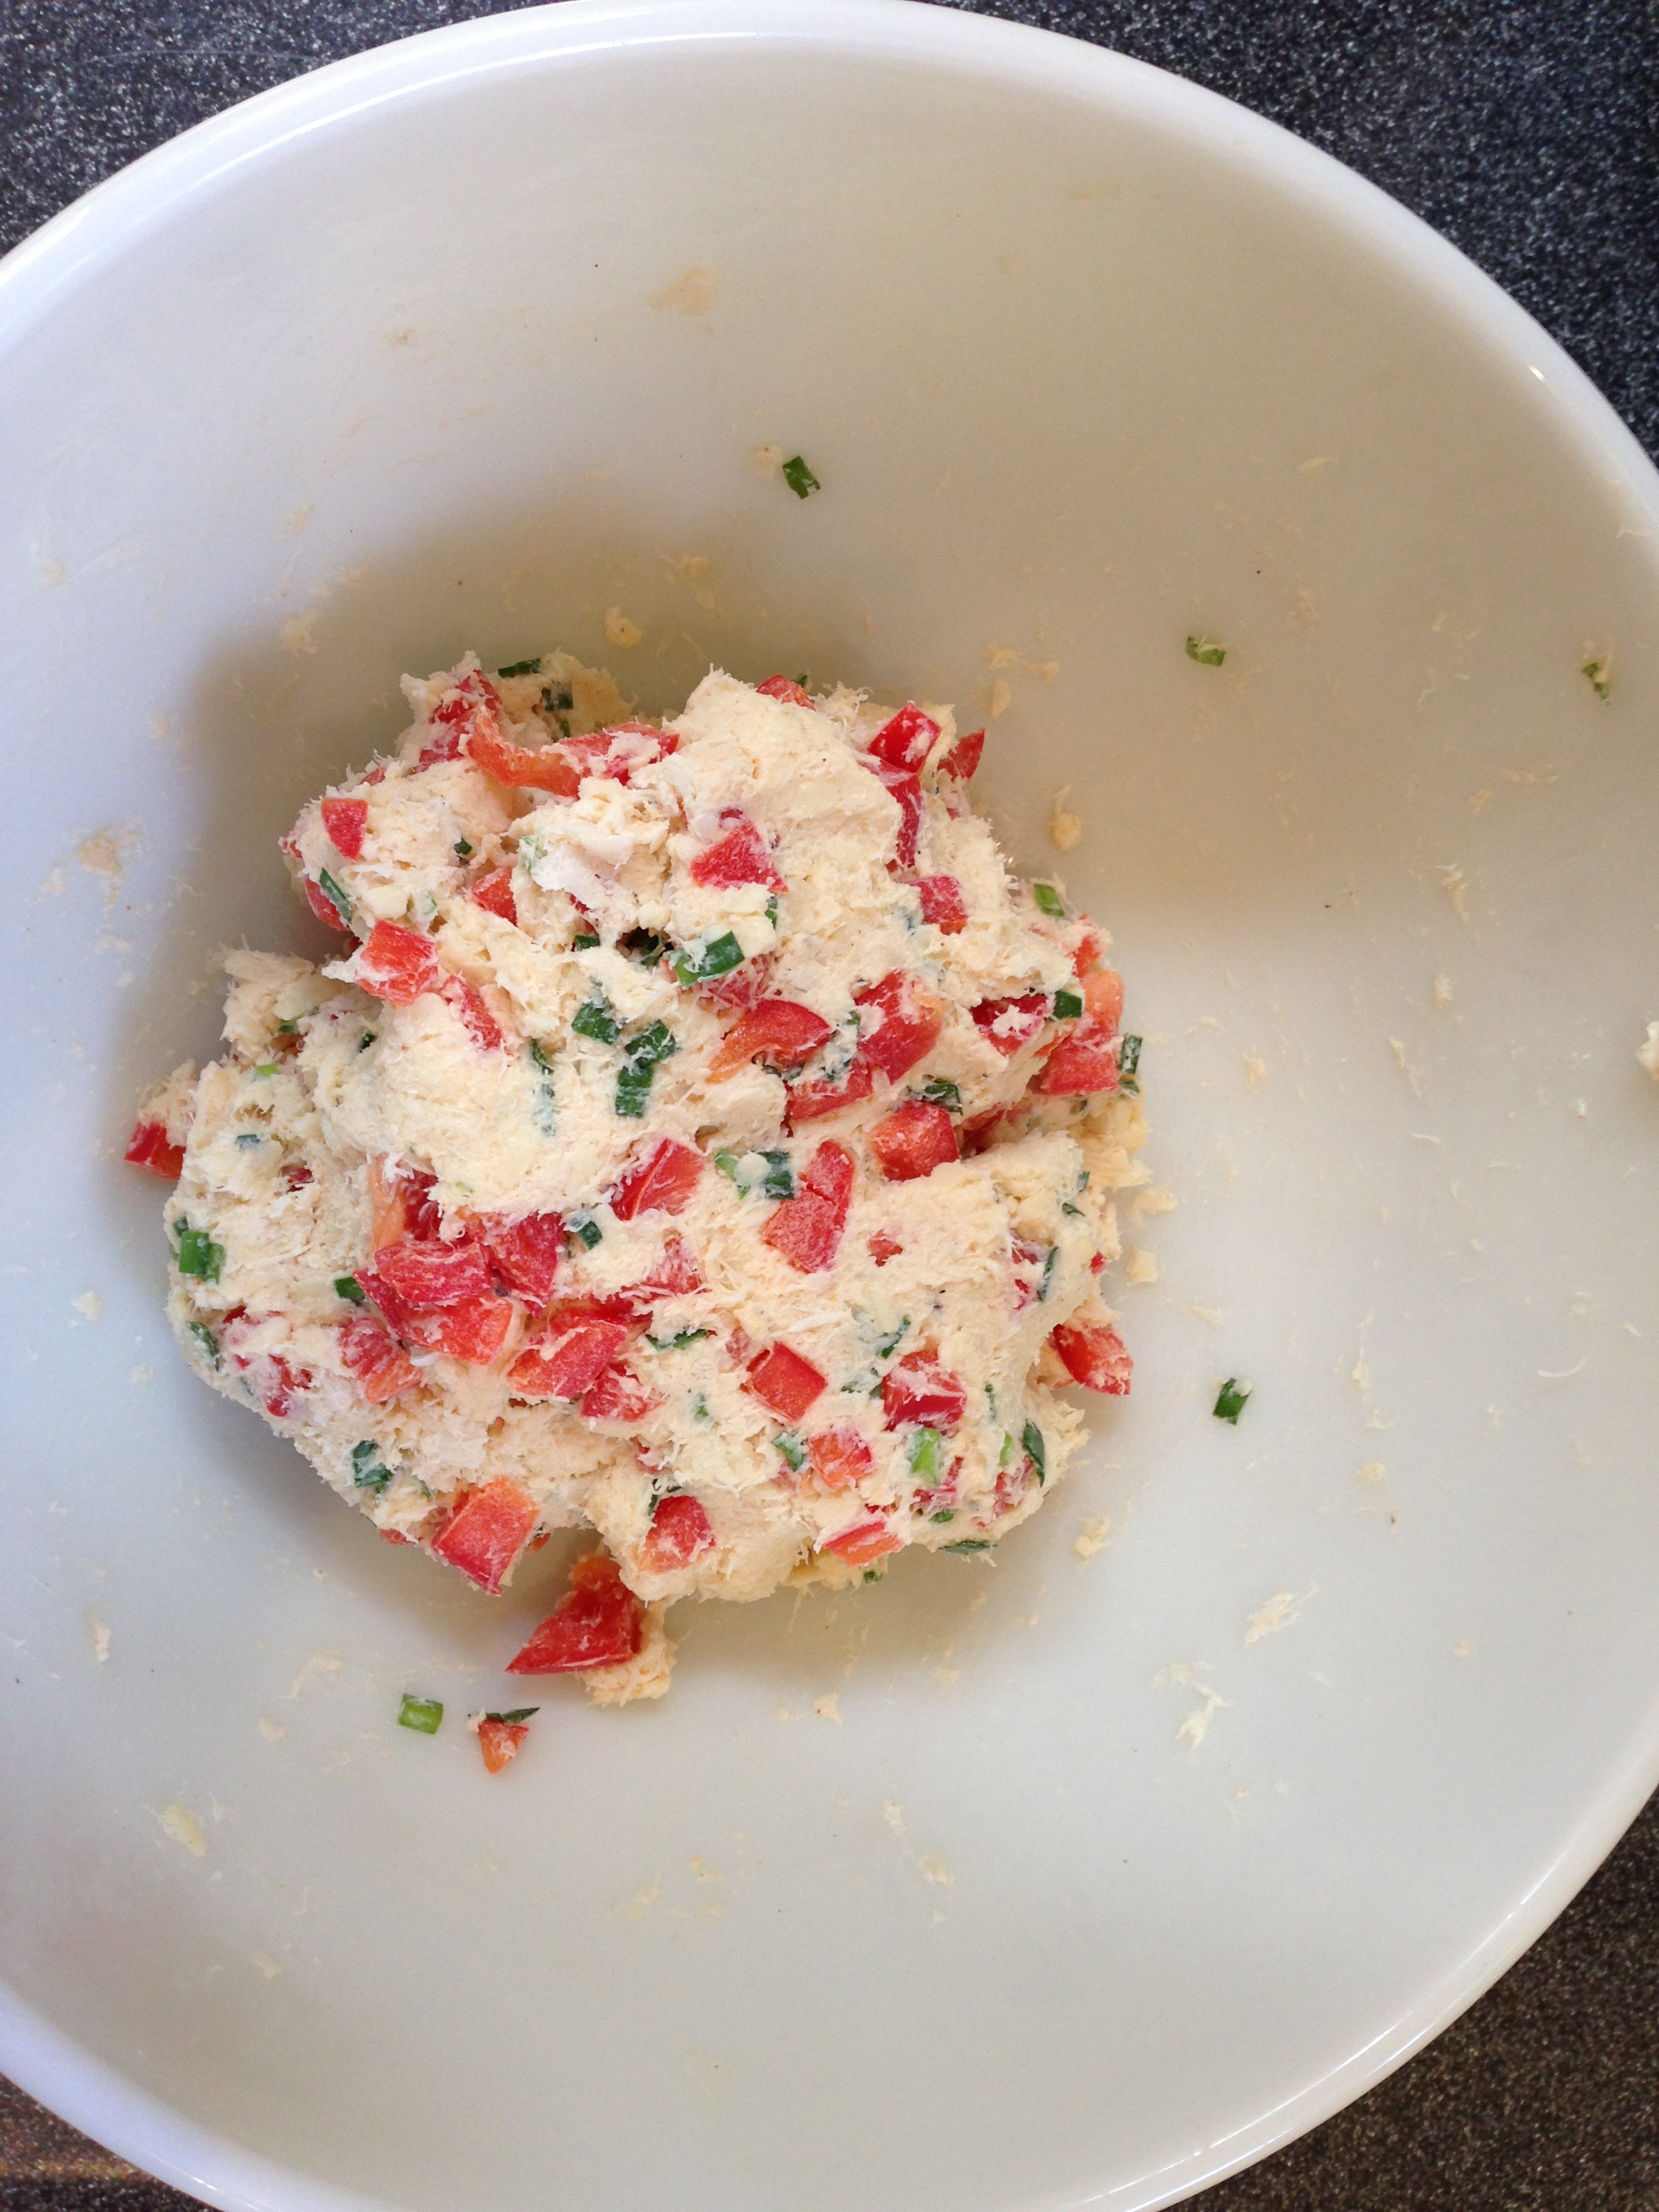
Crab & Cheese Filling Ingredients:
2 – 6 ounce cans fancy white-lump crab meat
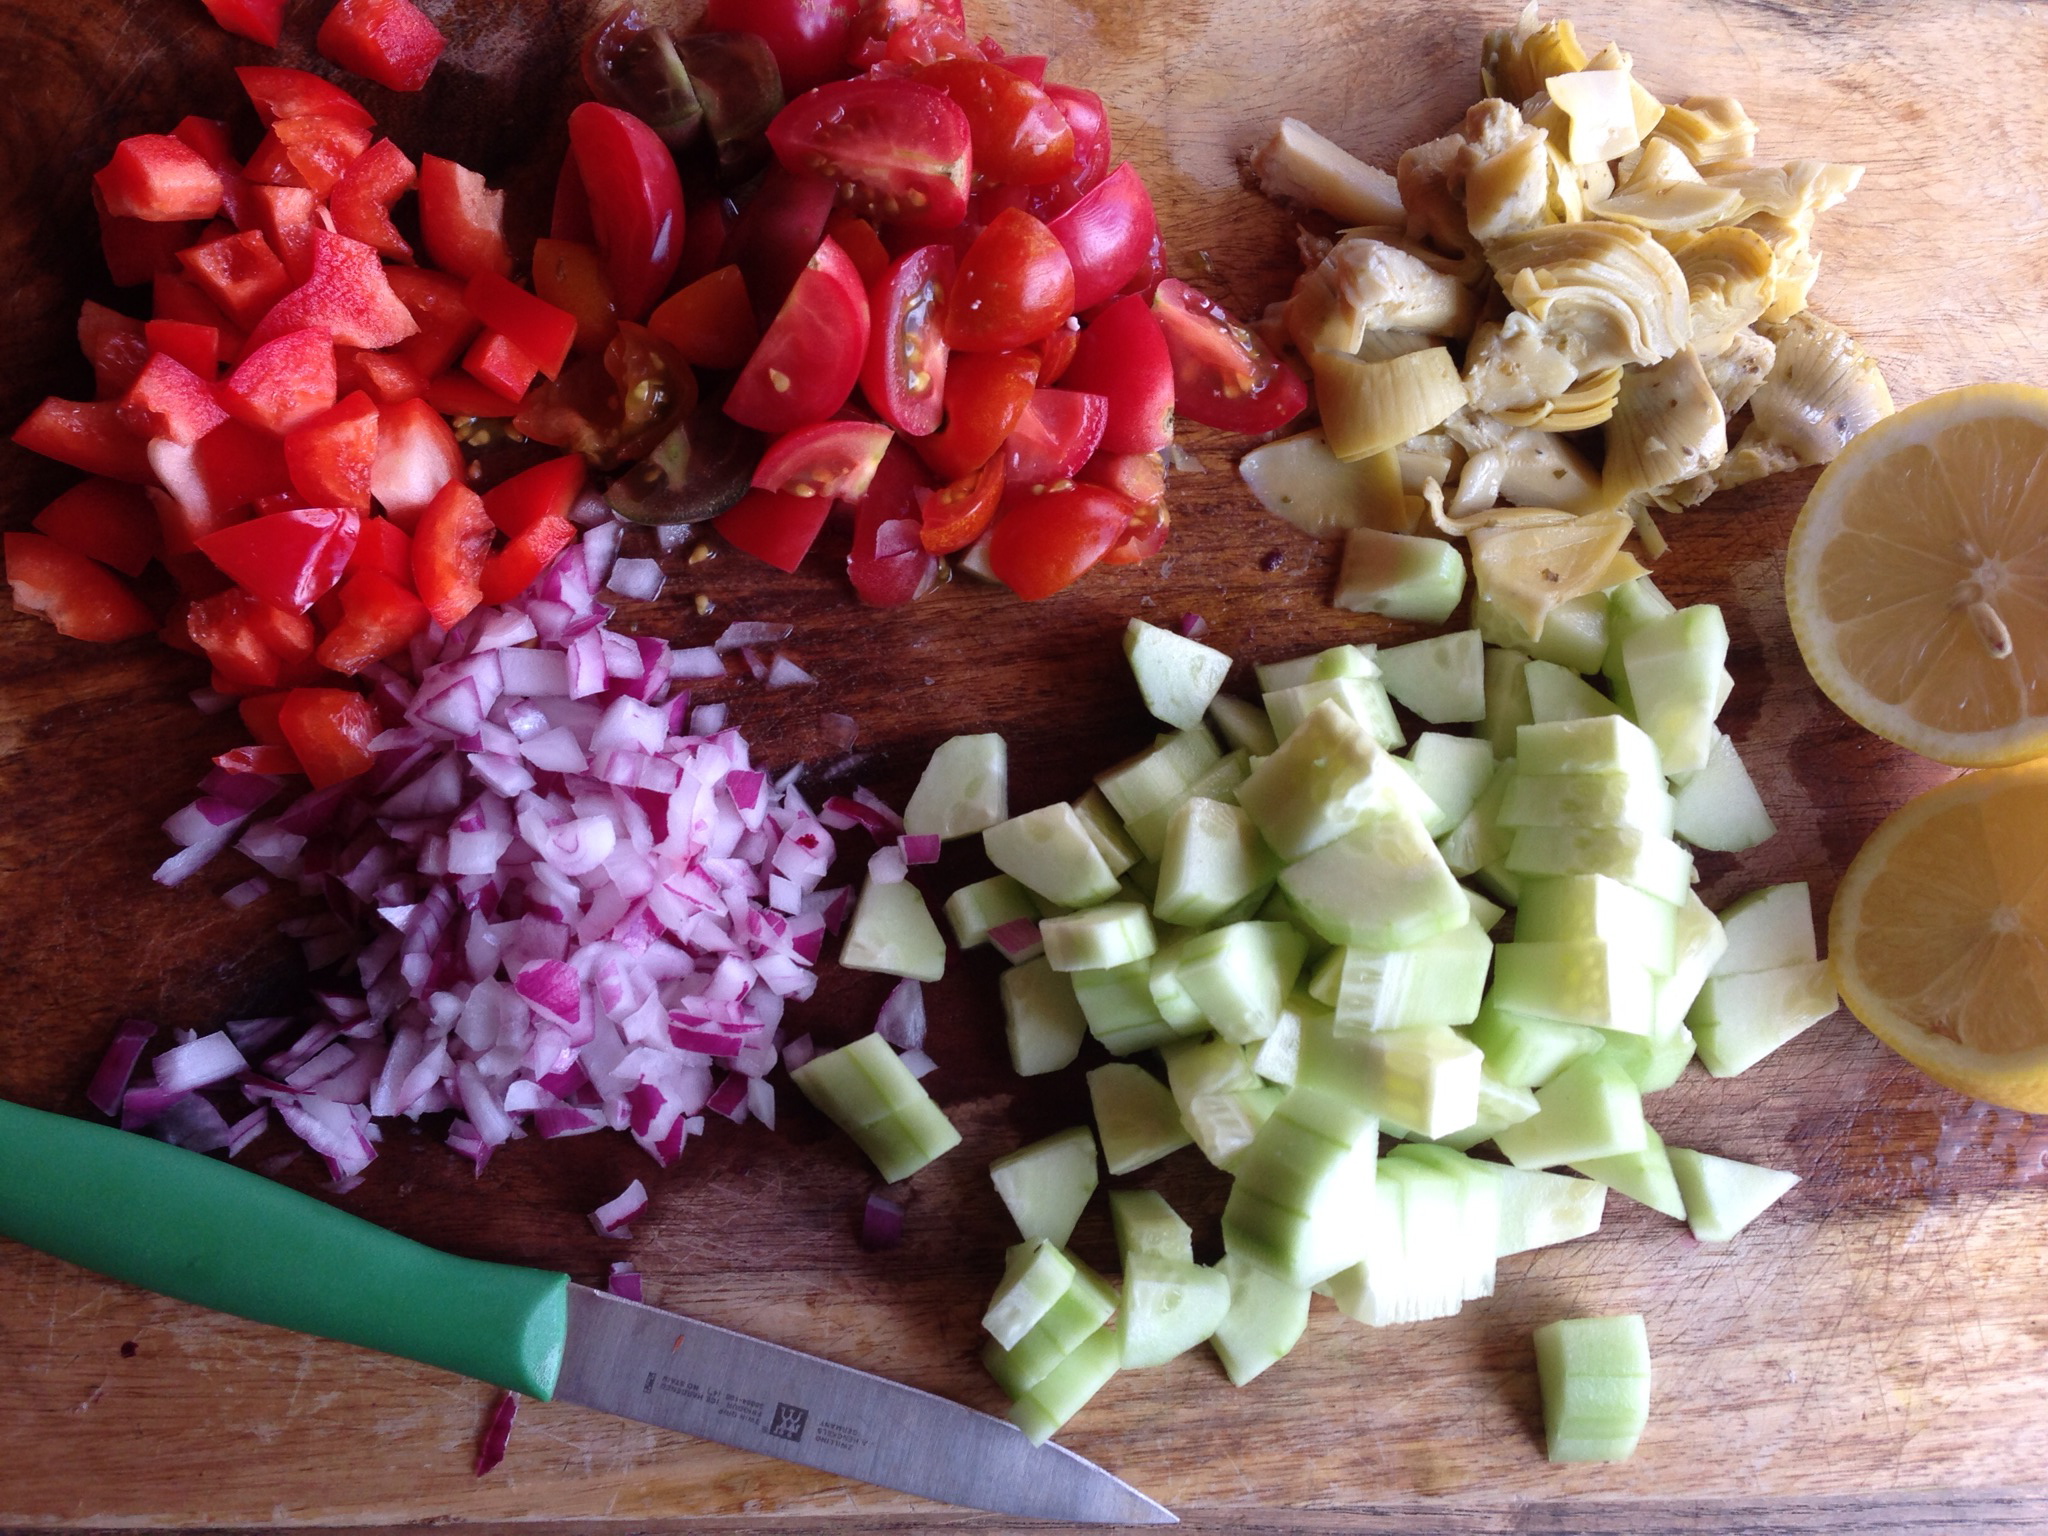
1 medium red bell pepper chopped into very small pieces
2 generous tbsp chives chopped into tiny pieces (using scissors to cut them over the bowl works well)
1 cup gruyere cheese shredded
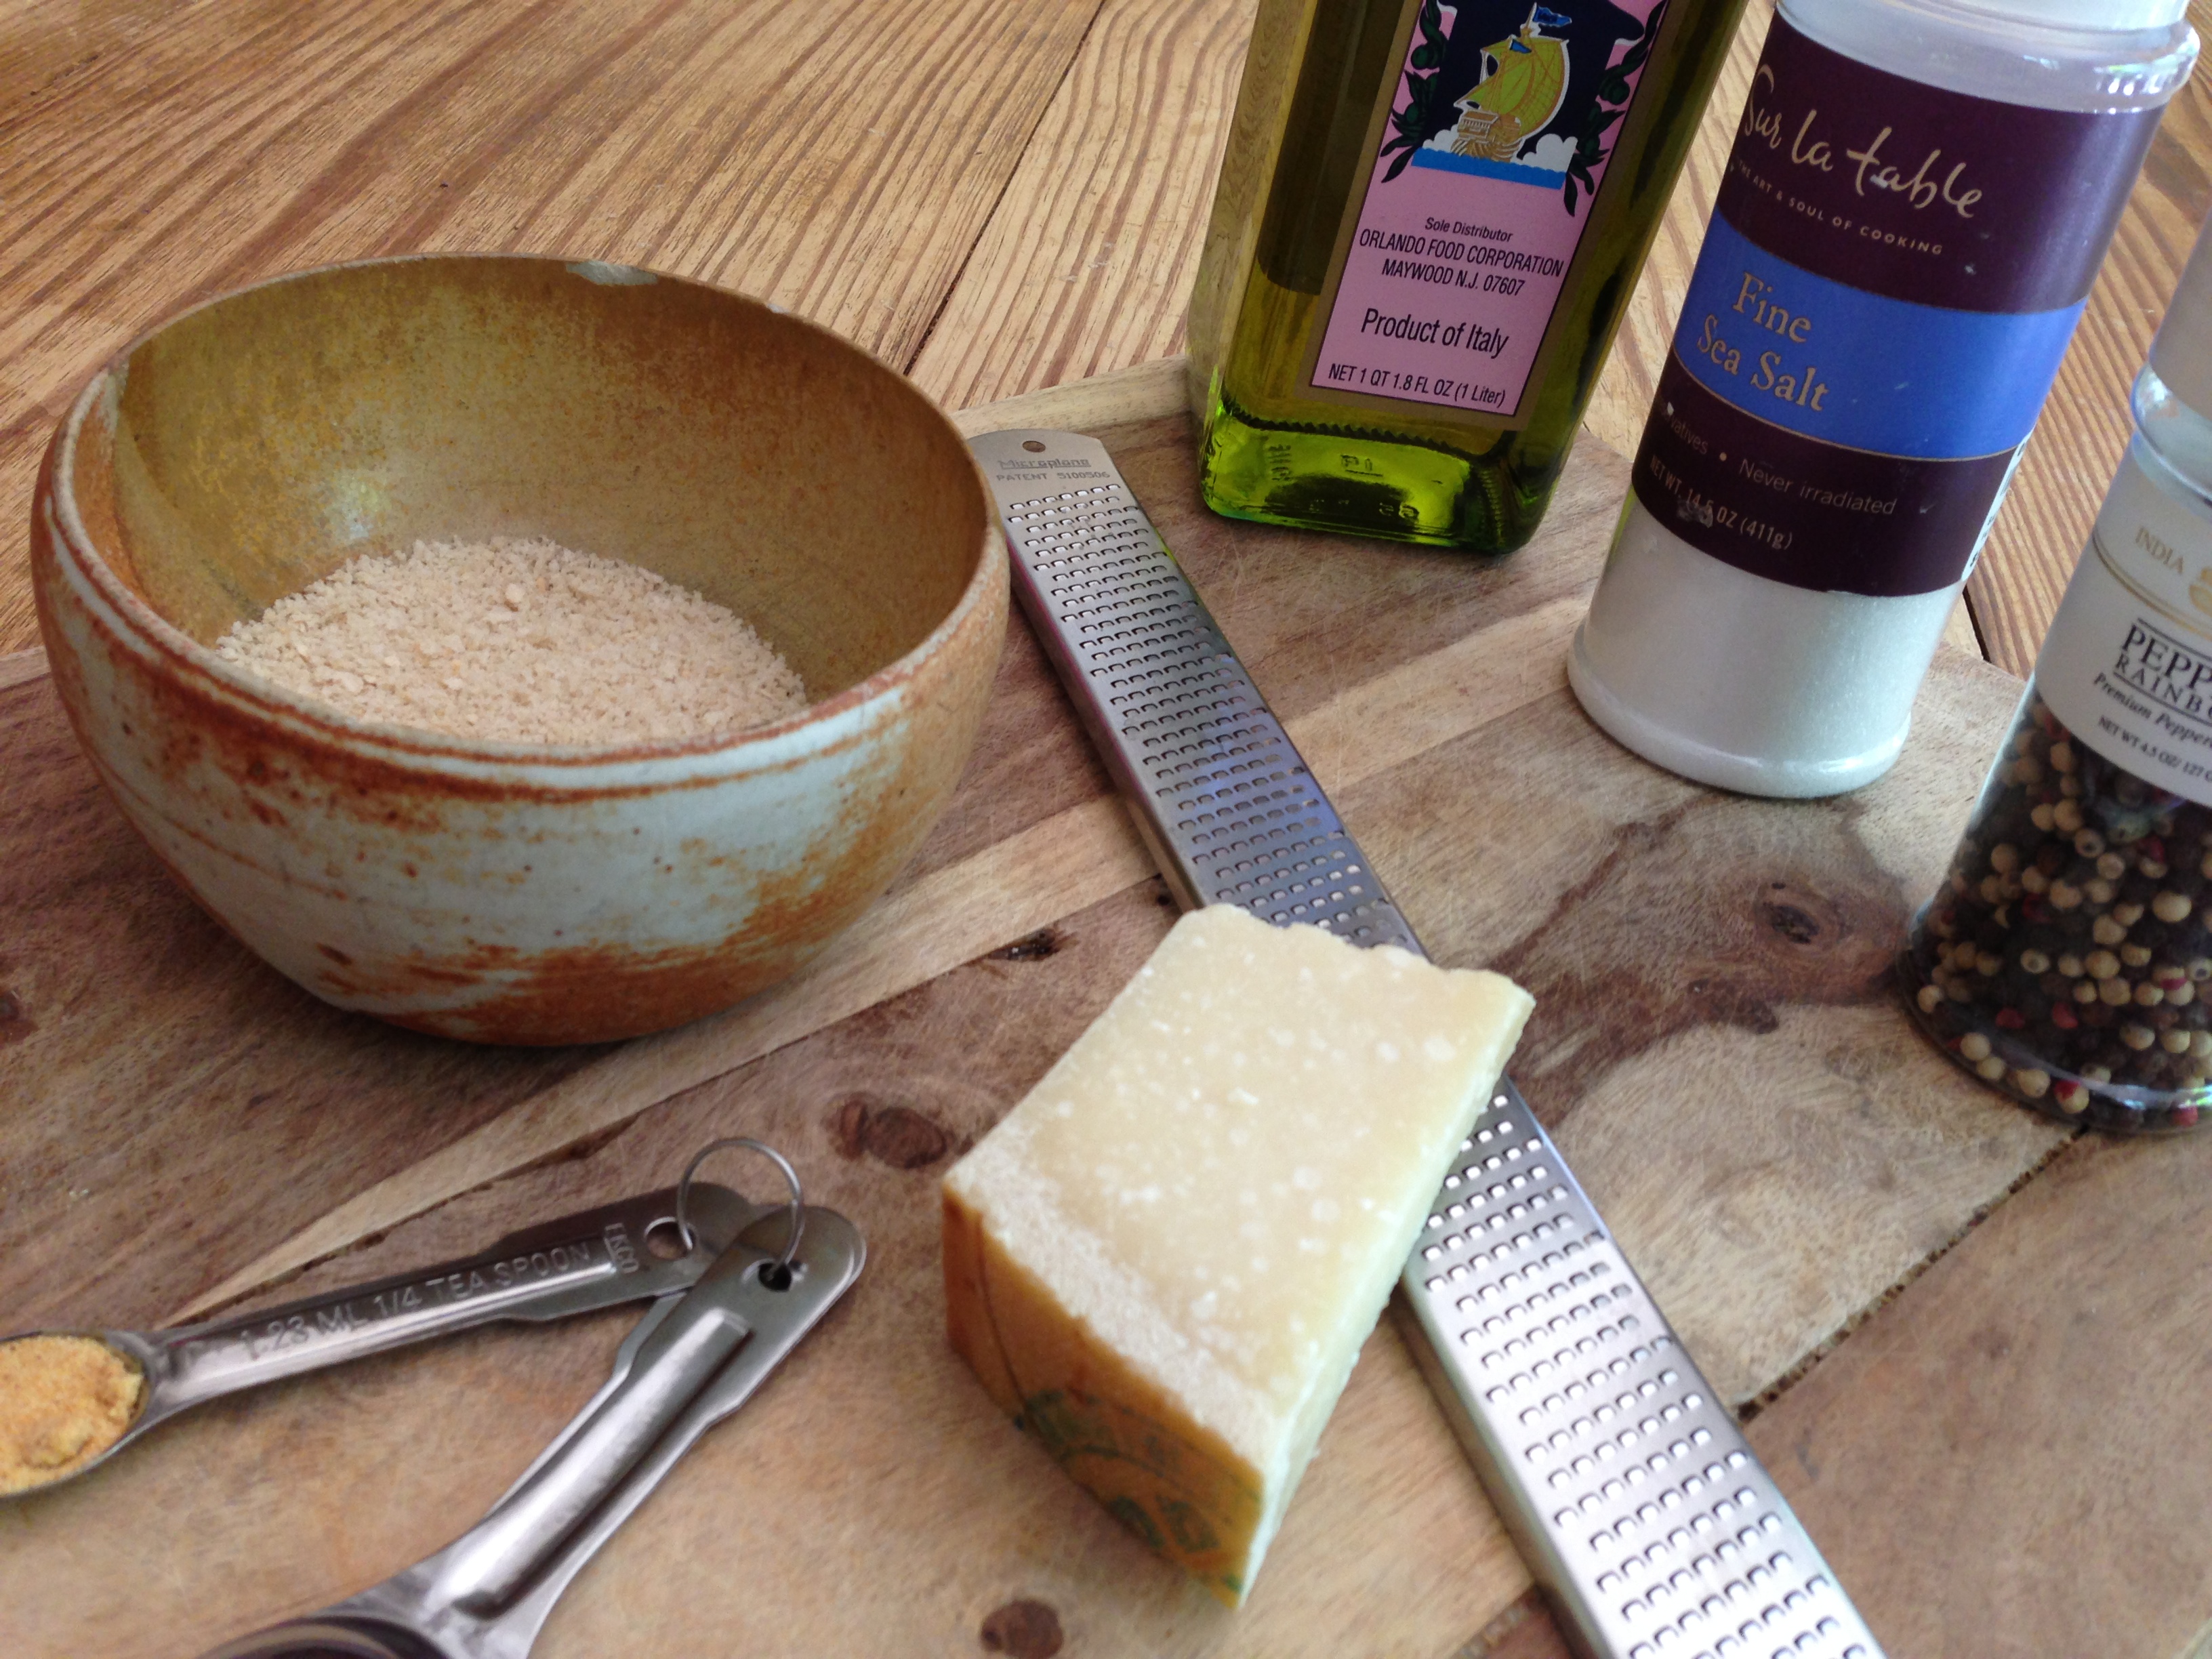
1 cup good quality parmesan cheese shredded
4 ounces cream cheese at room temperature
1/4 tsp garlic powder
a dash each of nutmeg, cayenne, and pepper

Oops, I forgot to include the cream cheese in this photo, but don’t leave it out because it helps make the filling moister.
Making the Crab & Cheese Filling:
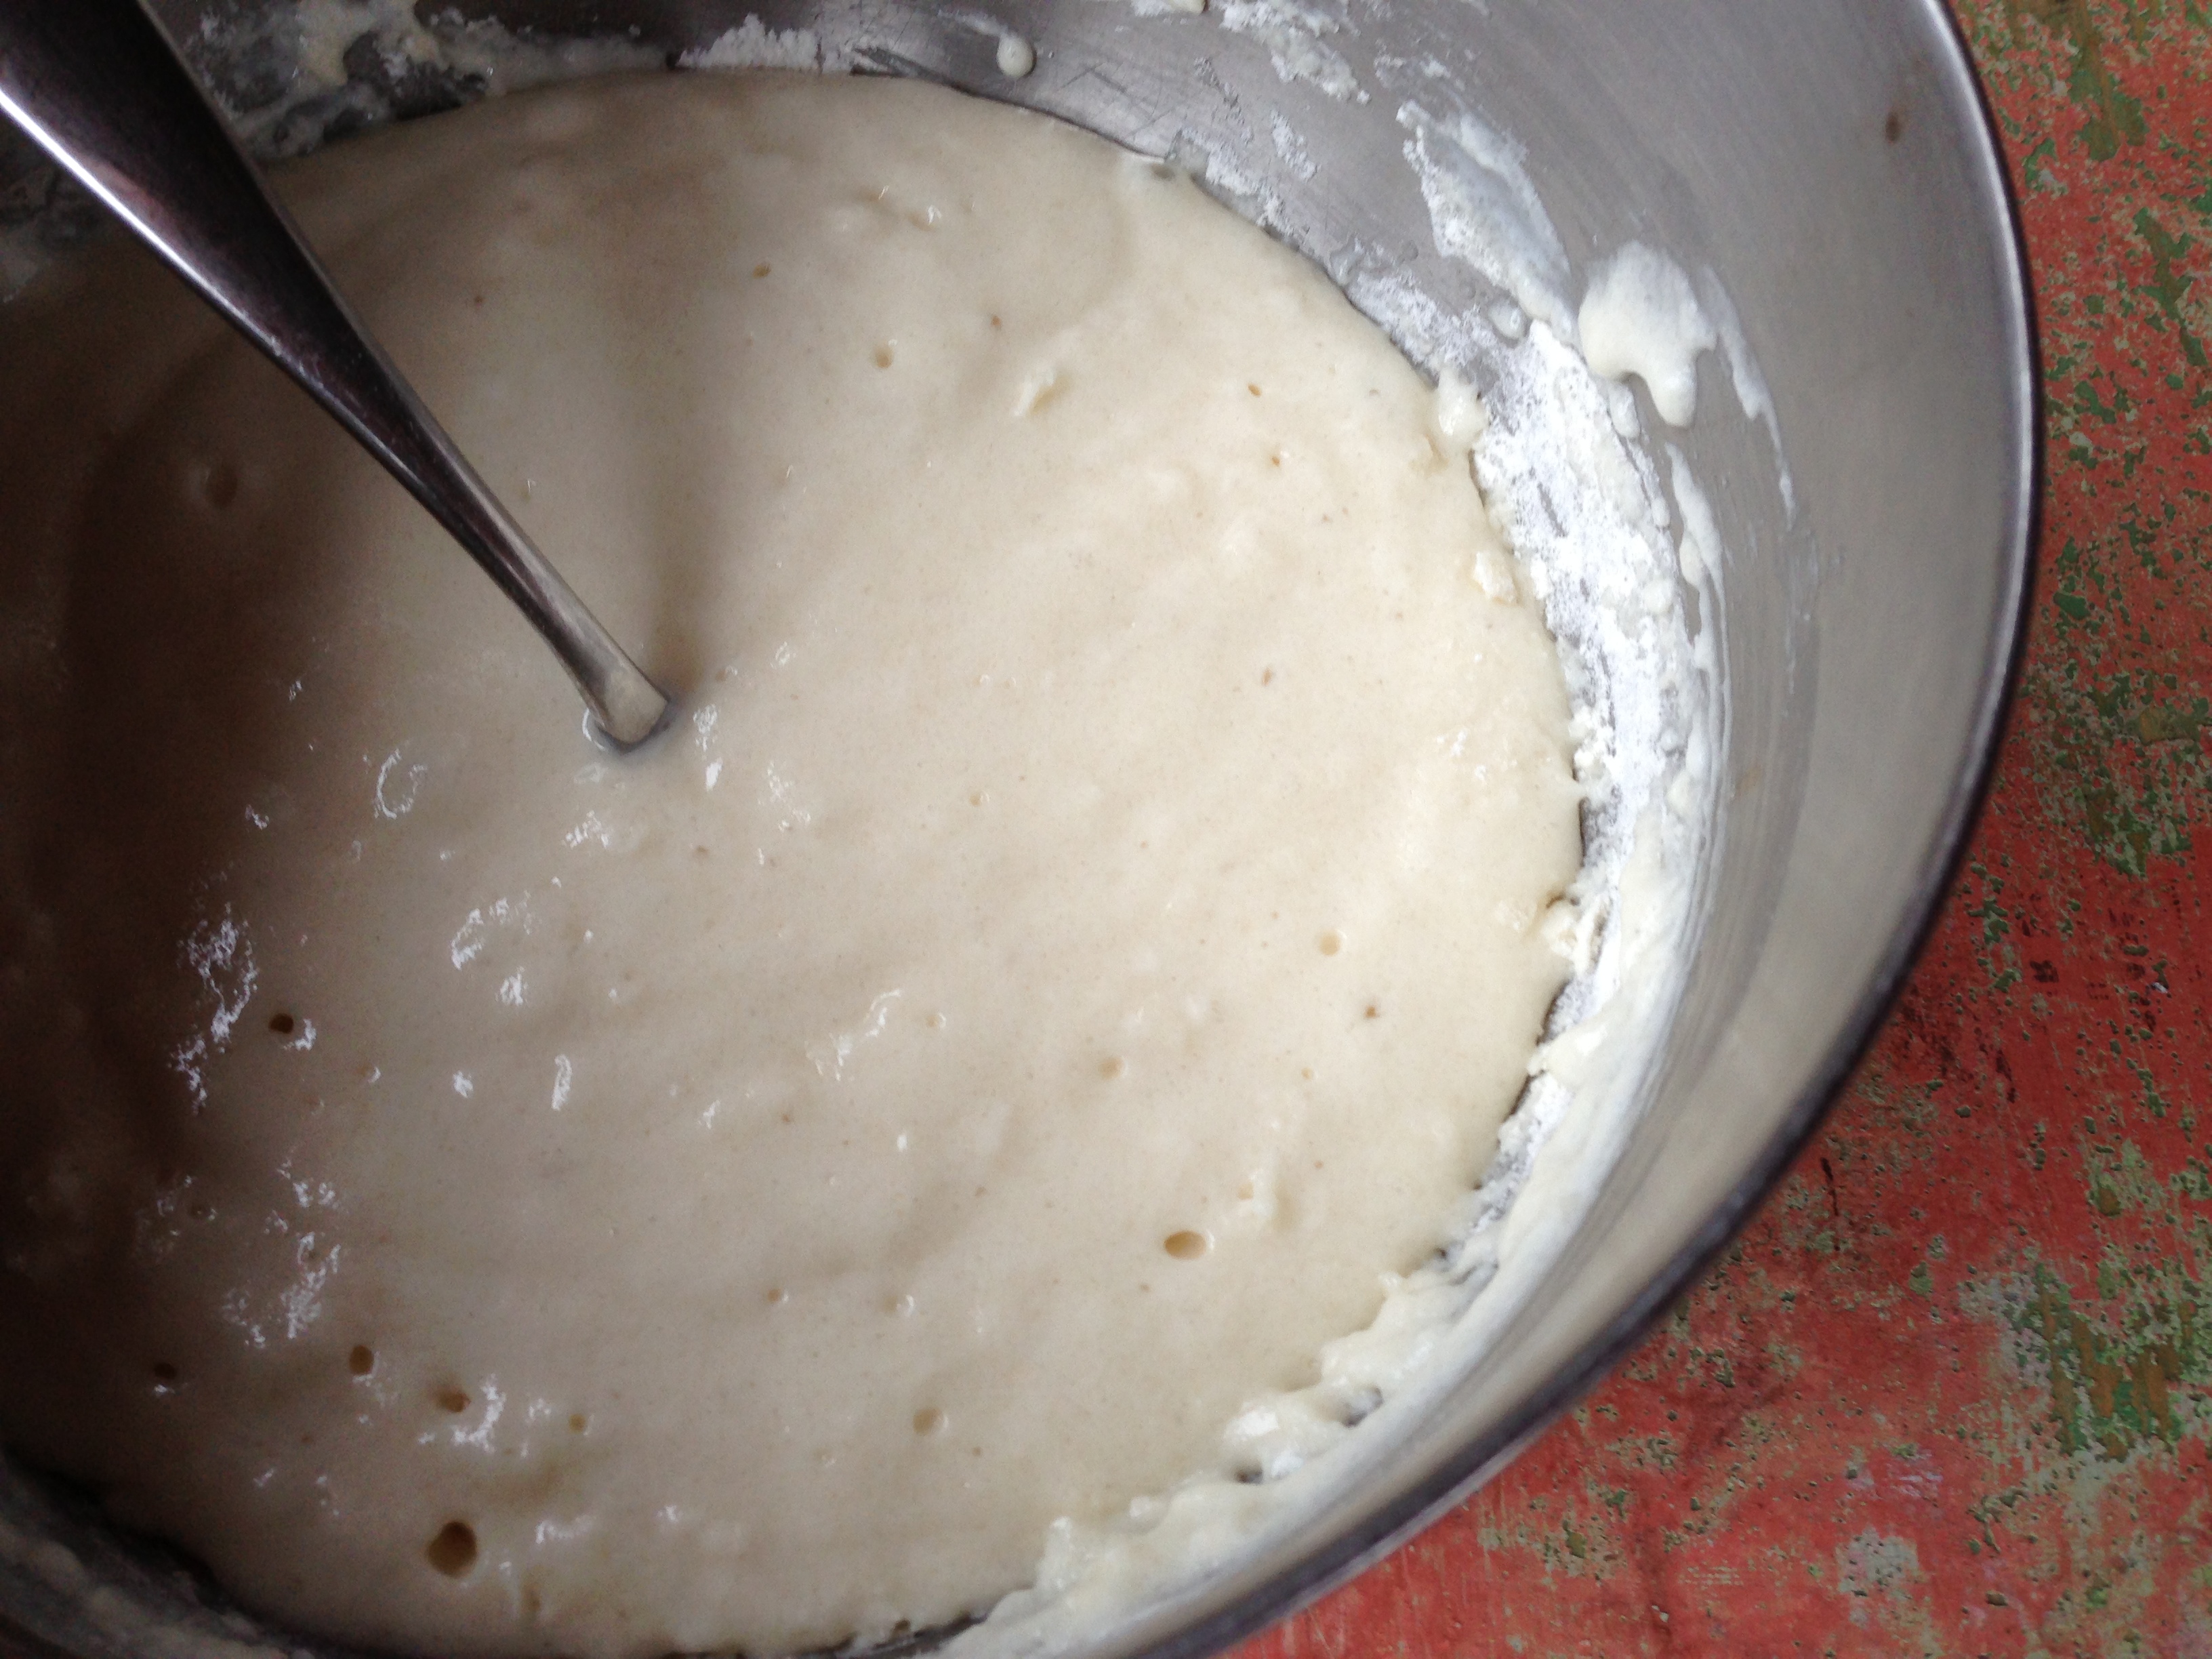
Combine all ingredients in a large mixing bowl and mix with your hands until combined.

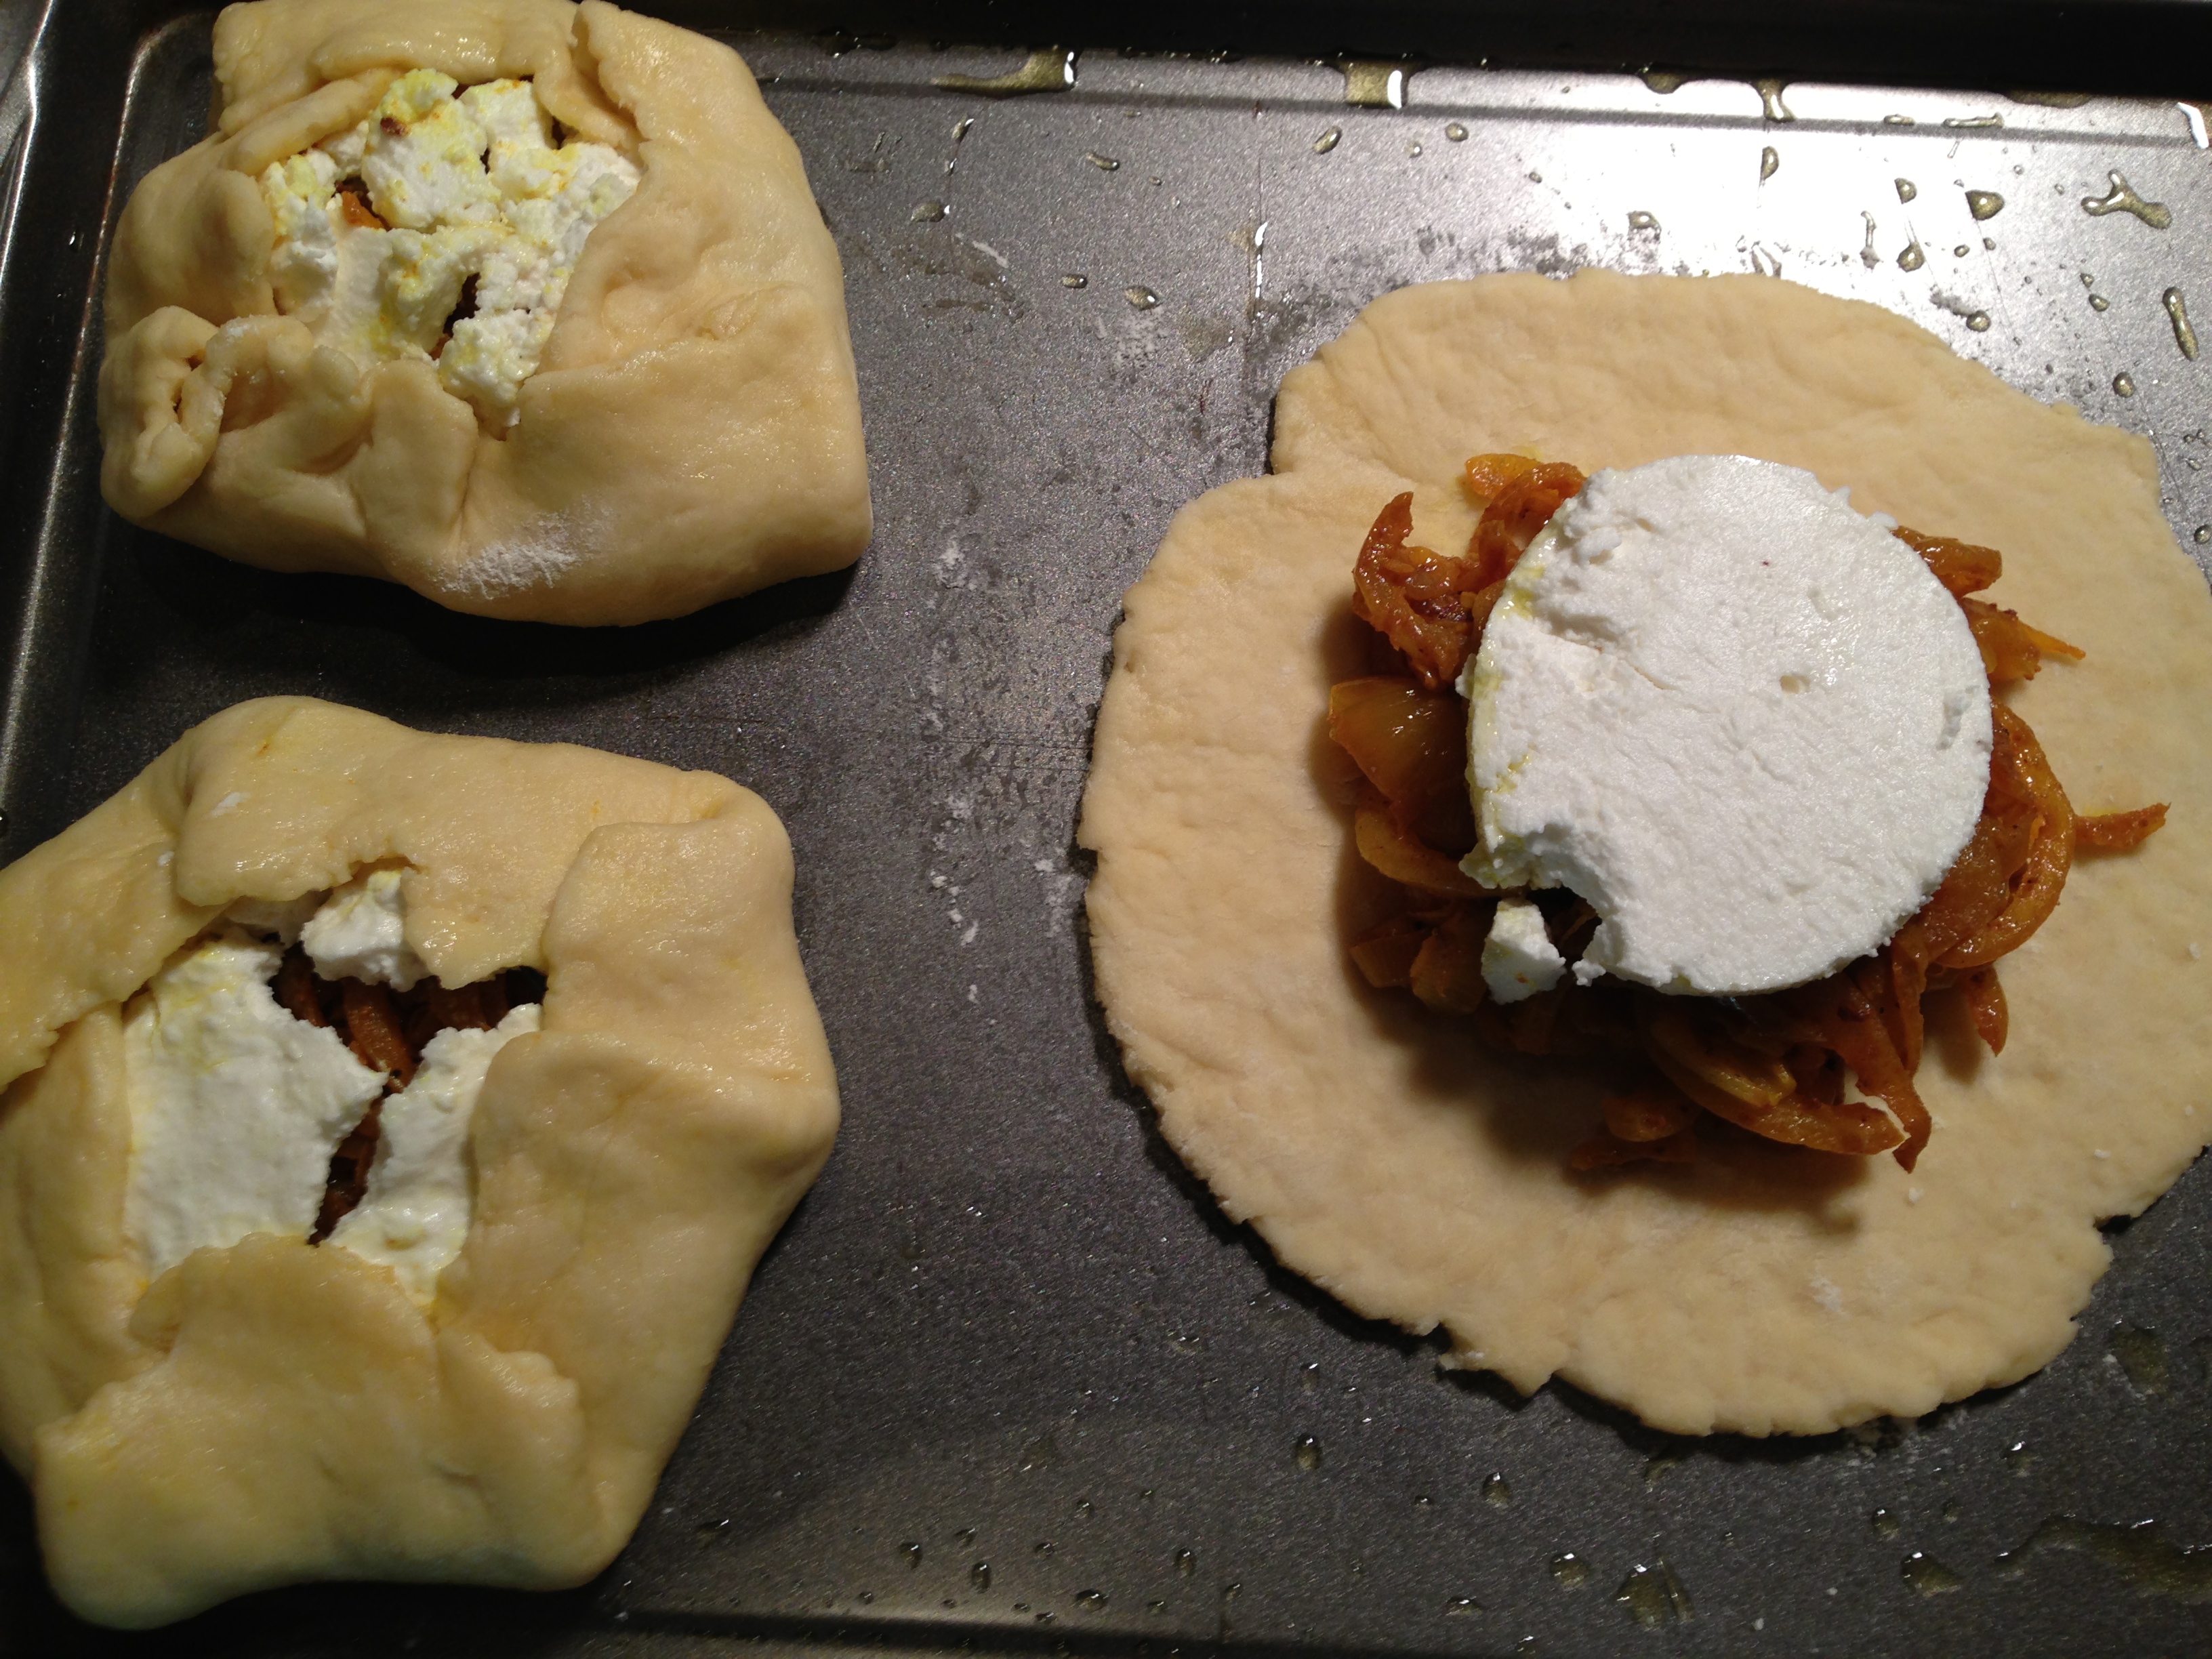
Assembling the Turnovers:
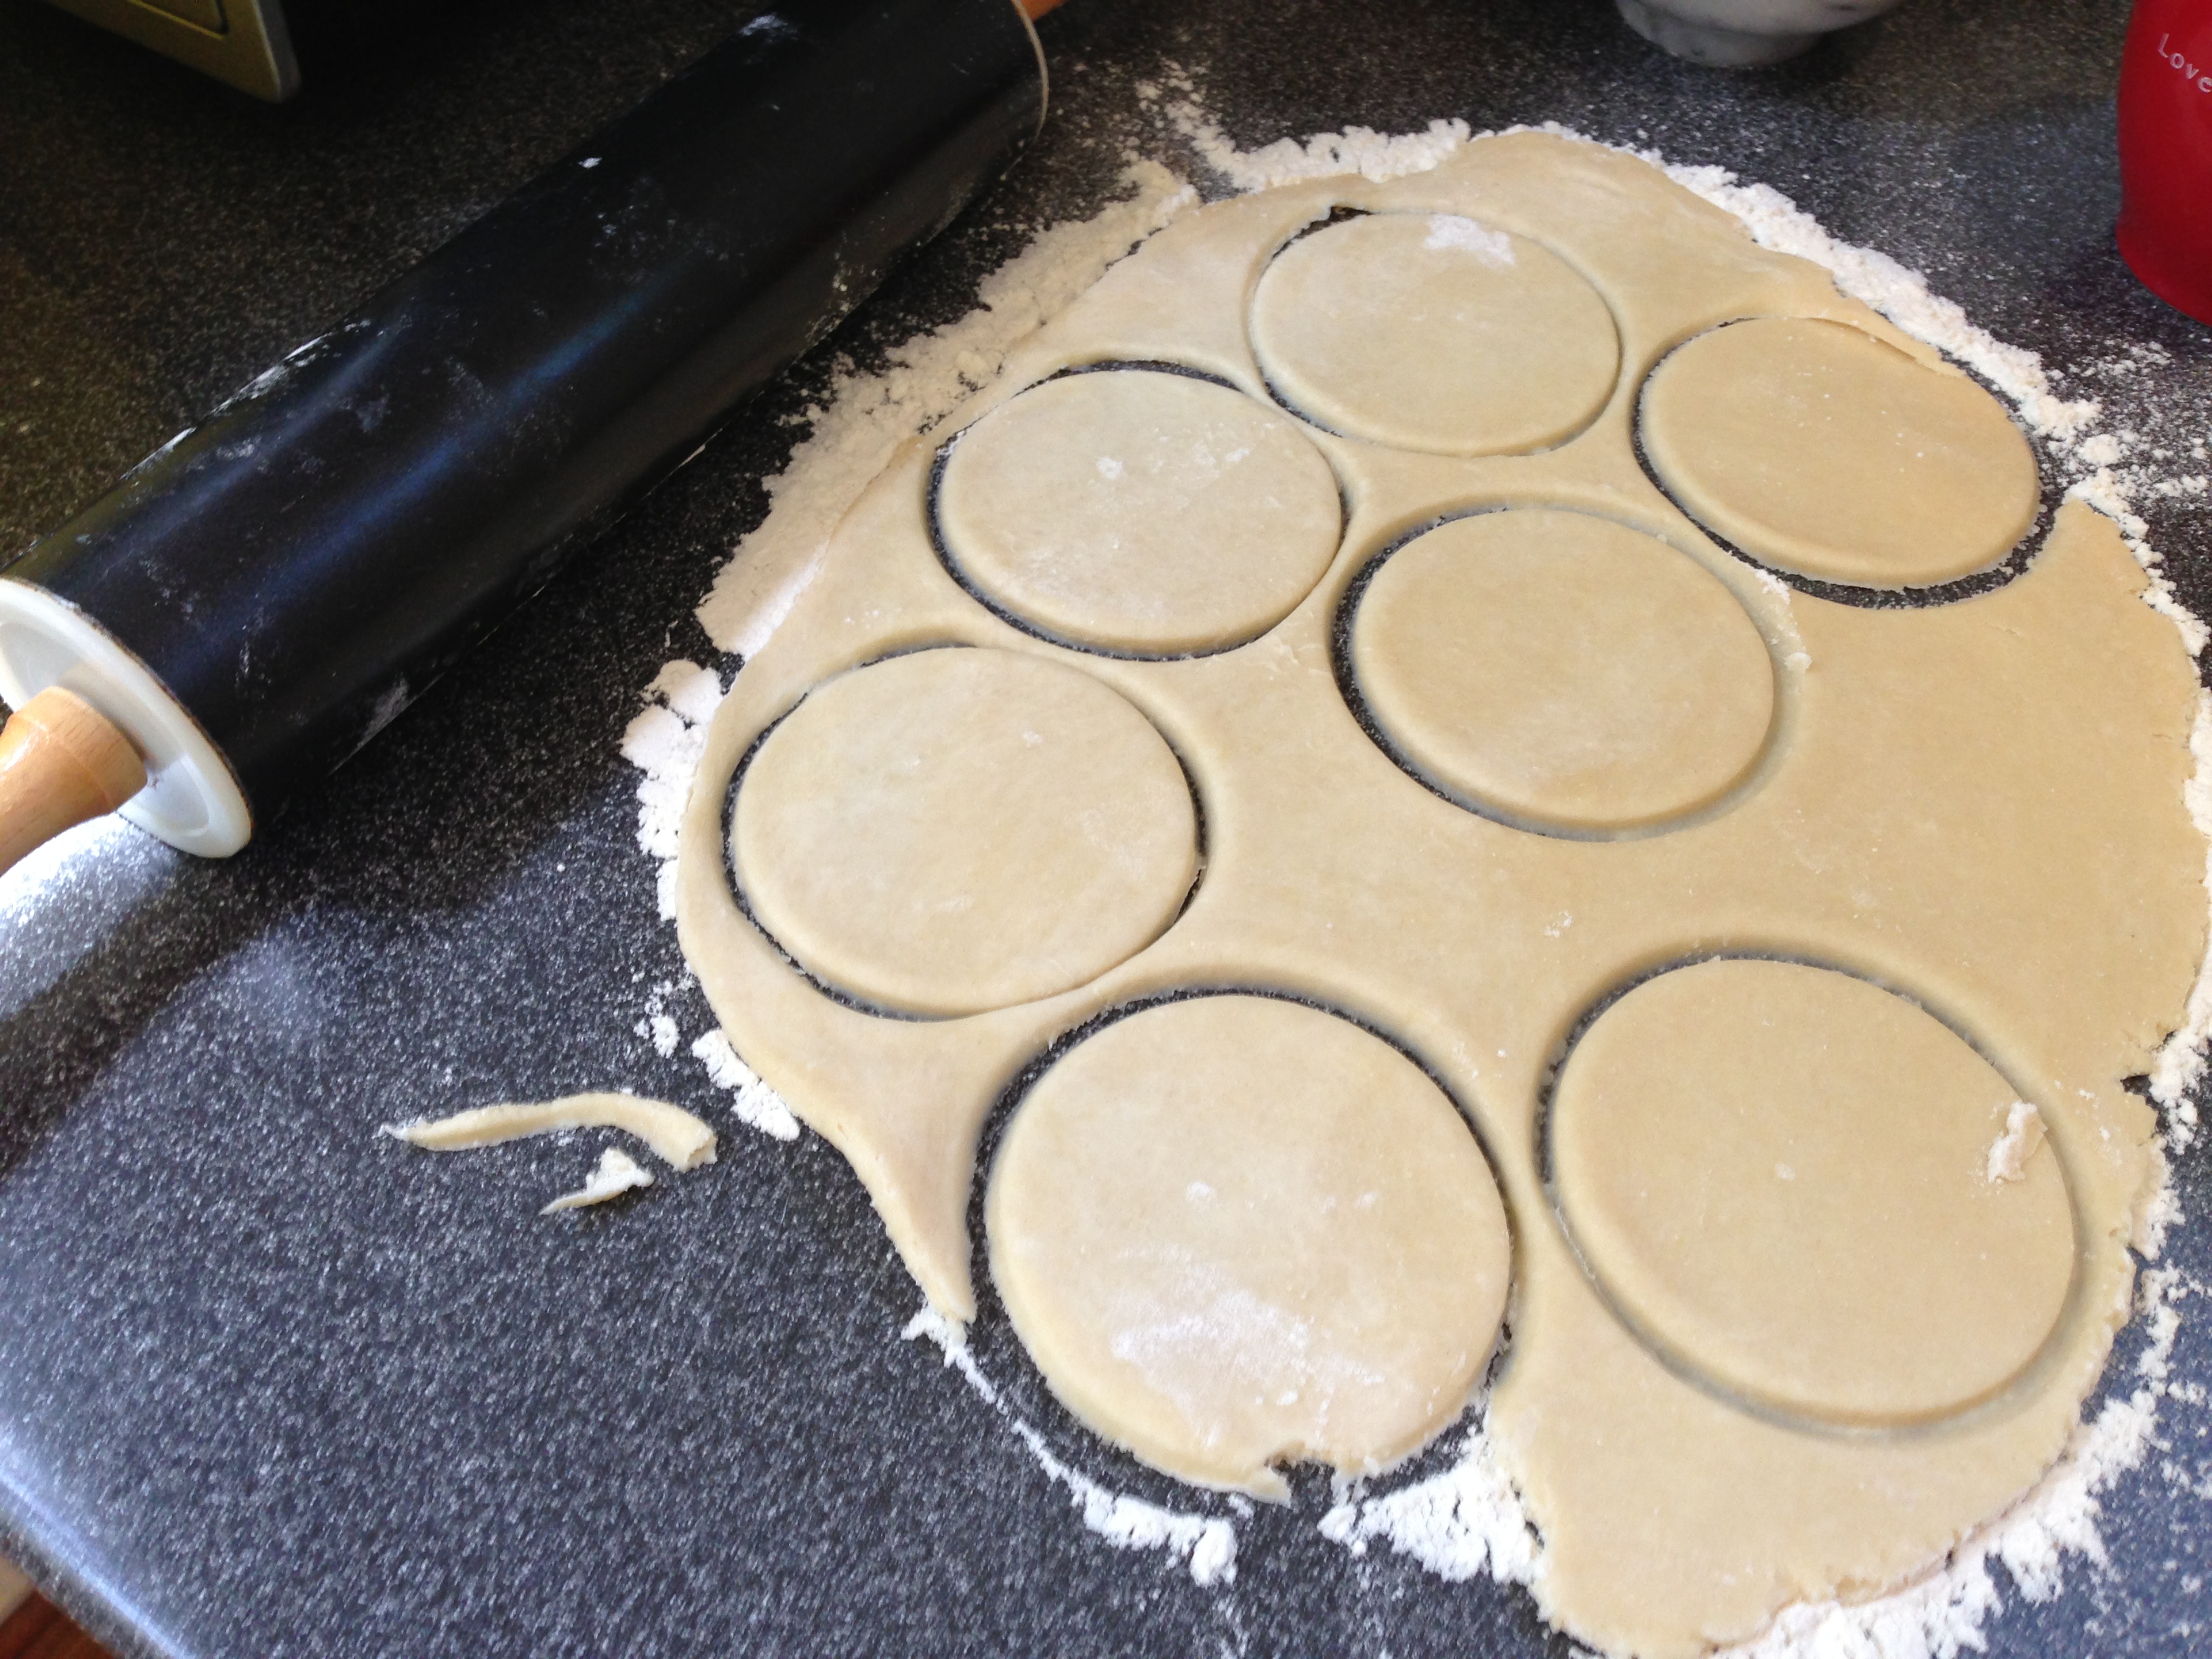
Lightly flour your work surface. Using one dough ball at a time, roll it out to 1/8th inch thickness. Using a coffee mug about 3 inches in diameter or a 3 inch round cookie cutter, make as many circles as you can.

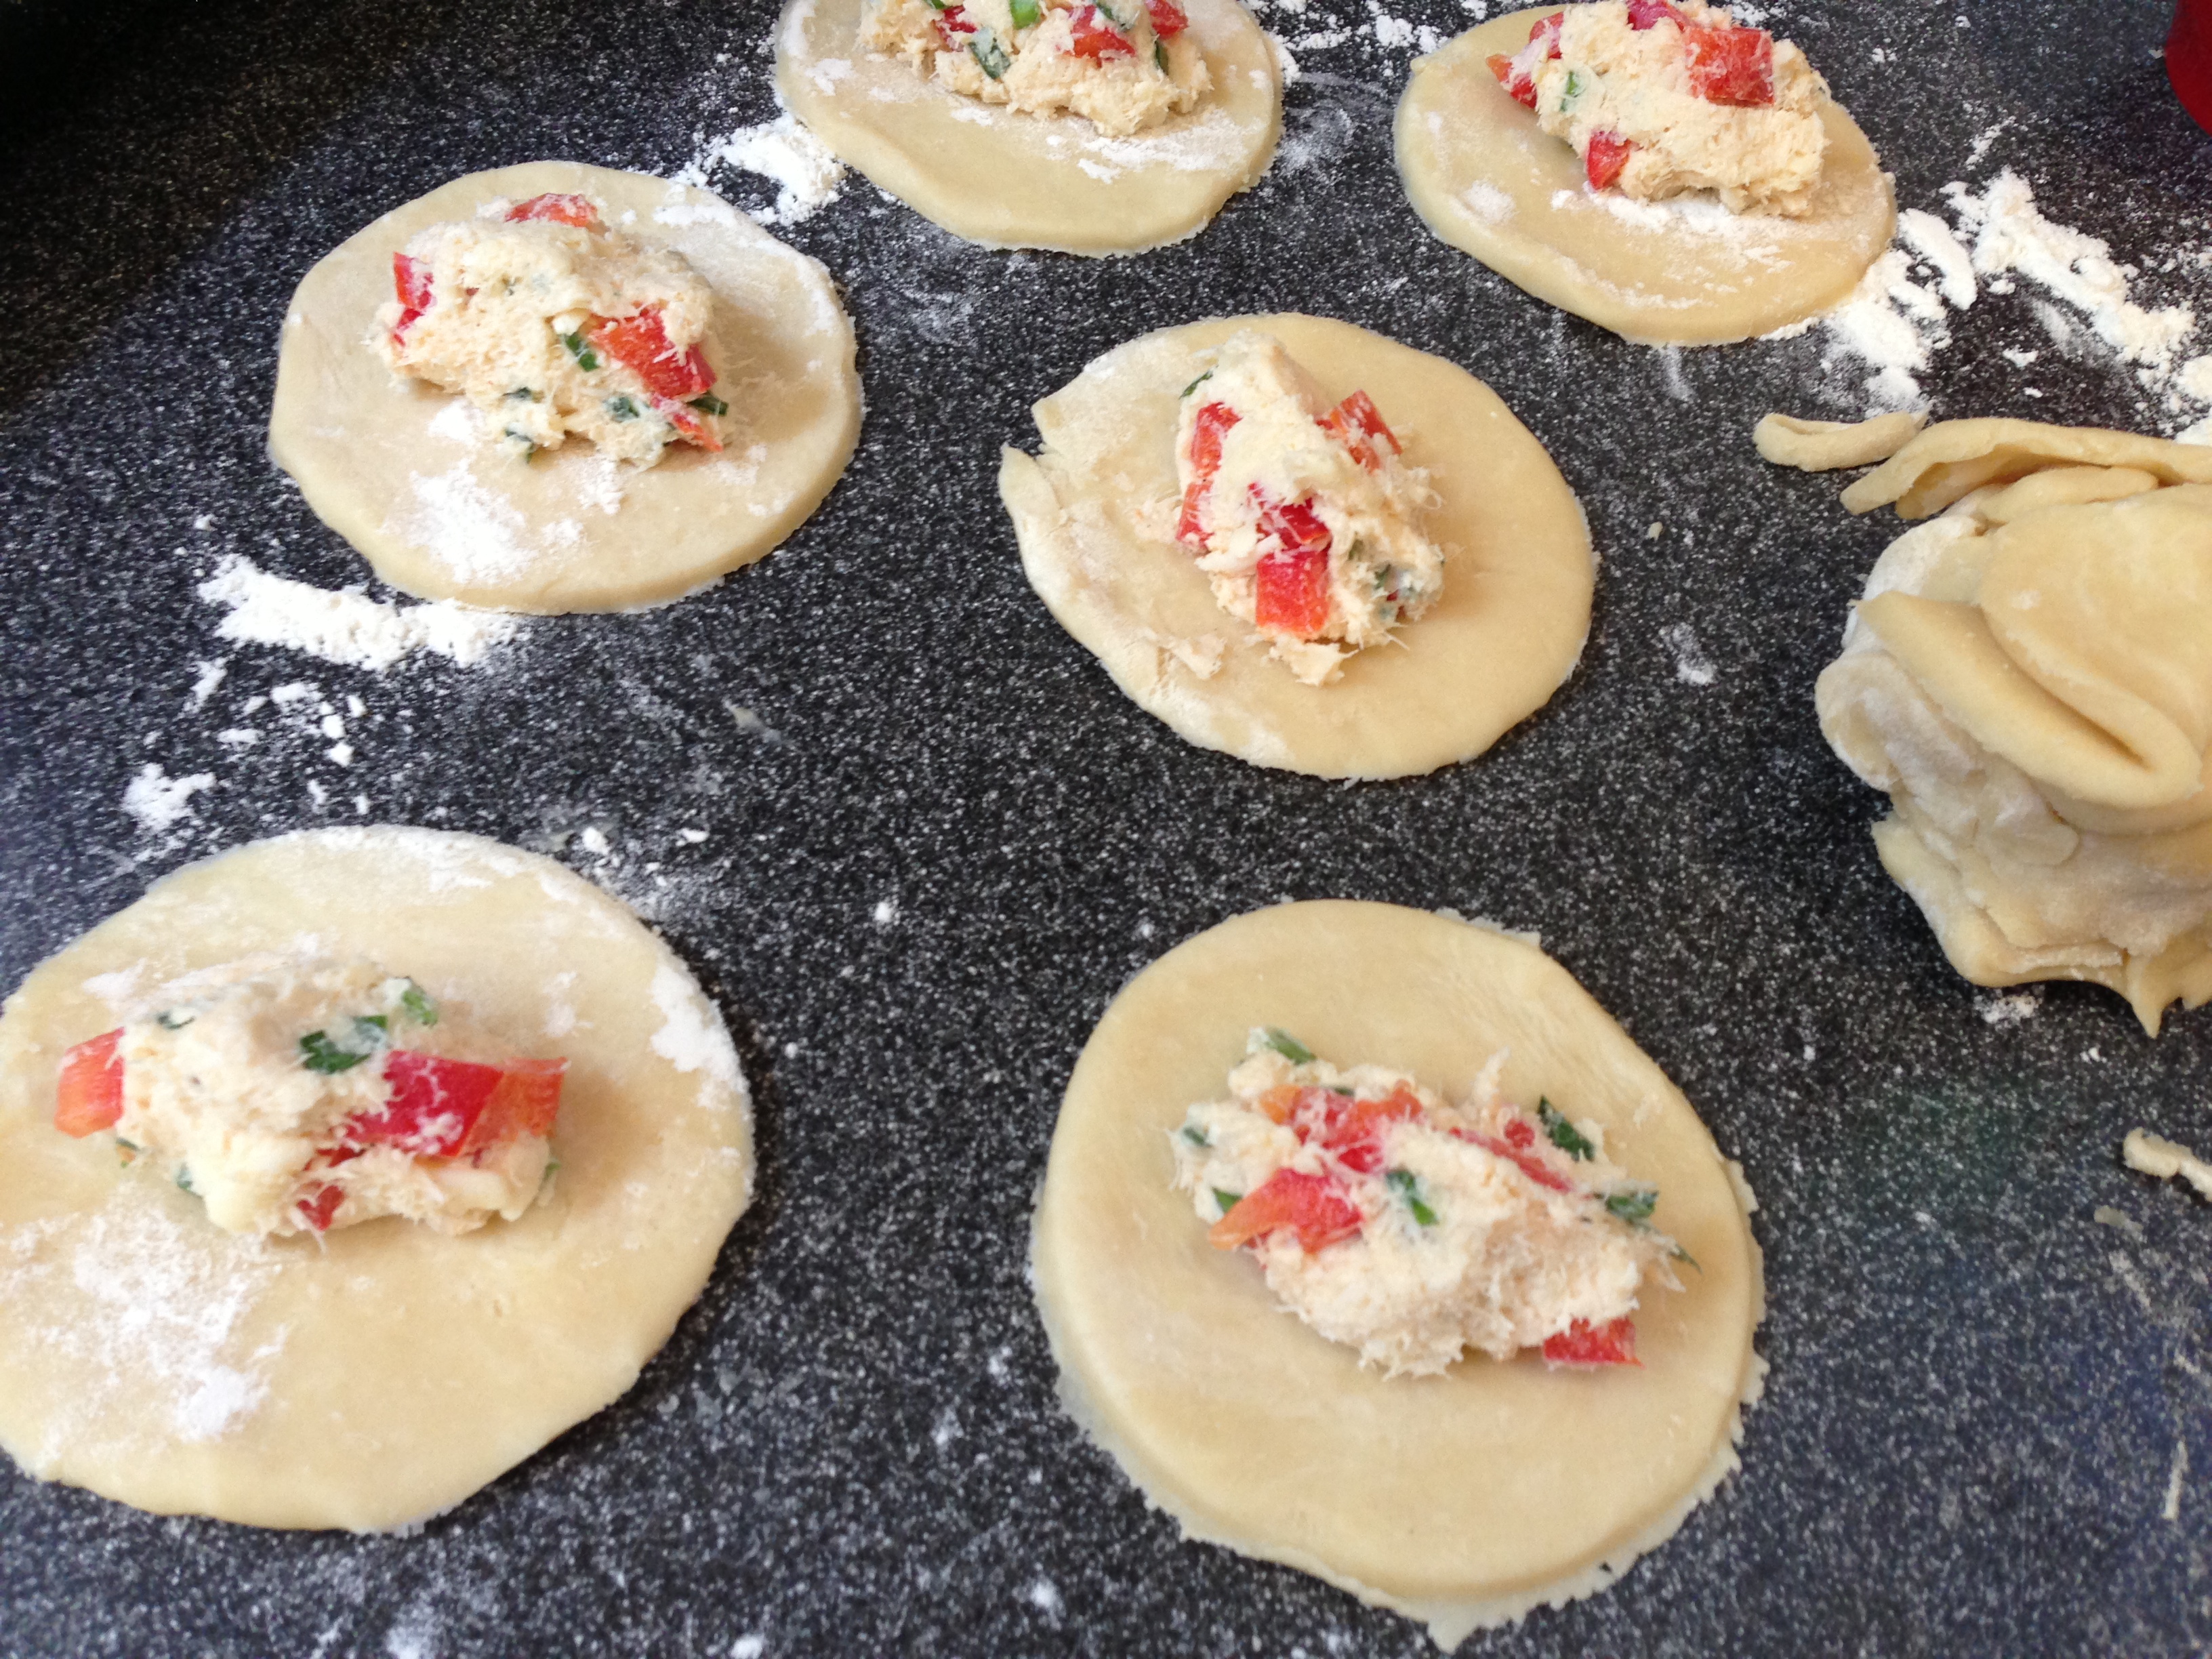
I use a coffee cup because my “love mug” is the perfect size. Work with the circles you have before moving onto rolling out the dough scraps. Place approximately 1 teaspoon of the crab and cheese filling in the center of the circles. Don’t overstuff.

Pick up one circle at a time and use your finger to press down the filling and fold the circle in half. Make sure no filling is near the edges because it will ooze out of the turnovers when heated. Seal the edges of the turnovers with a bit of water – this will help the edges stick together better. I usually just dip my finger into a small bowl of water and then moisten the edge of one side of the turnover. It really does help them stick together.
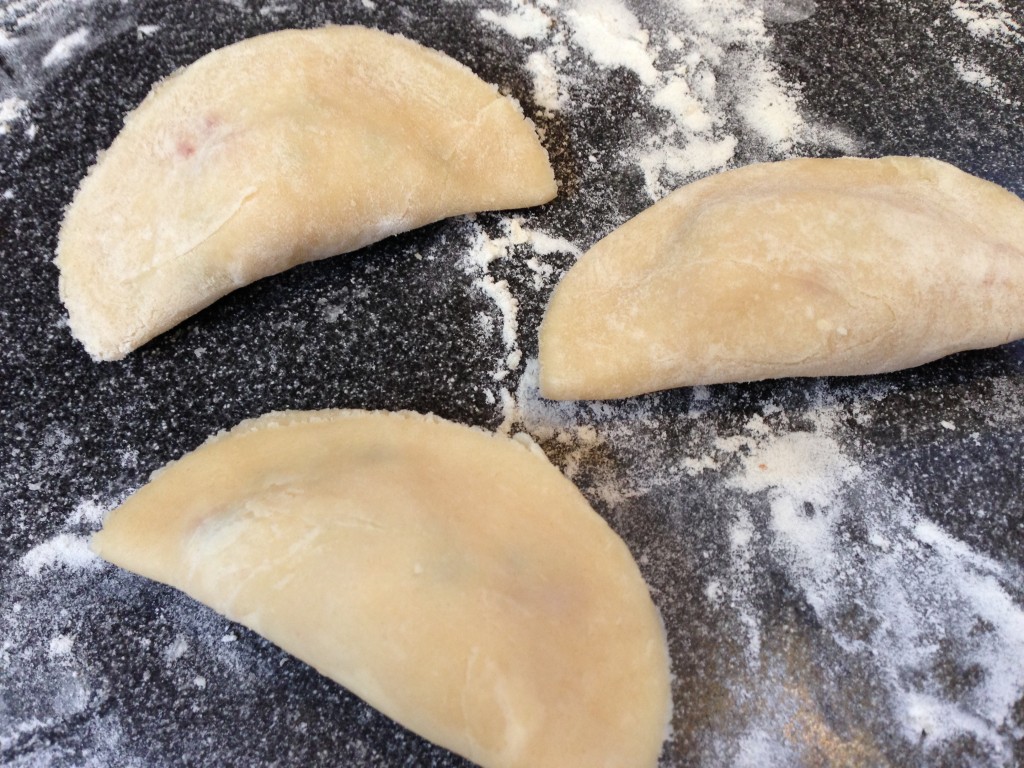
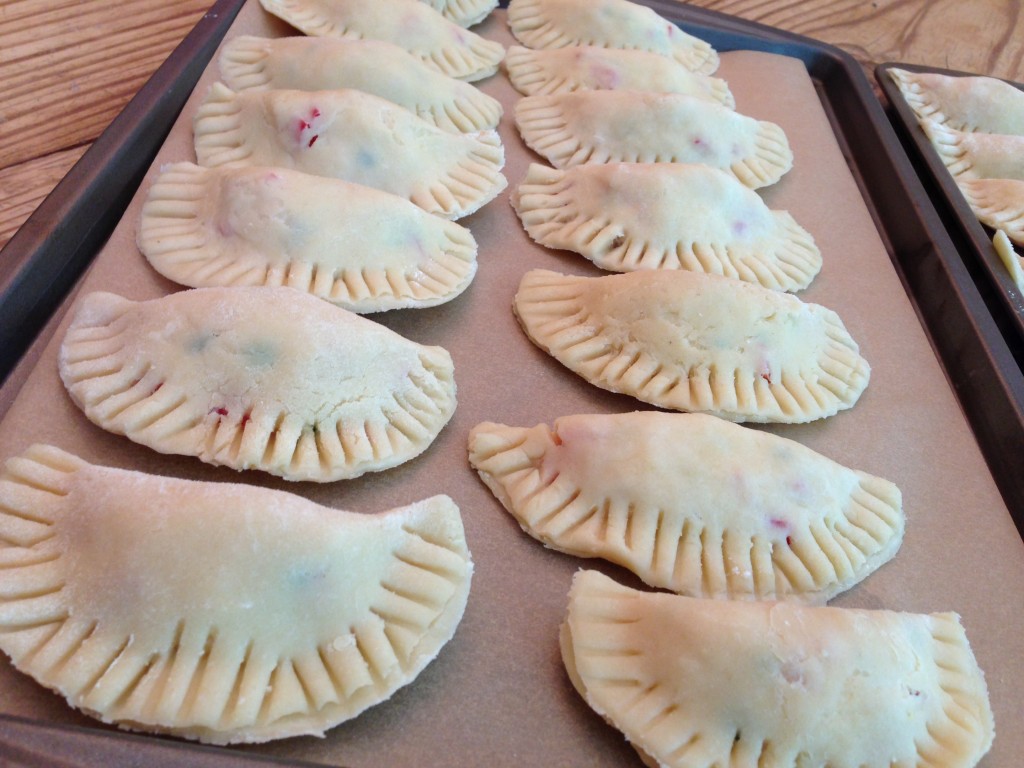
I like to make fork indents on the edges of the turnovers – it just makes them look a little more finished and a tiny bit fancy. Place the finished turnovers on a cookie sheet lined with parchment paper.
After assembling all of the initial circles, make another ball with the leftover dough and begin the process again until all the dough and all of the crab and cheese filling is used. You may end up with a little extra dough and filling, but it shouldn’t be too much if any at all.
Freezing the Turnovers for Later:
At this point, you can either proceed to making the breadcrumb topping and baking the turnovers, or you can freeze them to bake later. If you plan to freeze them, then place them on the cookie sheet in a single layer and drape with a clean dish towel. Freeze them for several hours and then place them in a ziplock bag to keep them fresh.
If baking the turnovers immediately, preheat your oven to 375°.
Breadcrumb Topping Ingredients:
2 tbsp olive oil
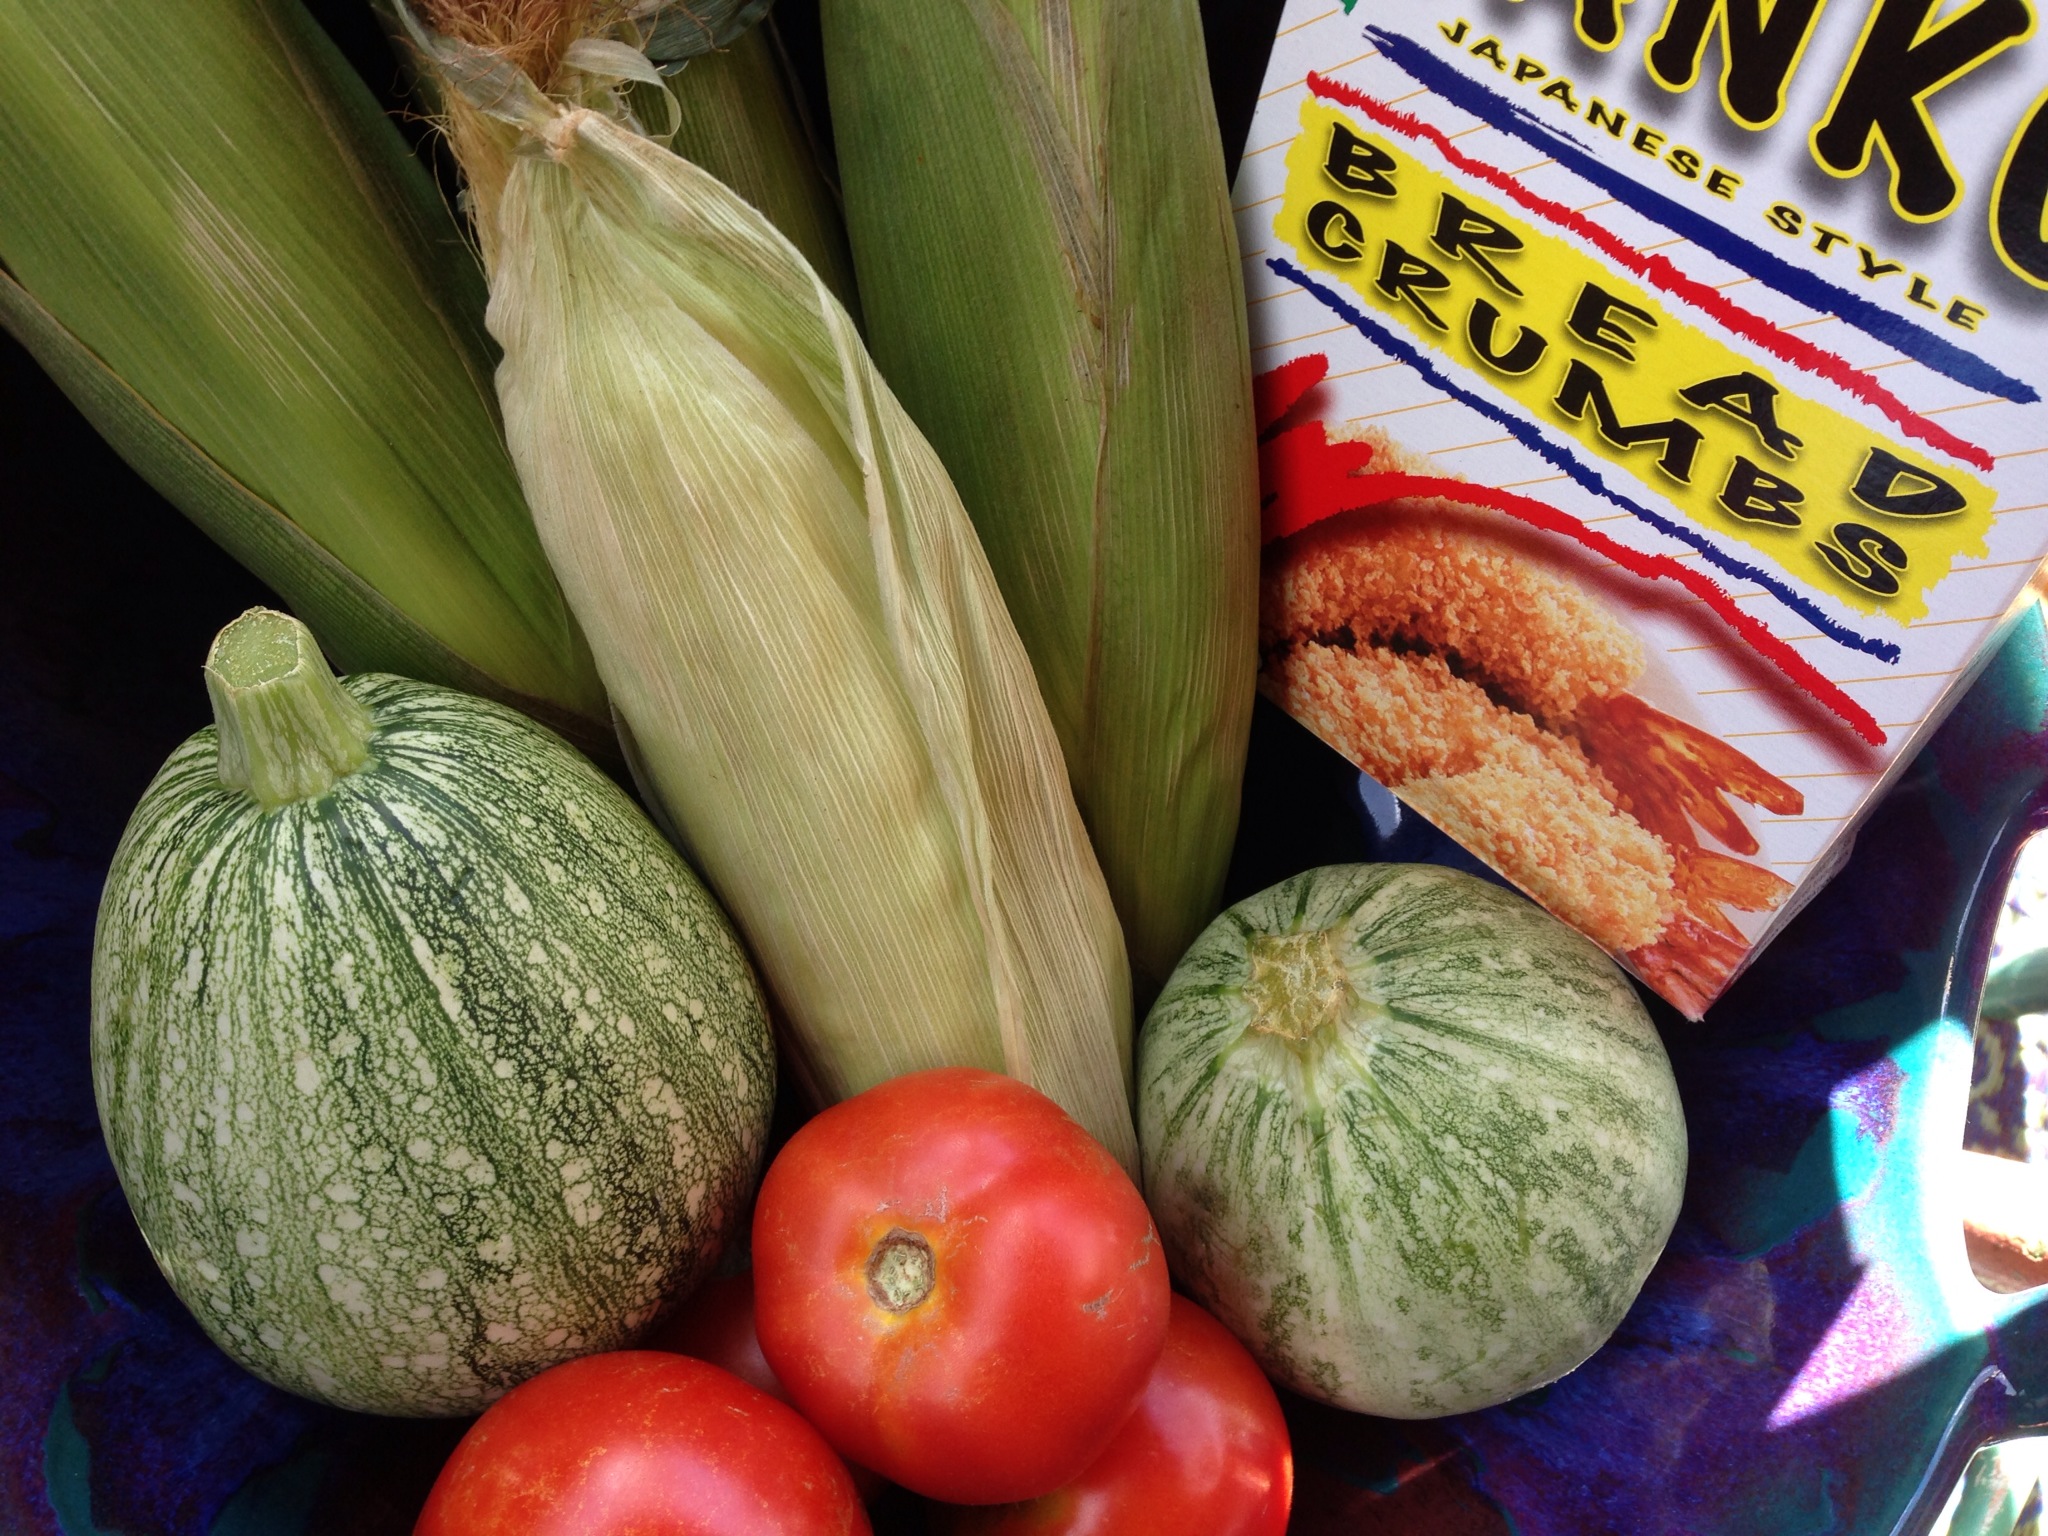
1/4 cup panko or regular breadcrumbs
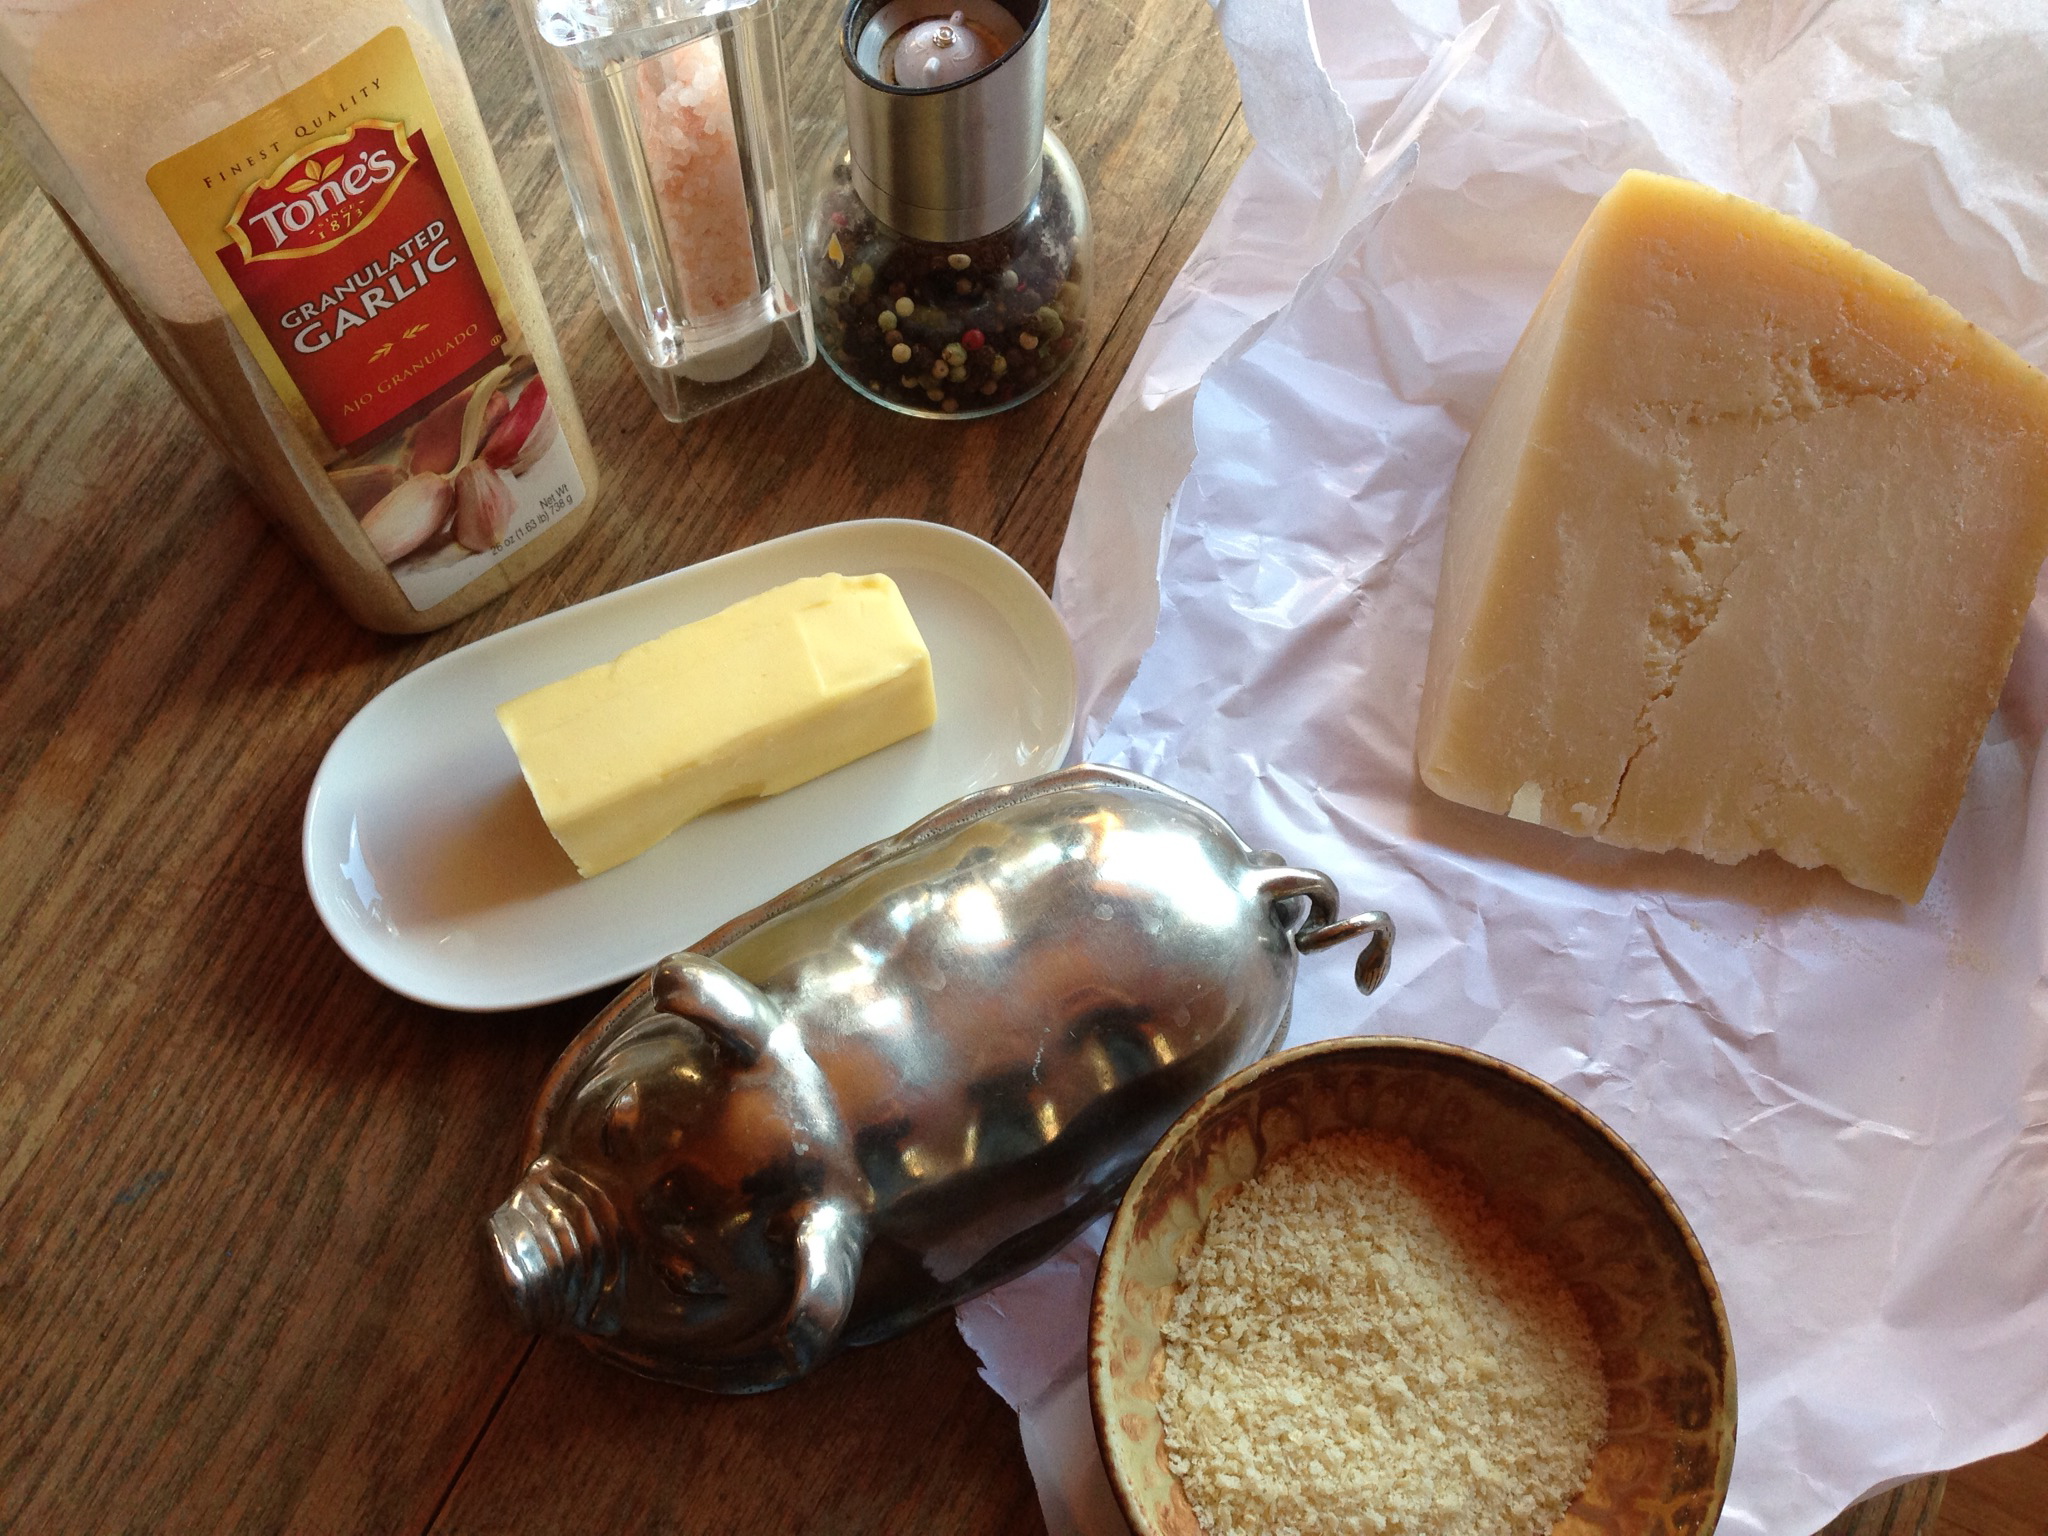
1/8 cup parmesan finely grated
1/4 tsp garlic powder
pinch of sea salt and fresh ground black pepper

Mix all of the dry ingredients together with one tablespoon of the olive oil. Brush each turnover with remaining olive oil – I usually do this with my finger, but you can use a pastry brush if you are gentle with the dough. After each turnover has been moistened with the olive oil, sprinkle a generous amount of the dry ingredients onto each turnover.

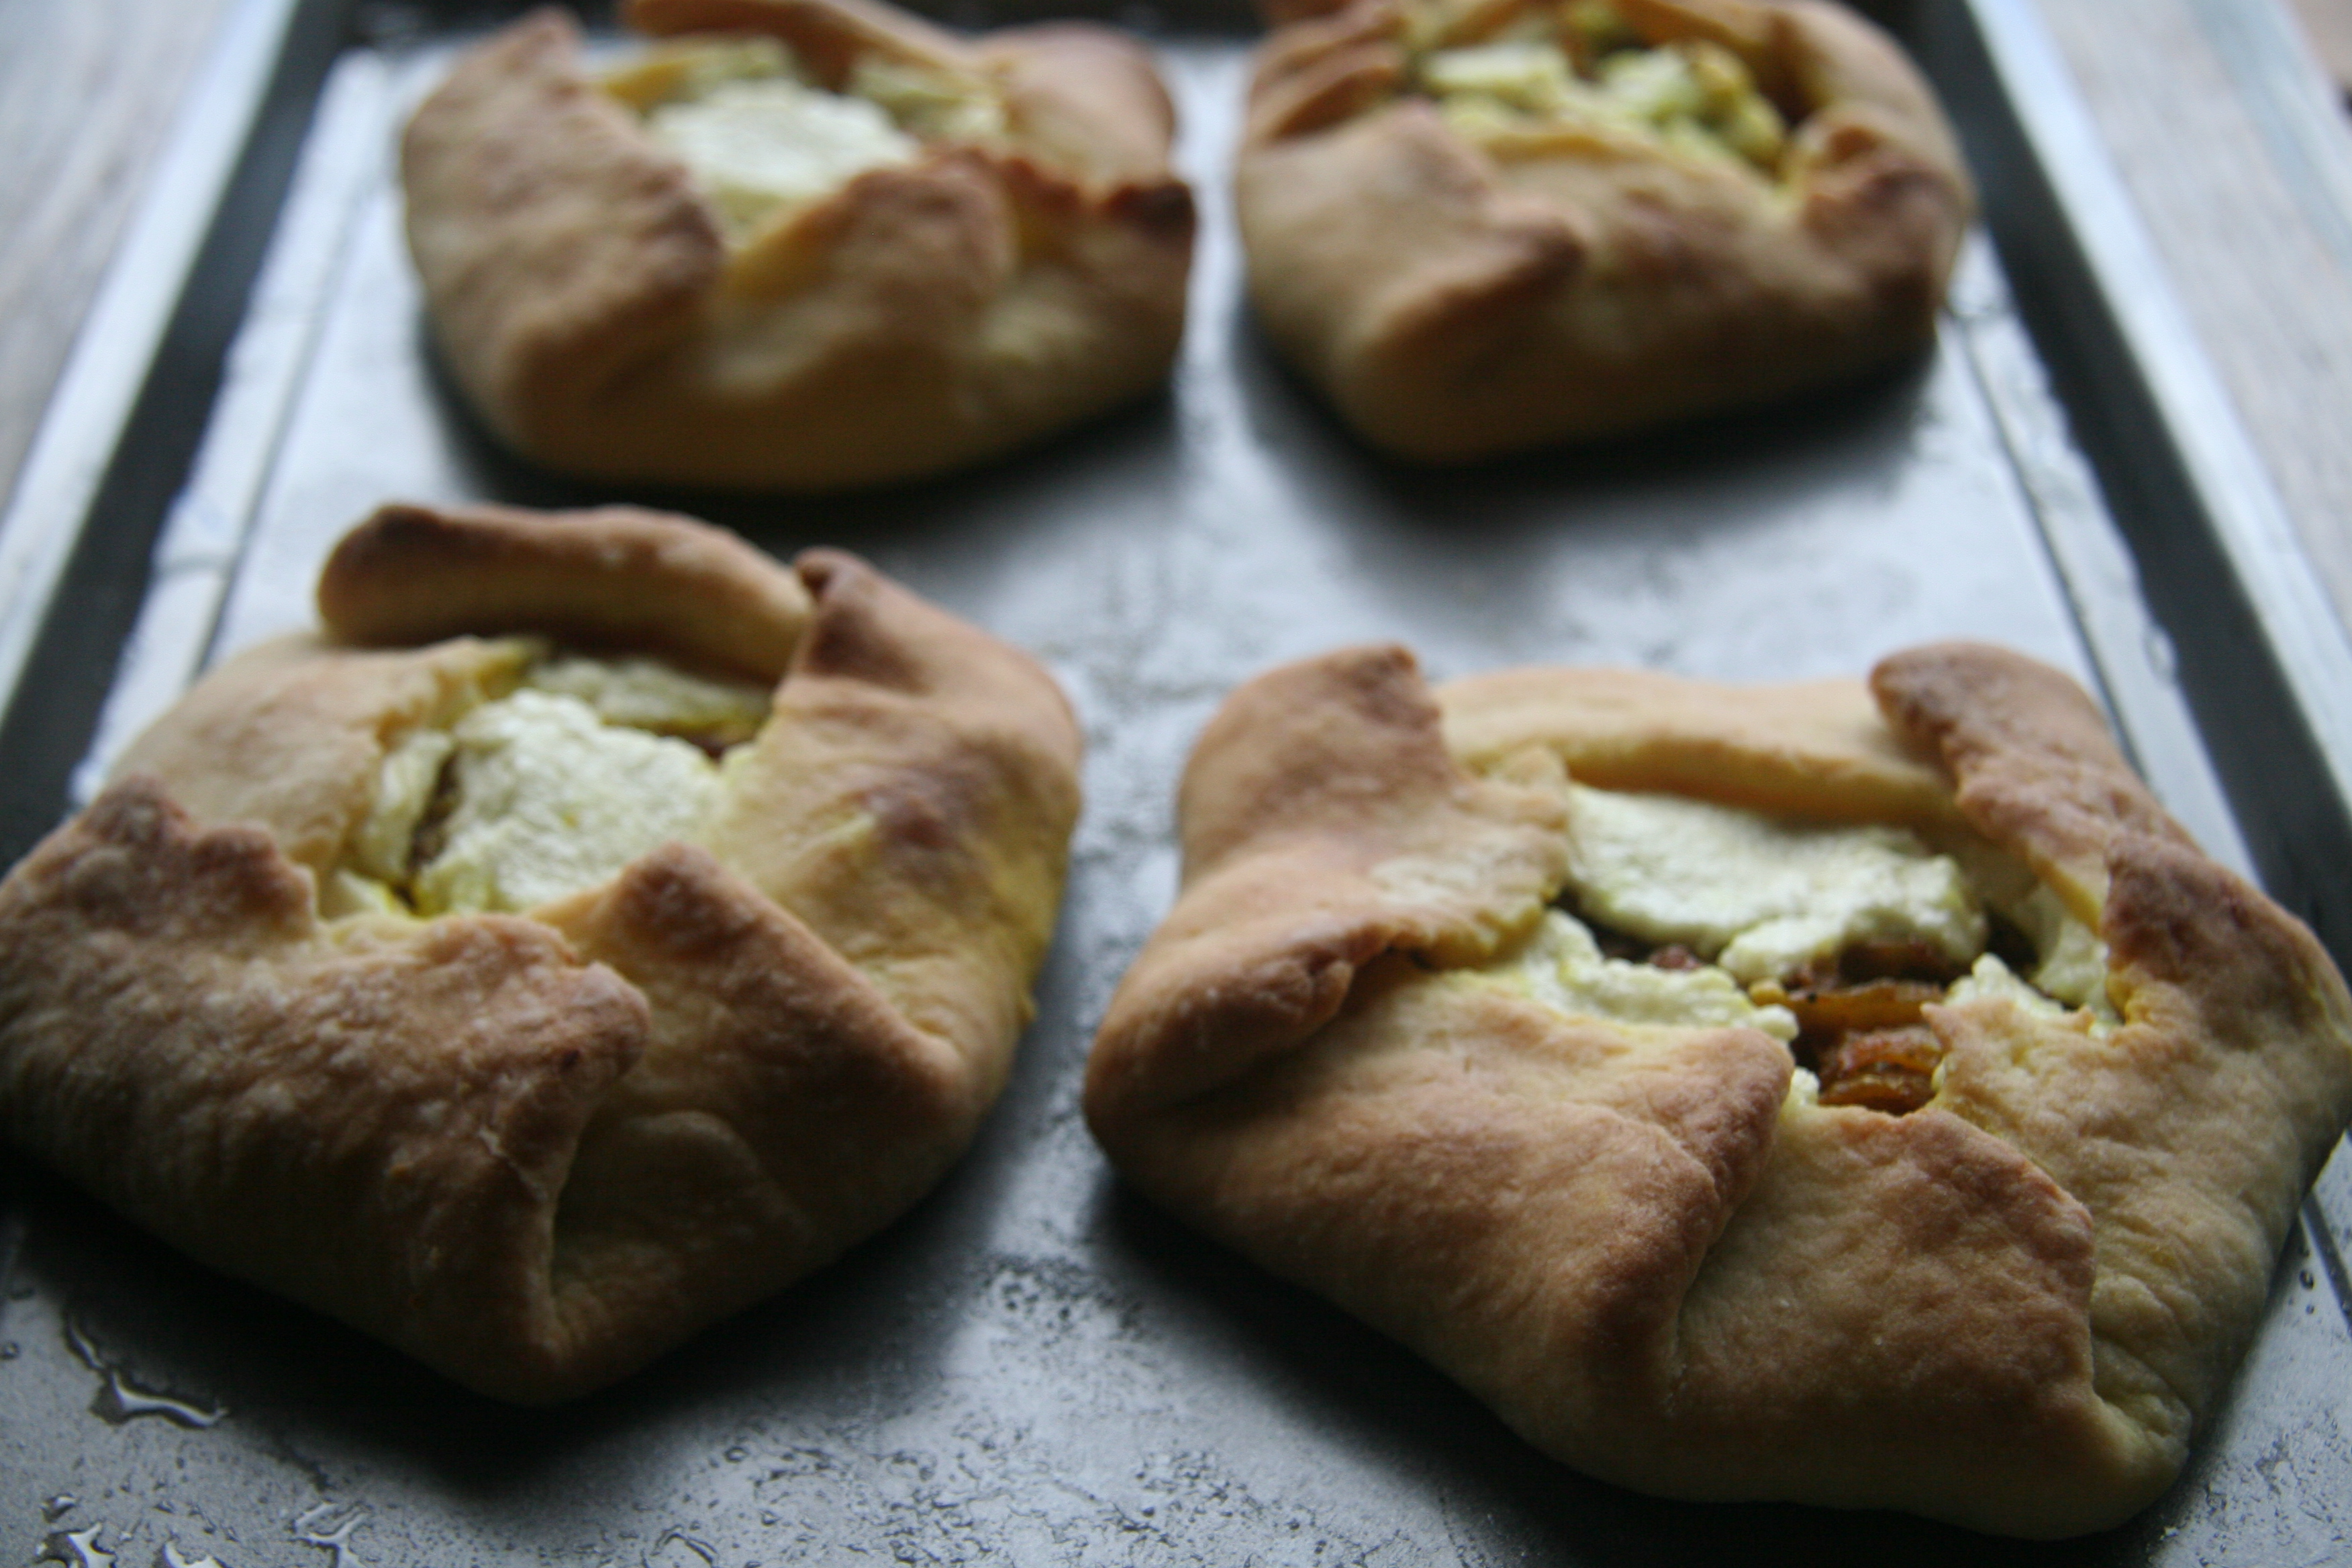
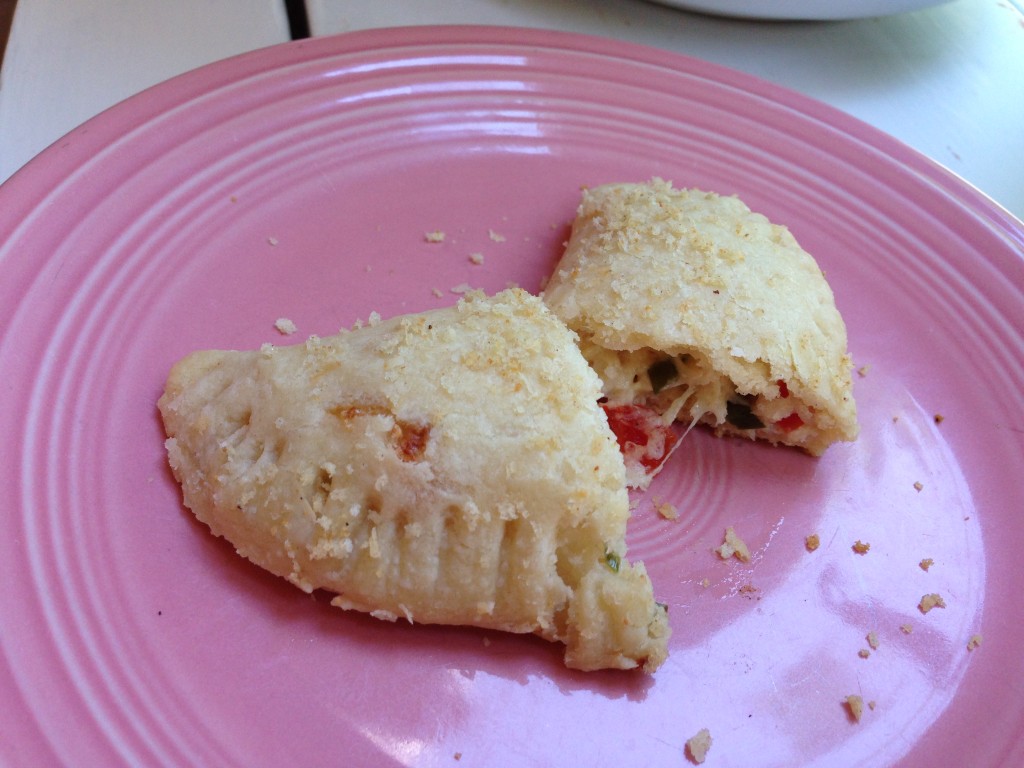
Bake at 375° for 30 to 35 minutes – or until golden brown.
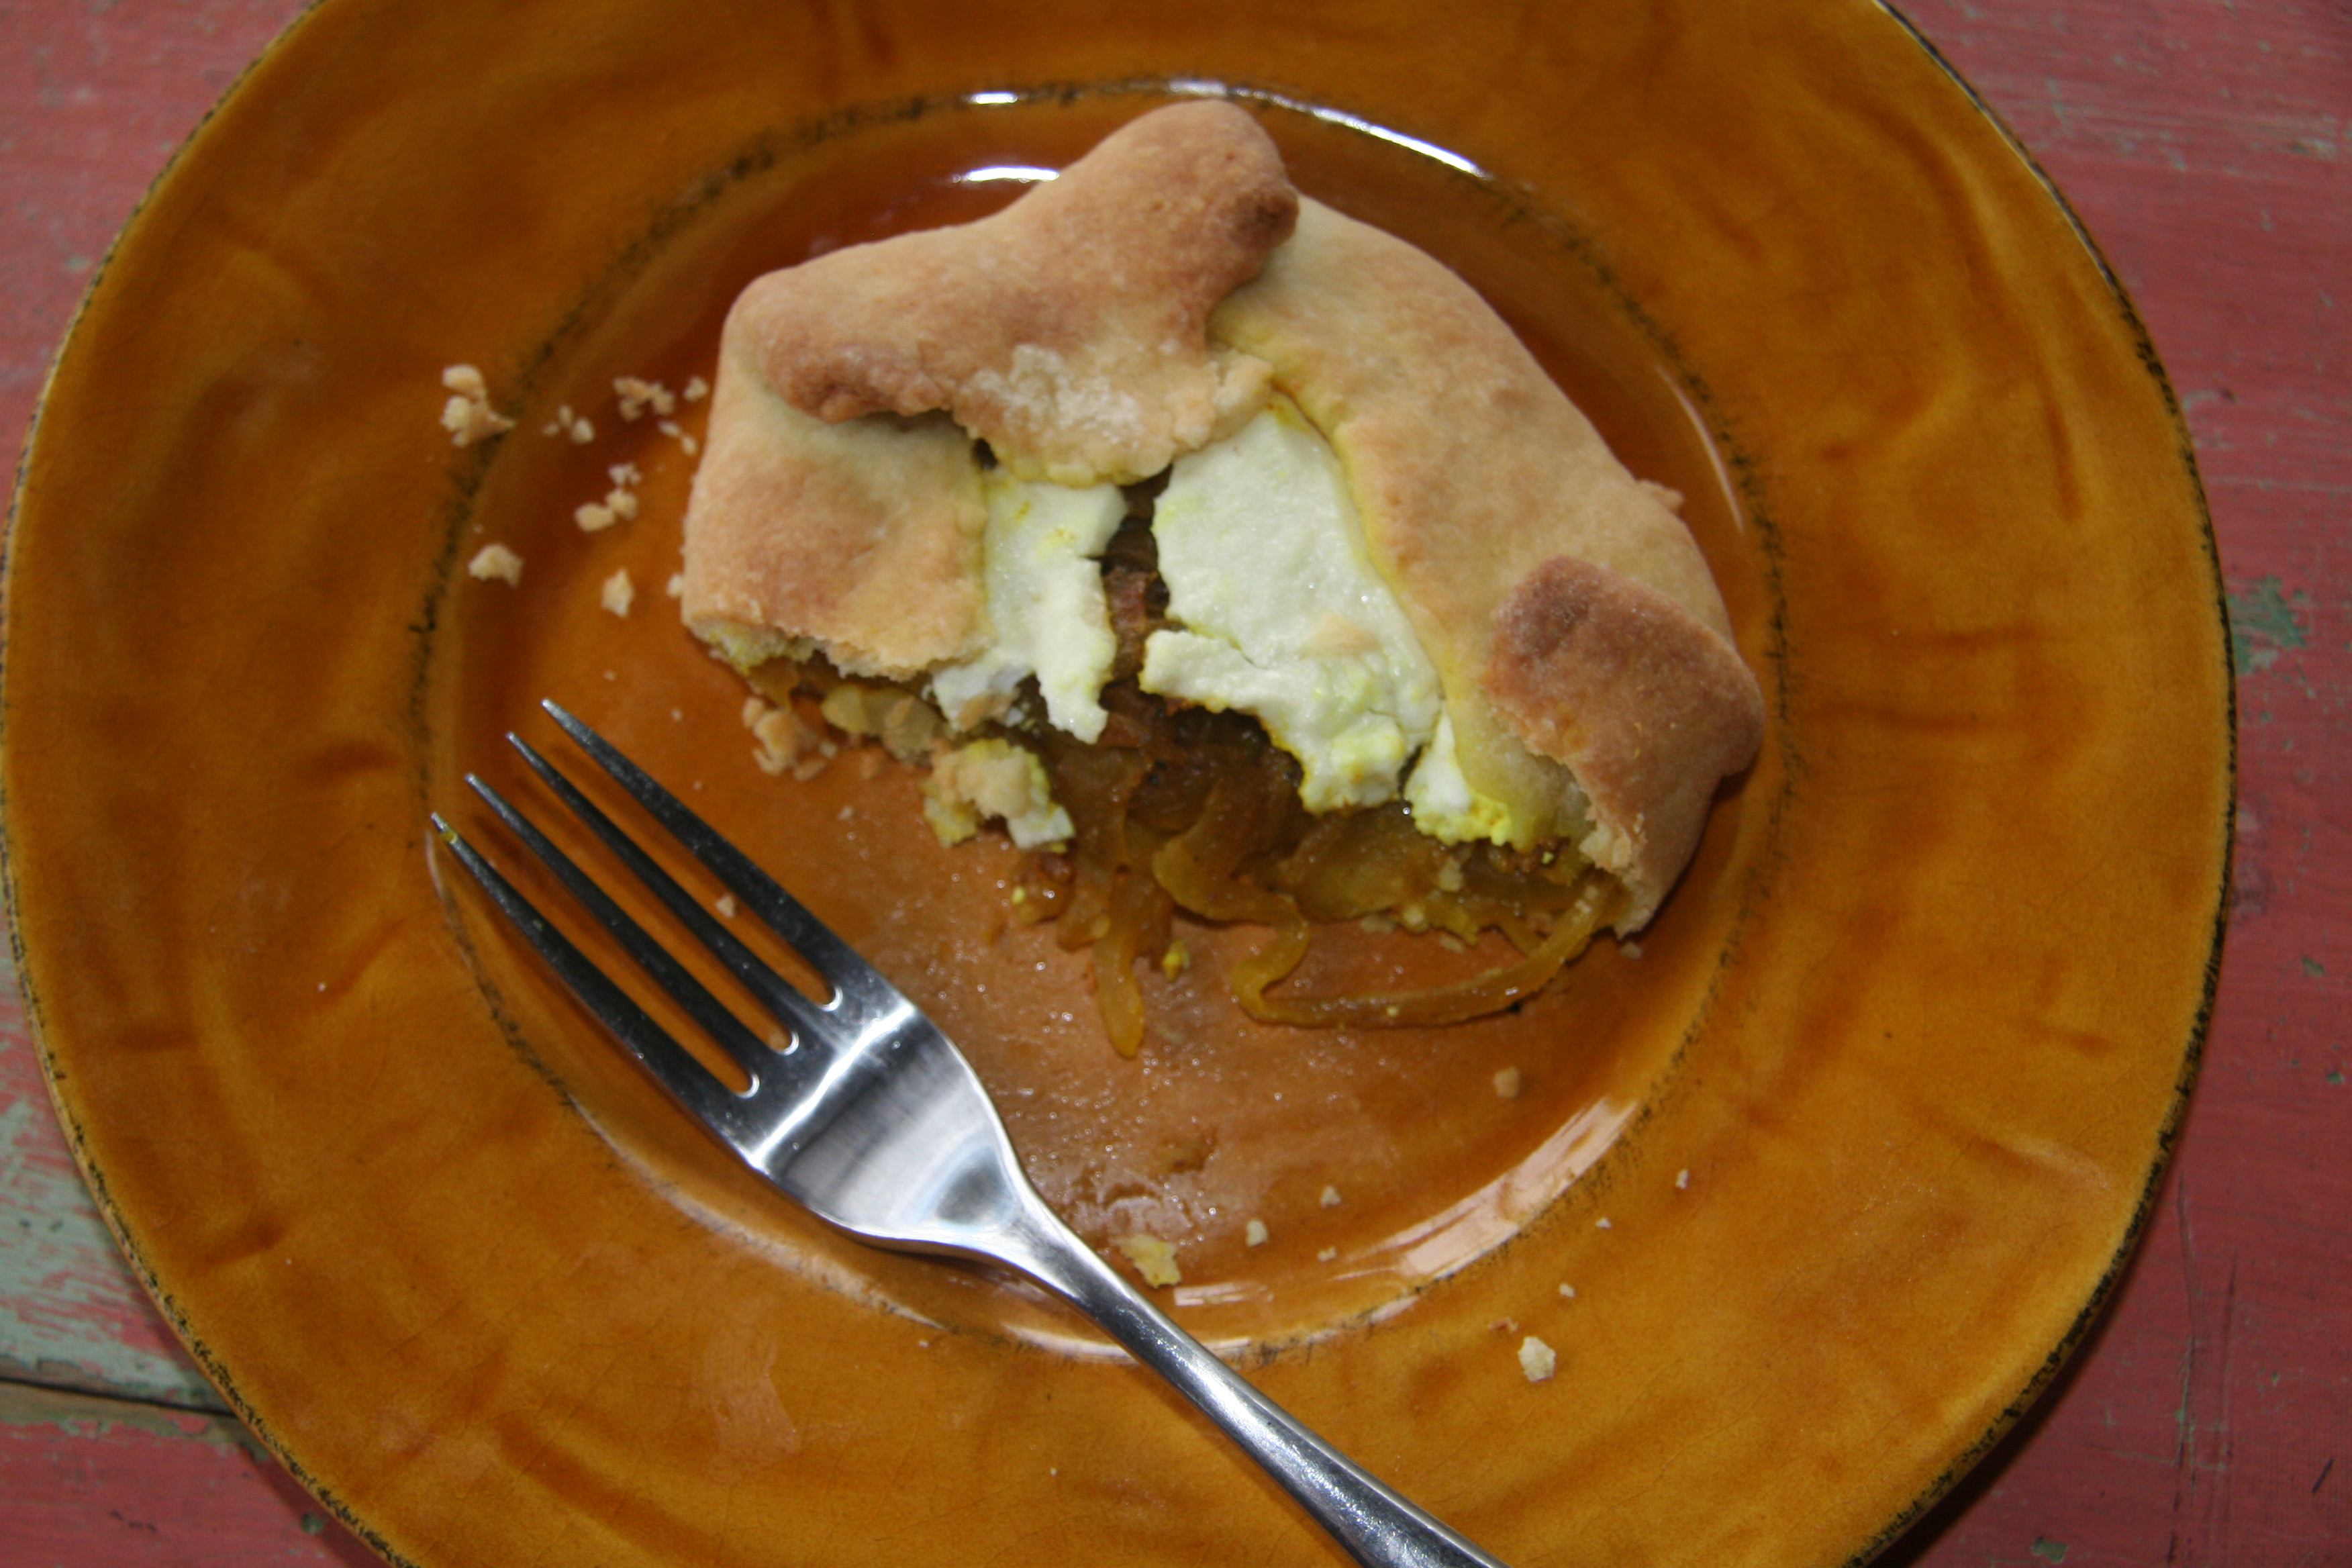
They are delicious both hot out of the oven or cooled. Enjoy!
Makes 32 turnovers
 Print This Post