
When Brisa was a little girl, her family didn’t eat meat on Friday’s during Lent. During those five to six weeks of Lenten sacrifice, Brisa would ask her mother to make cheese enchiladas for their Friday night meal. Her mother would say, “Only if you promise to help.”
Brisa was around nine years old the first time she stood on tiptoes beside her mother and helped her prepare the Friday night enchiladas.
The magic of Brisa’s family recipe for cheese enchildadas begins with the red chiles.
If you’ve ever been to a Mexican grocery store, then I’m sure you’ve seen those bags of dried chile pods somewhere near the bags of dried cornhusks. If you’re like me, then you may have asked yourself, I wonder what you do with these? That question includes the cornhusks, but that’s another topic.
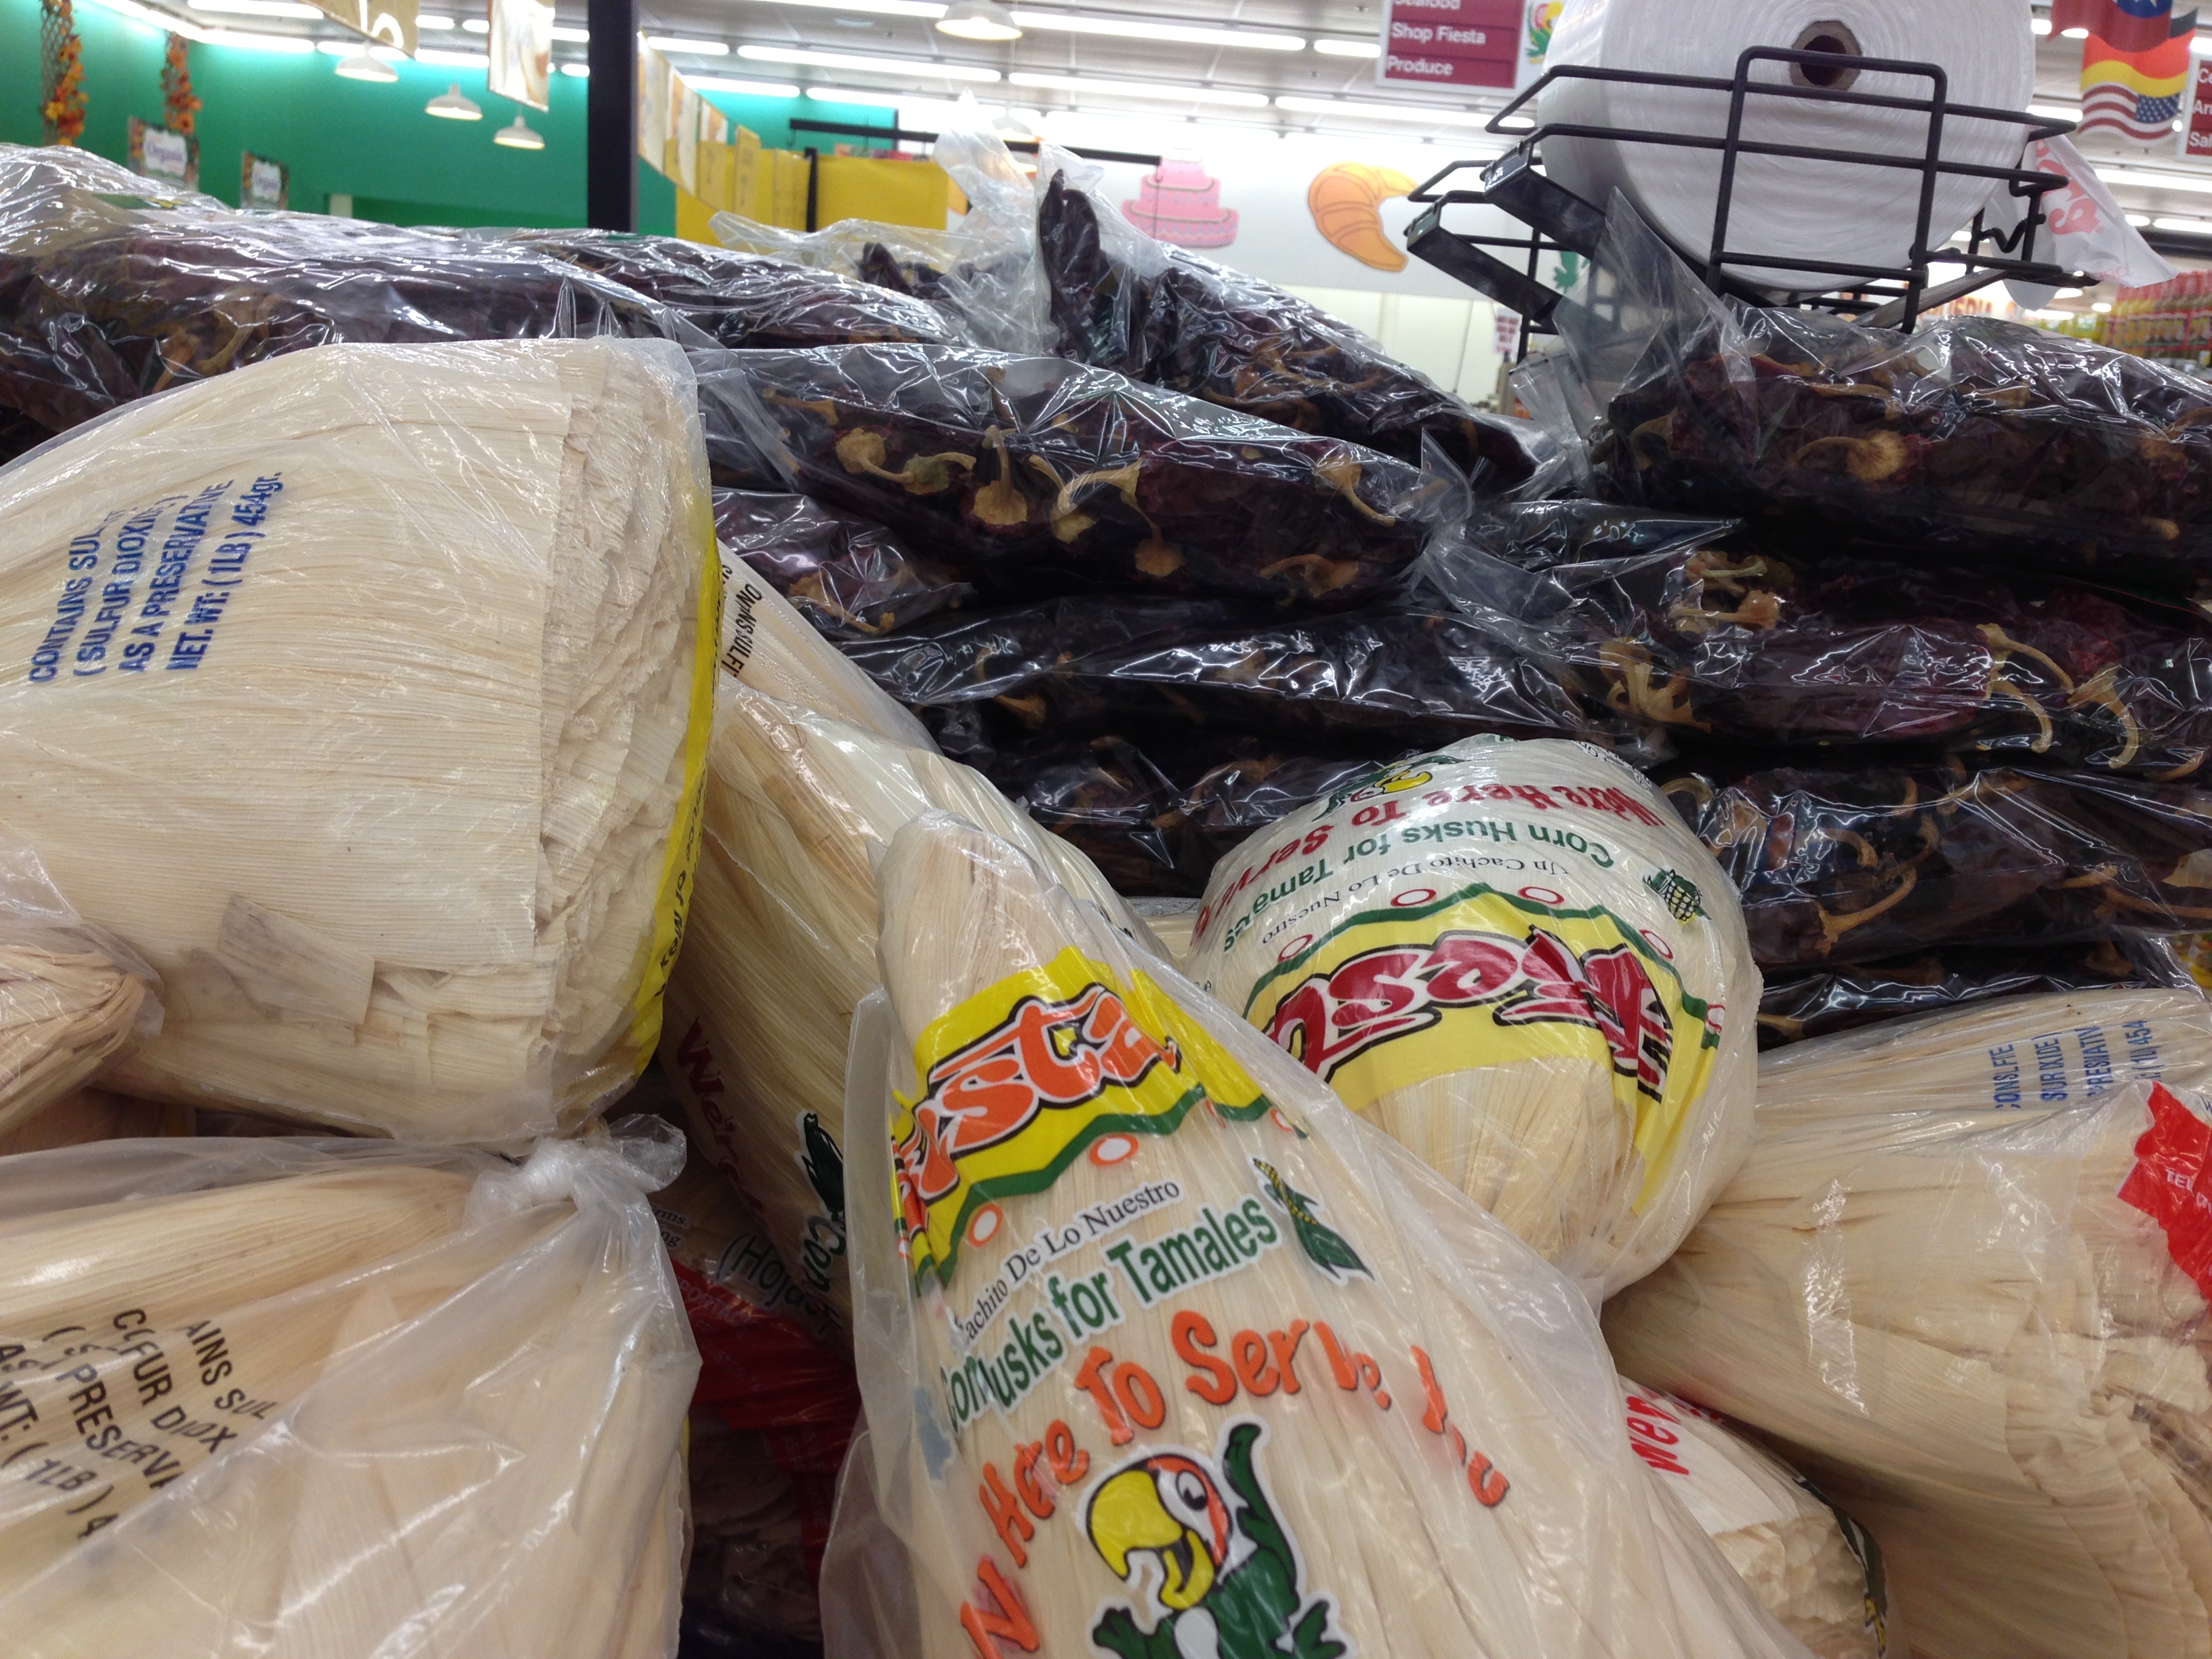
Those mysterious dried chile pods are used for making red chile. If you’ve ever been to New Mexico then you know how much they cherish their red (and green) chile. Red chile comes on just about everything except ice cream, but if you look hard enough you can probably find some ice cream with red chile mixed in.
Red chile can be made from dried, powdered chile called chile molido and from frozen chile paste found in the freezer section of most Mexican grocery stores. But, the way Brisa’s mother made red chile was from chile pods.

Chiles are harvested in the late summer then strung and hung to dry. The strung chiles are called ristras, which you’ve probably seen hanging outside of homes if you’ve traveled in the southwest. I have one hanging by my front door at The Dusty Dog.
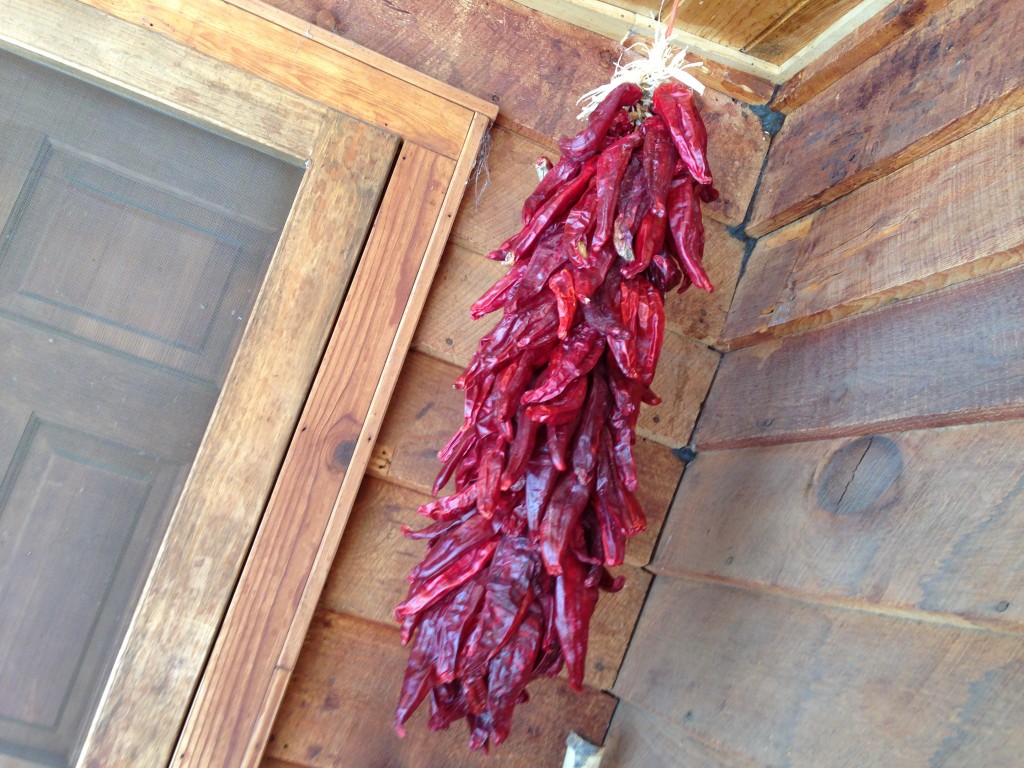
Some ristras are sprayed with a protective coating to preserve them, so ask the seller if you are getting edible or decorative chiles.
Chiles are high in vitamins, have many health benefits, and can even help us loose weight.
Brisa and I used bagged chiles from Casados Farms to make the red chile for the cheese enchiladas in the recipe below, and when I made them back in Dallas, I used Giajillo chile peppers from my neighborhood Mexican grocery store.
Chiles range from mild, medium, and hot and come in a wide variety of types. We used mostly medium chiles with a few mild thrown in for my Yankee taste buds. The red chile on it’s own is hot, but the cheese and the sweetness of the corn tortillas in the enchilada help soften the punch of the heat.
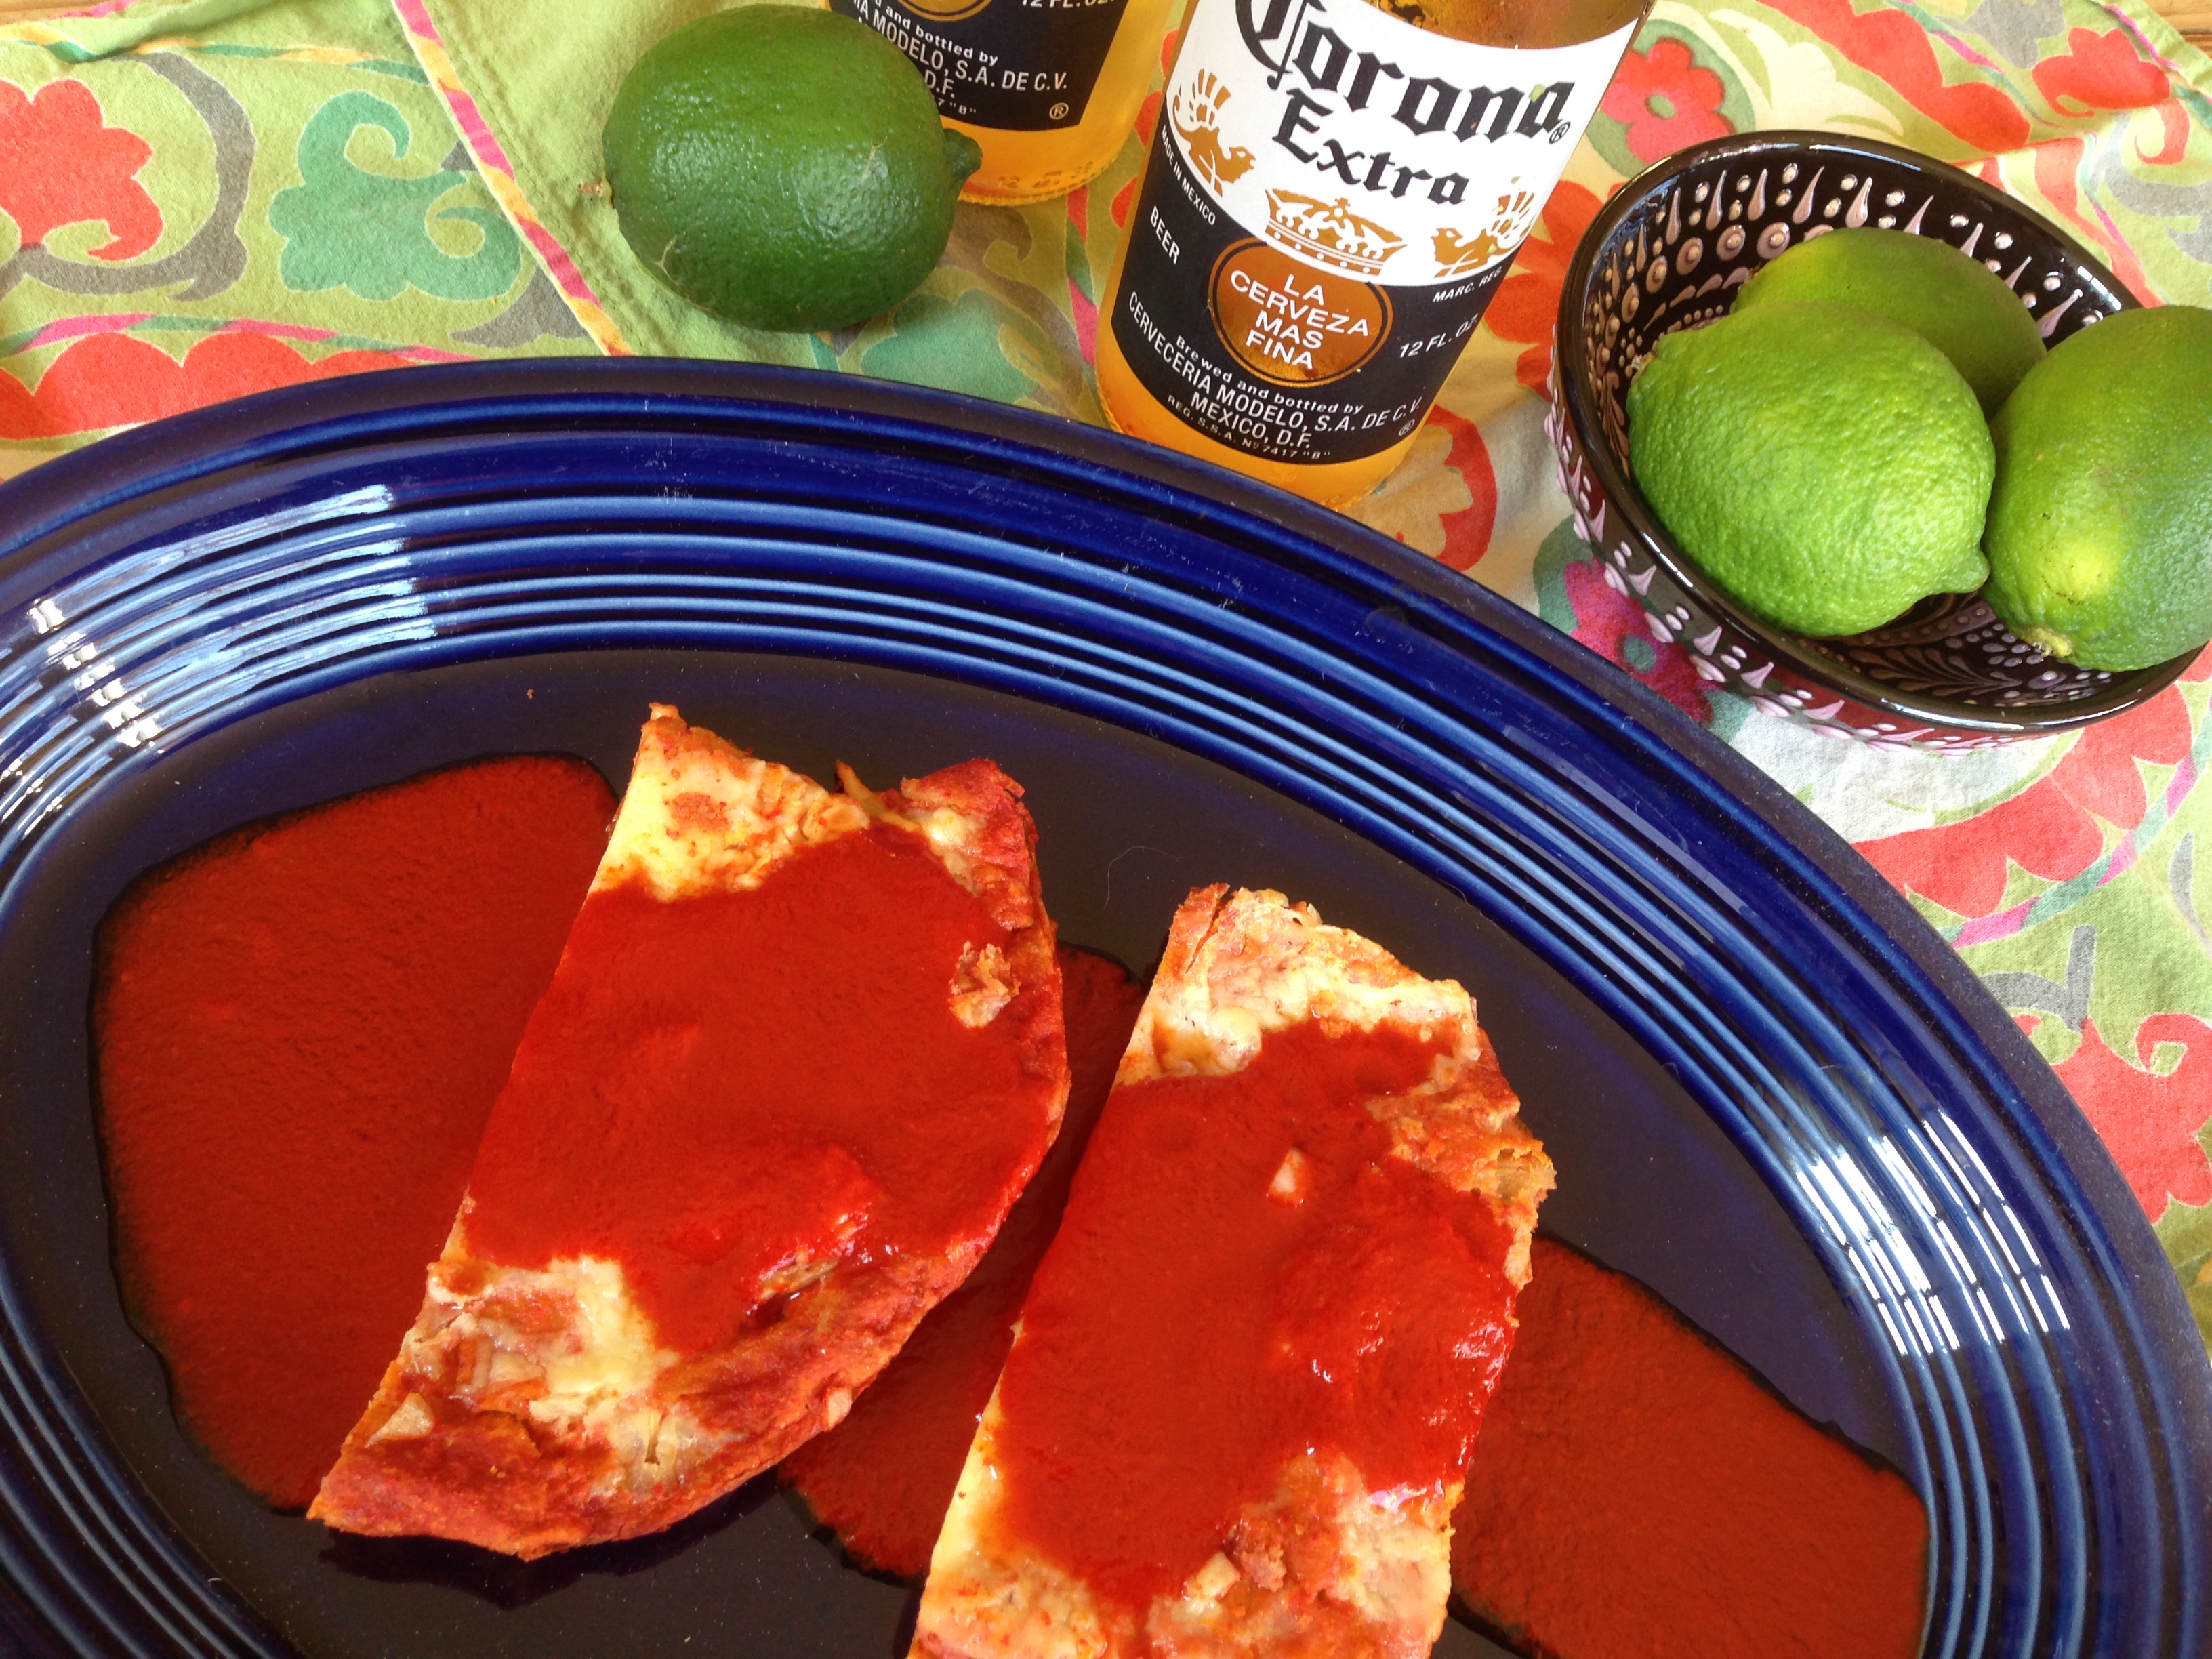
Enchiladas originated in Mexico and date all the way back to the Mayans. The key to all enchiladas is the tortillas. Enchilada ingredients can be rolled in tortillas or layered in between tortillas, and they are usually smothered in some kind of sauce — in this case the red chile. Enchiladas can be made with cheese like the ones we made, or they can be stuffed with meat, seafood, beans or vegetables. The variations are wide ranging.
No matter what you use as a filling, enchiladas are good old fashioned Mexican comfort food, and if they’re stuffed with cheese, then they’re an excellent choice for Friday meals during Lent.
Brisa’s Cheese Enchiladas with Homemade Red Chile
Note: I adapted Brisa’s family recipe to be more heart healthy and substituted yellow corn tortillas, because blue corn tortillas can be hard to find. Both are delicious.
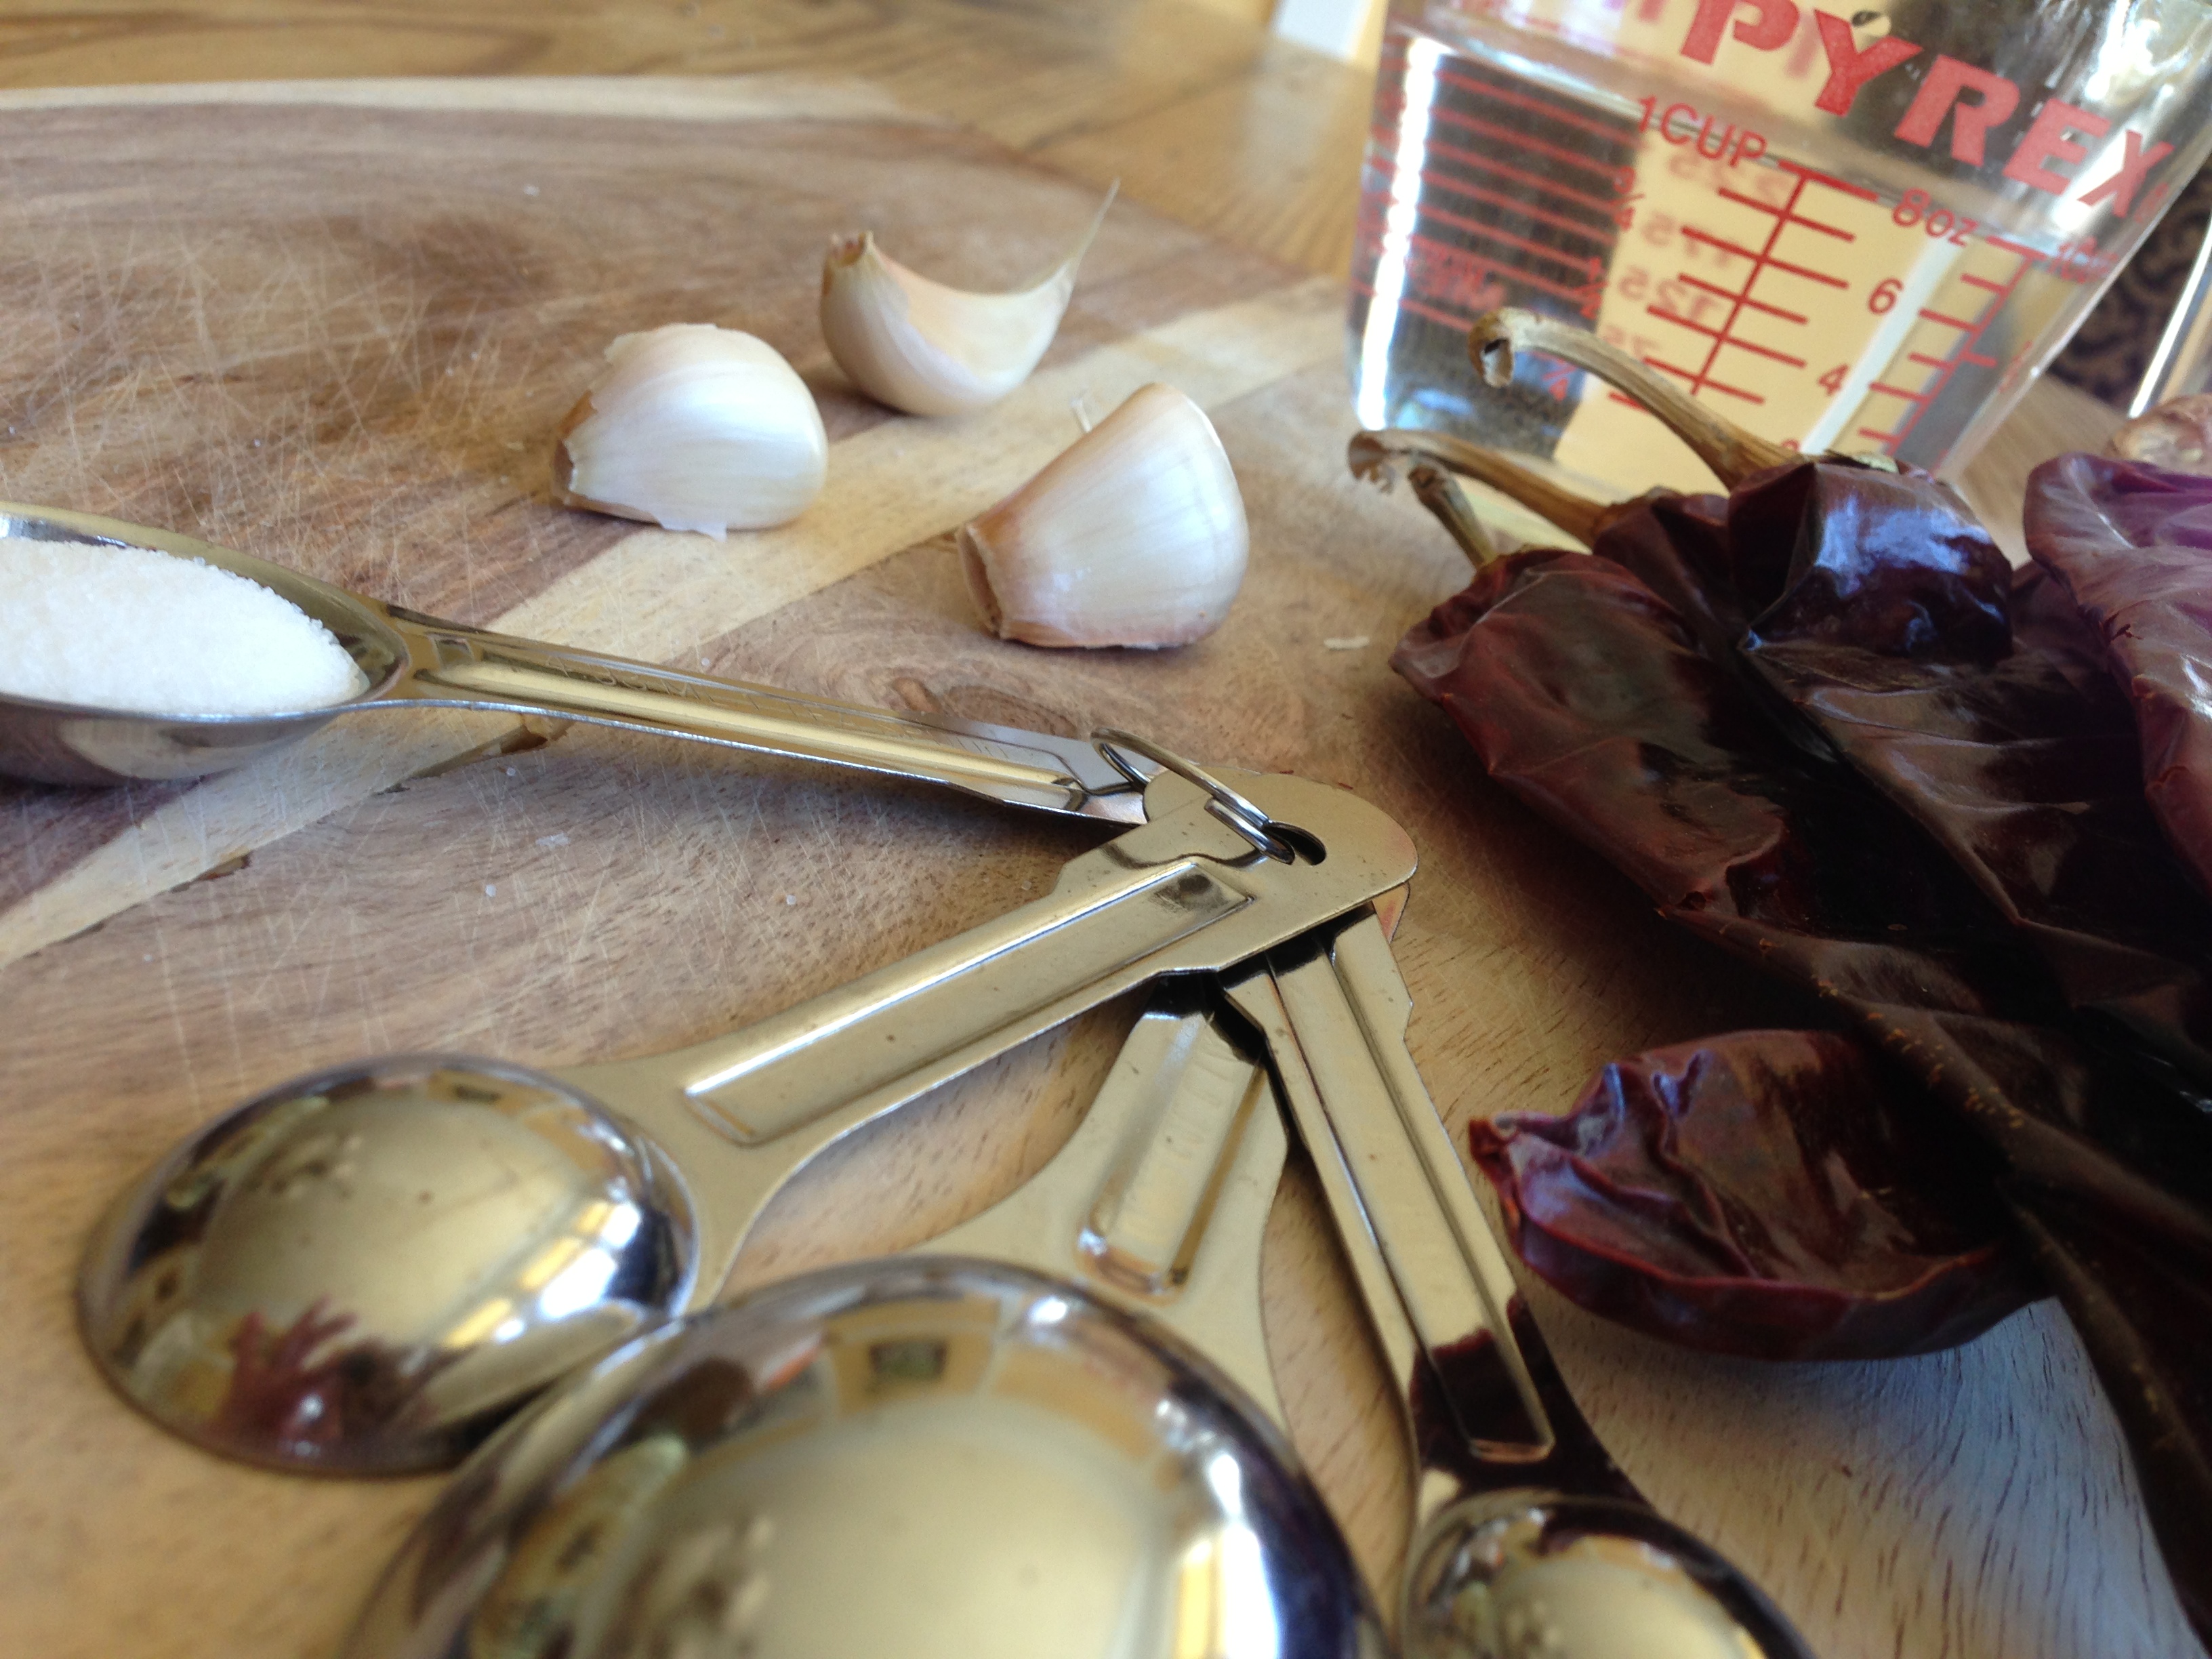
Red Chile Ingredients:
12 Chile Pods – mild, medium, or hot or a combination depending on your tolerance for heat
3 large garlic cloves minced
1 tsp salt
2 -1/2 cups water
Making the Red Chile:
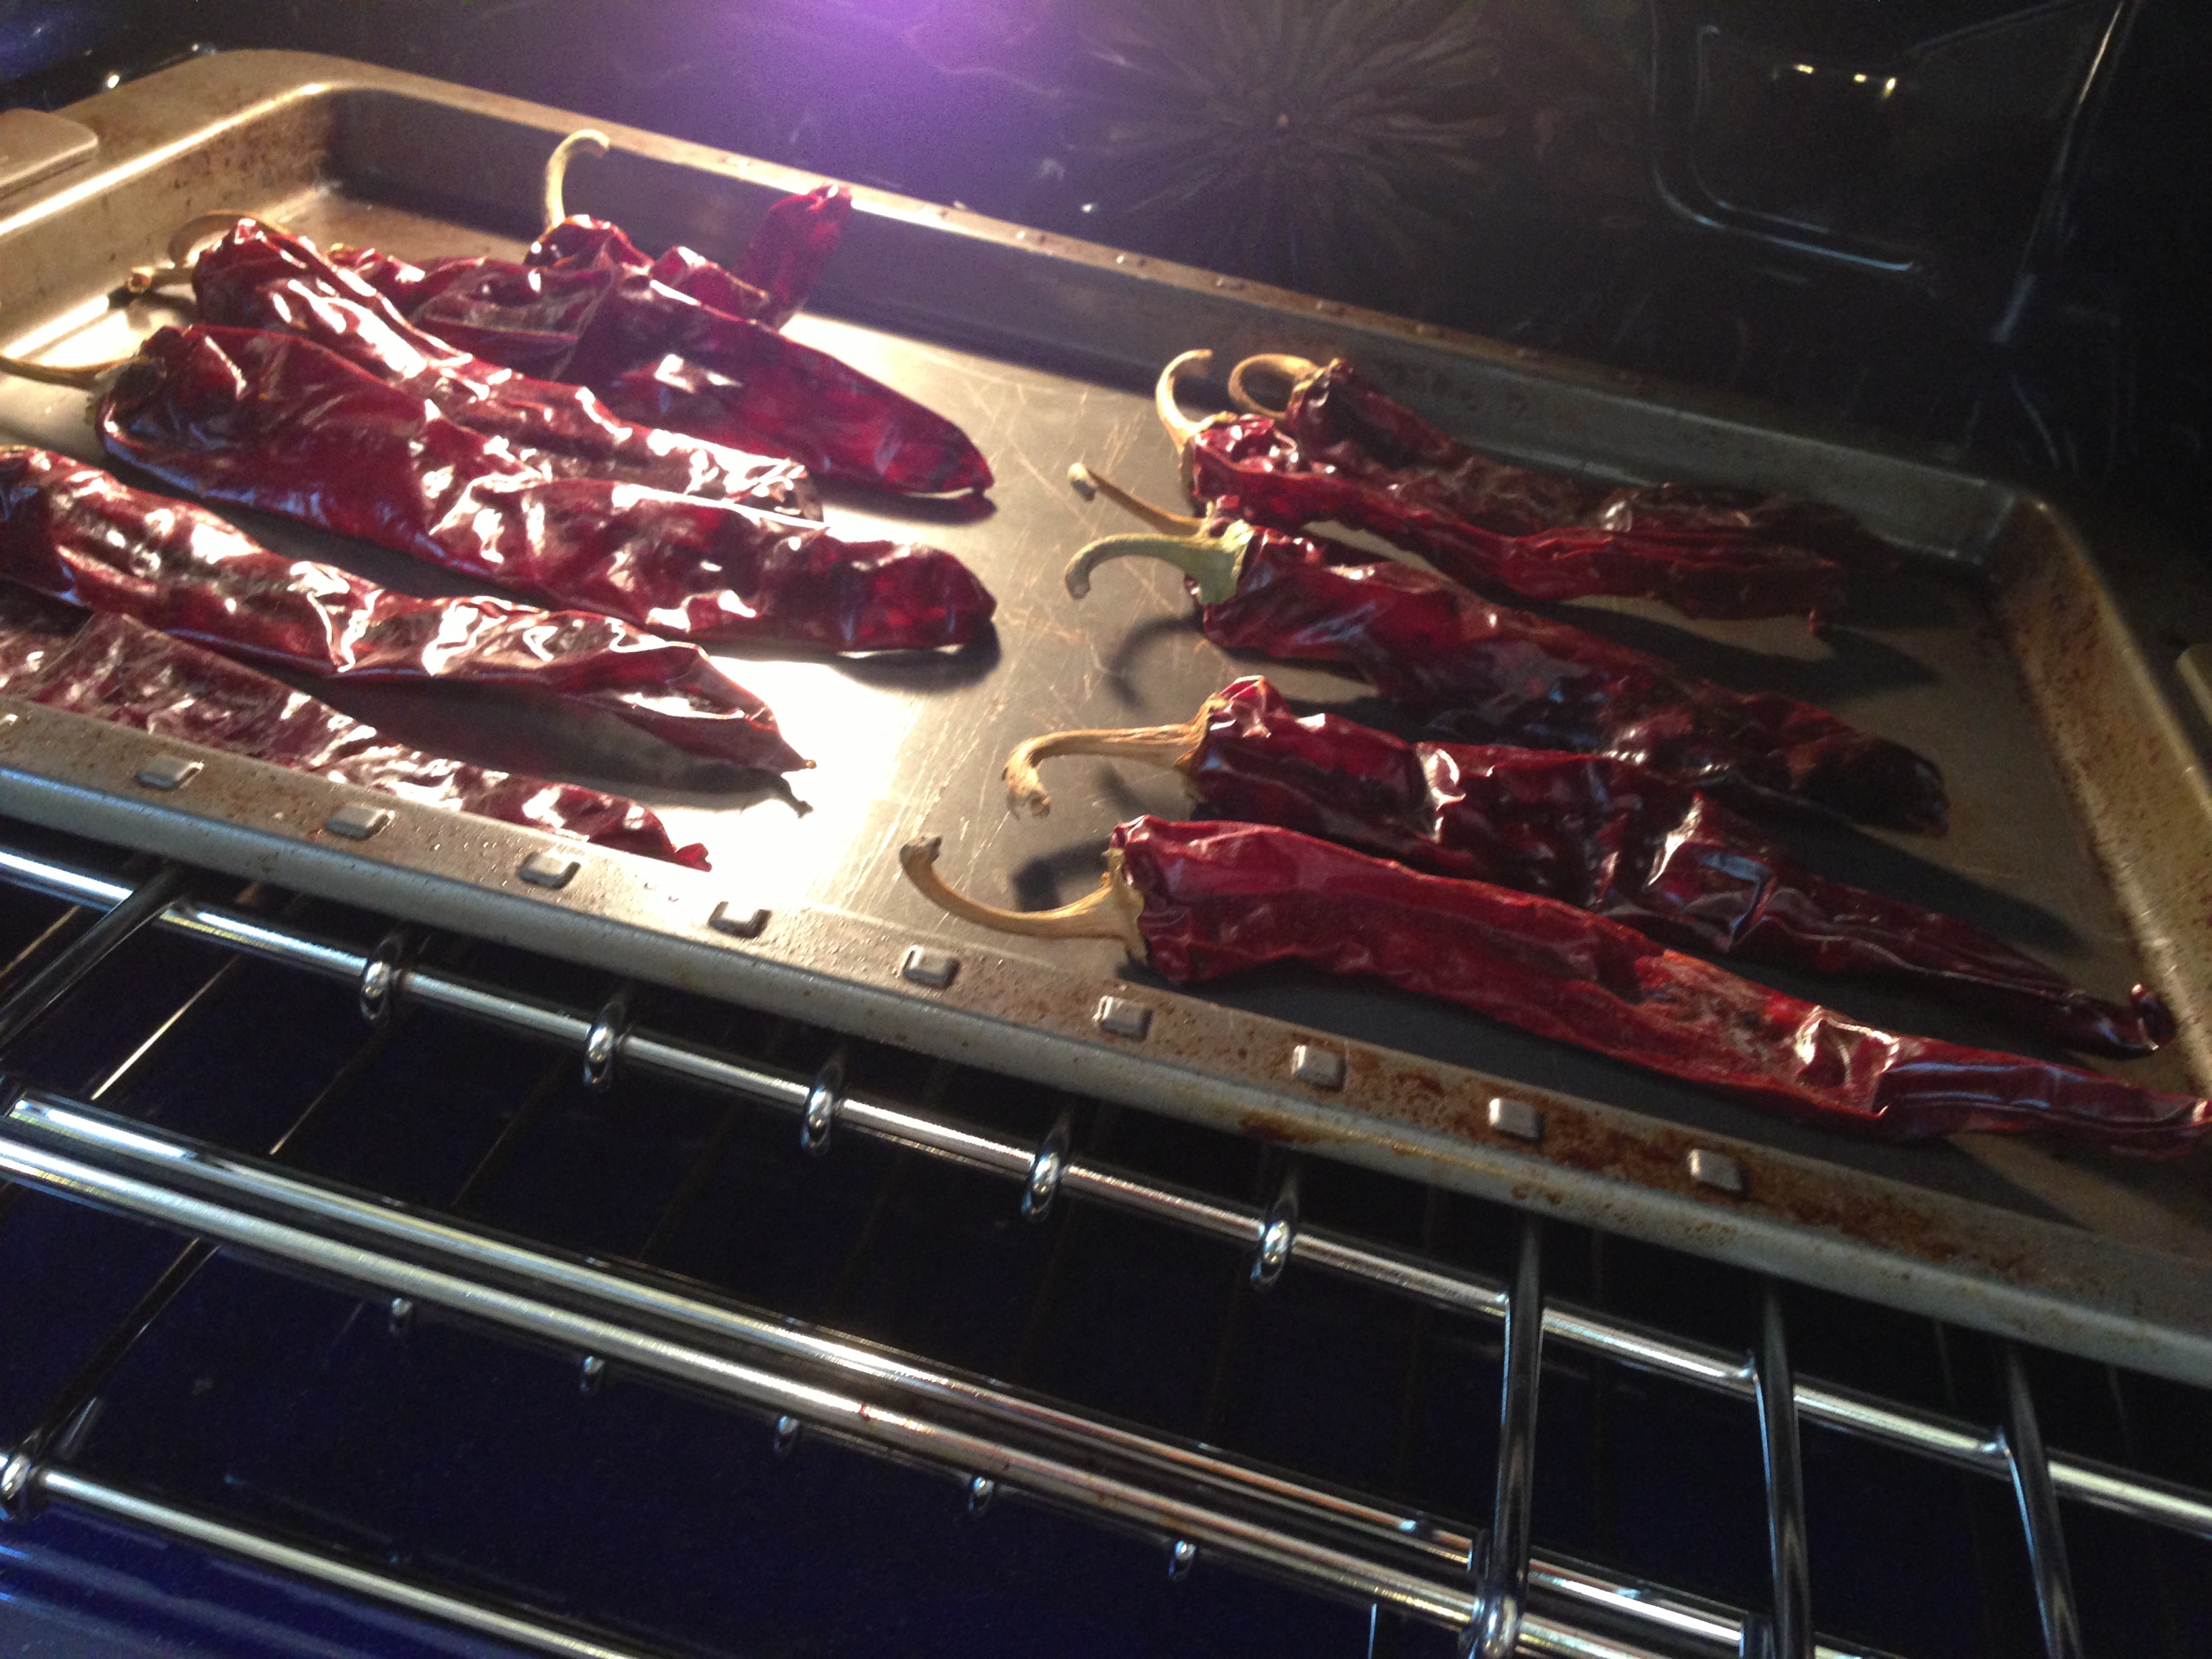
Preheat the oven to 275° fahrenheit
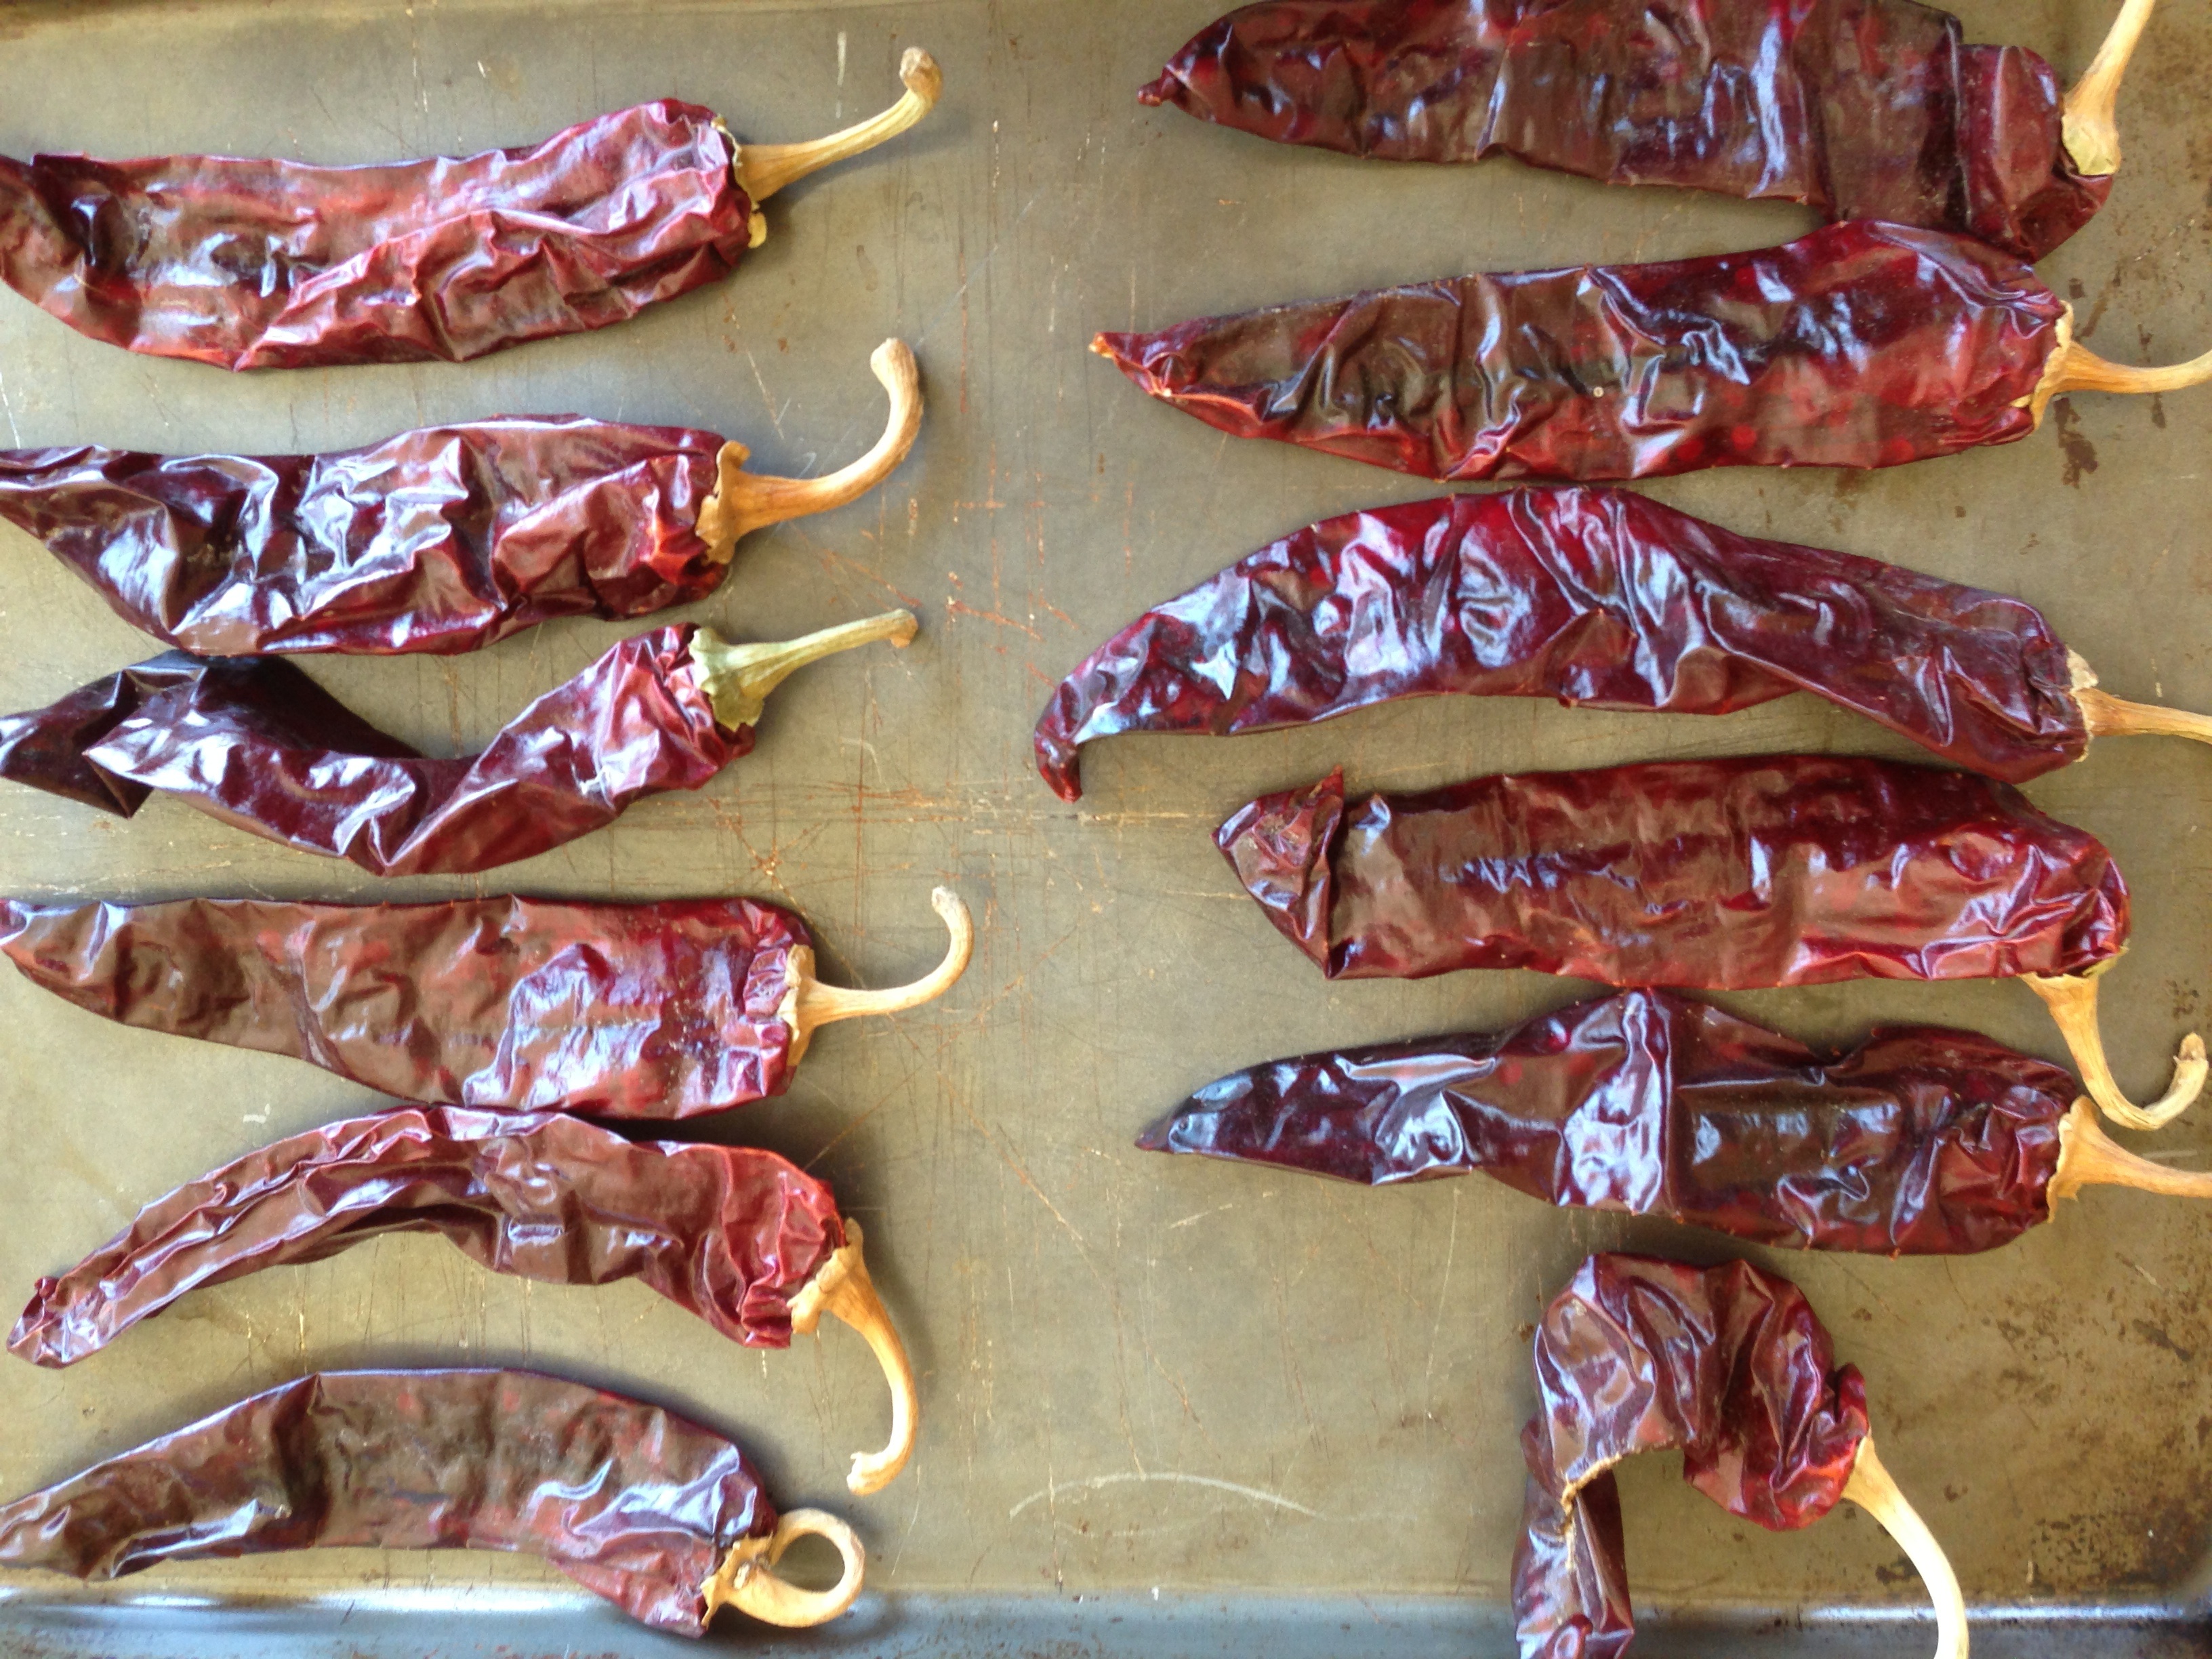
Gently wash the chile pods with plain water. Dry the pods, and place them in a single layer on a cookie sheet. Bake the pods until they become fragrant — about 4 minutes. You will begin to smell the sweetness of the peppers. Make sure you watch them carefully because they can burn very easily. When they are done, they will feel leathery.
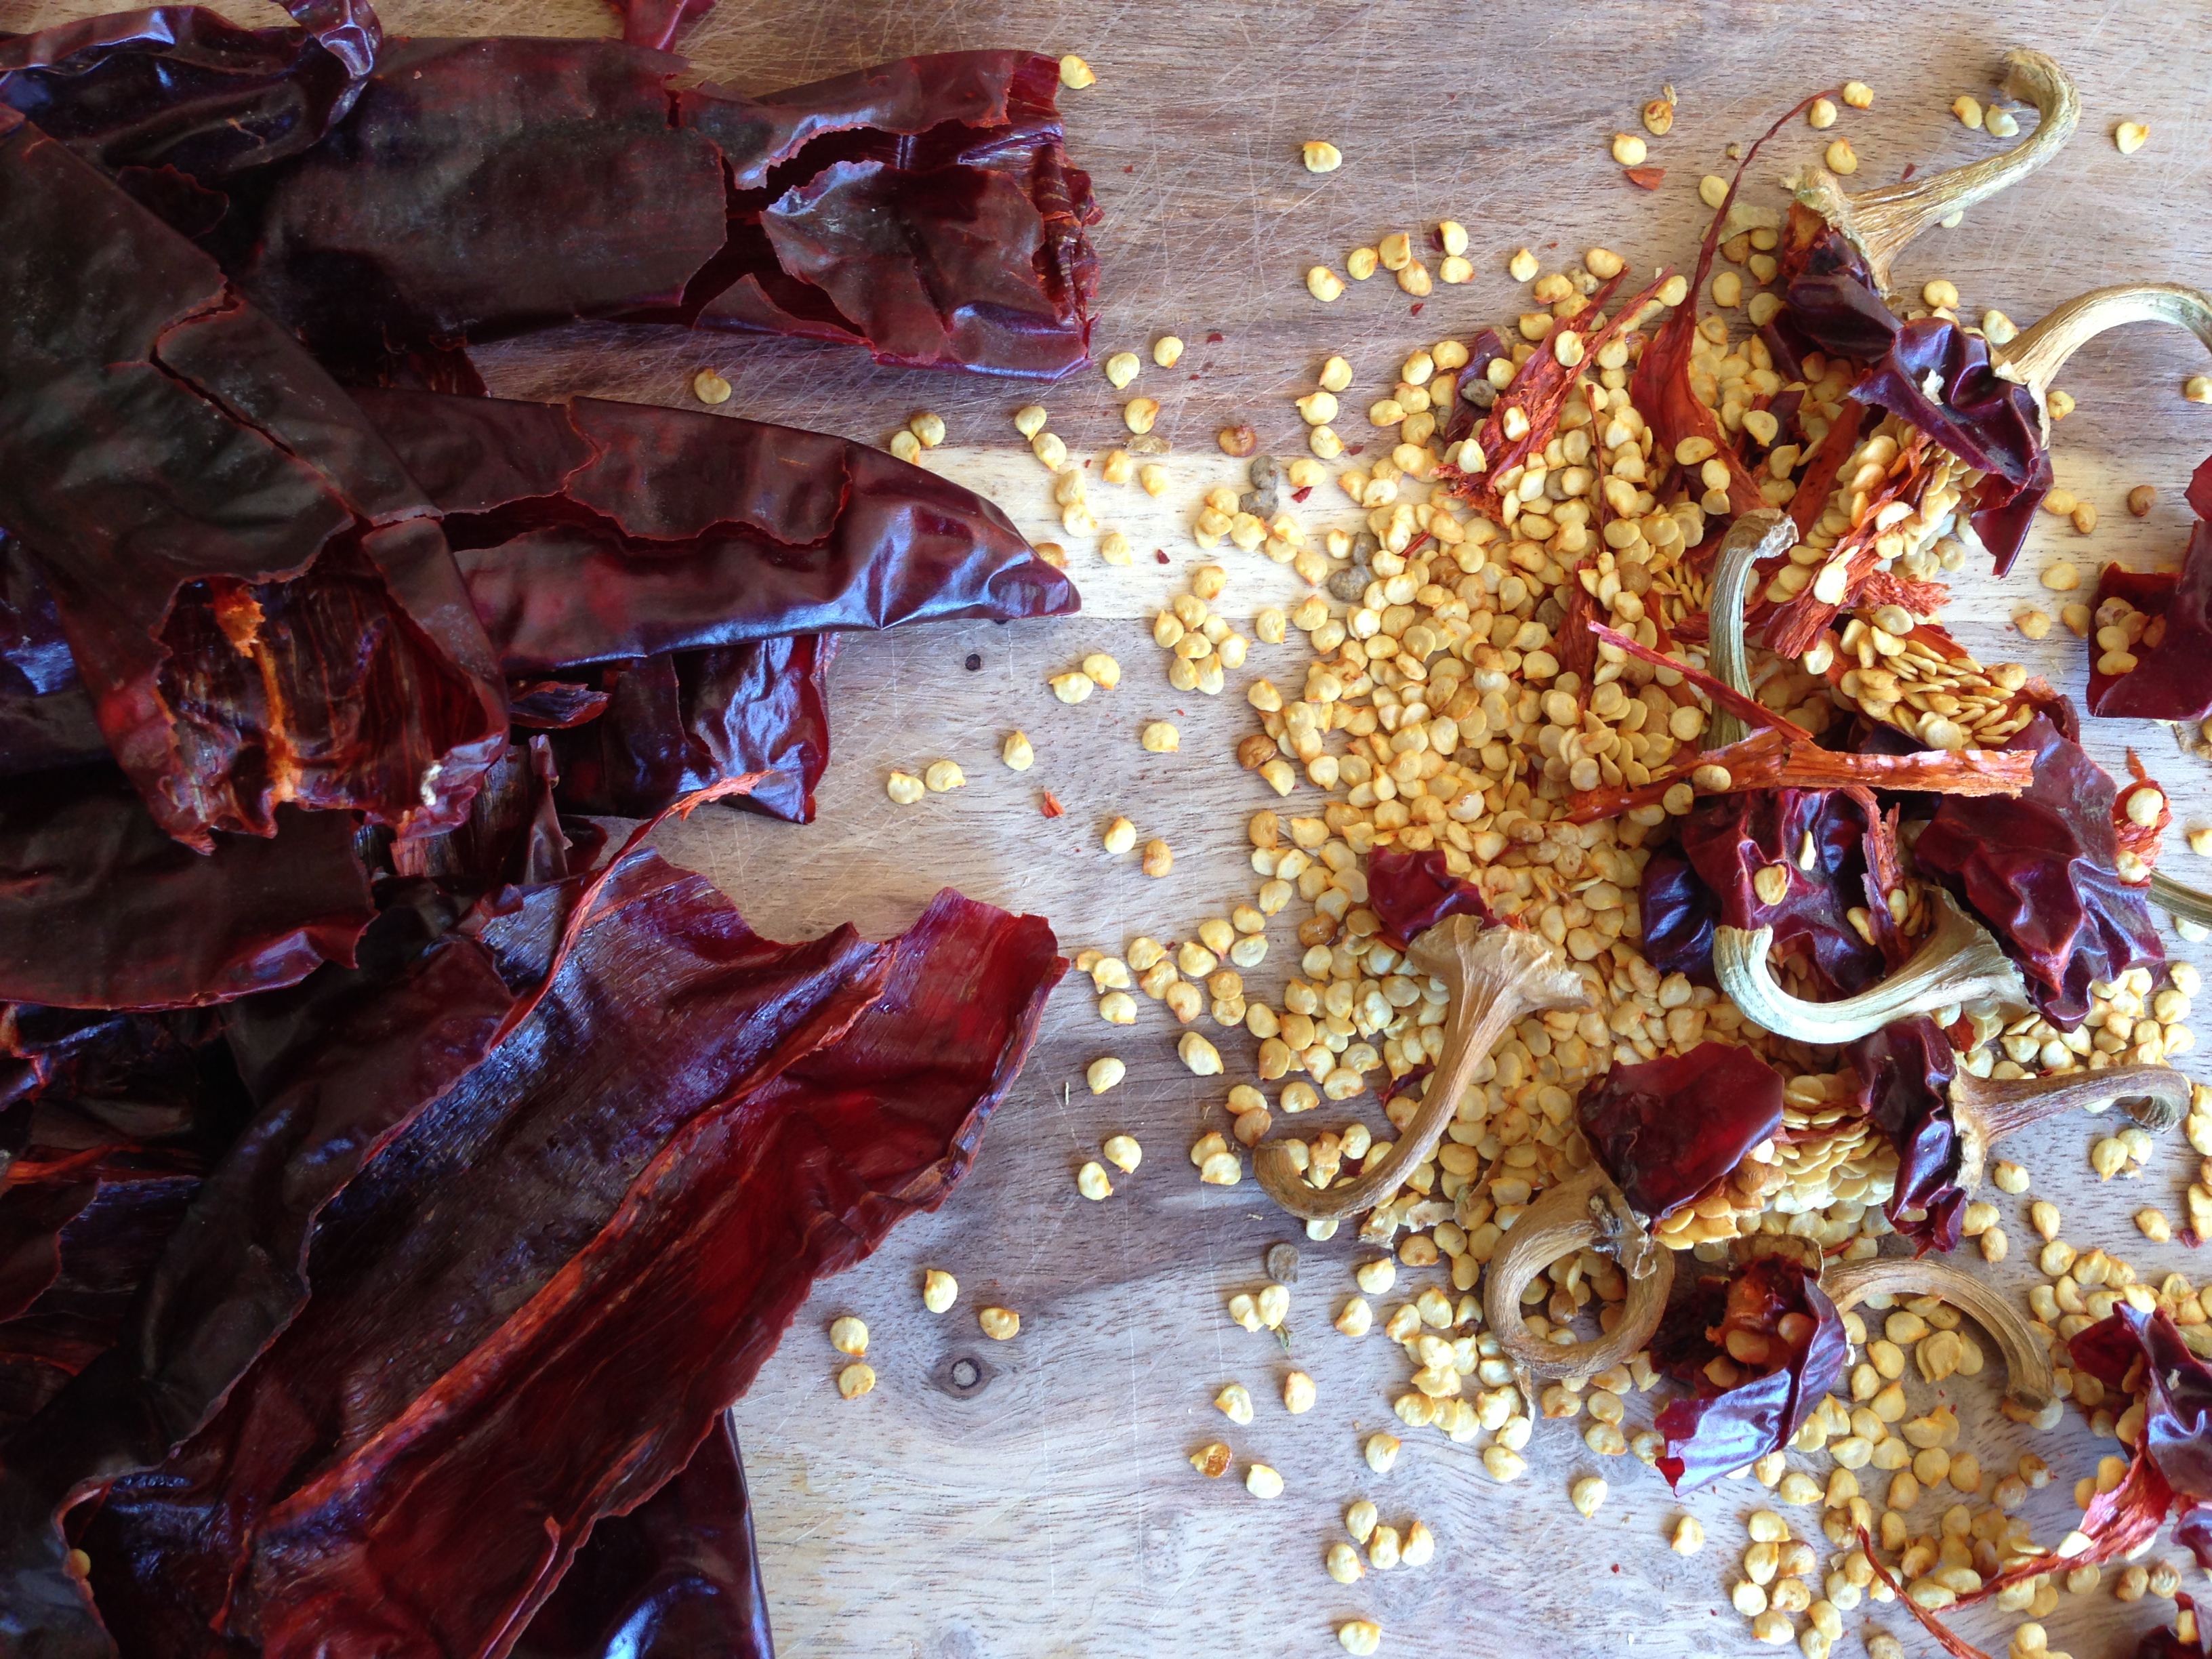
Removing the Stems & Seeds:
Allow the peppers to cool then remove the stems, veins, and as many of the seeds as possible. The seeds are where the heat of the pepper is stored, so removing them makes your chile less spicy. Remember to wash your hands really well after handling the peppers and seeds.

Place the chile skins in a blender or food processor. Add the minced garlic, salt, and water.
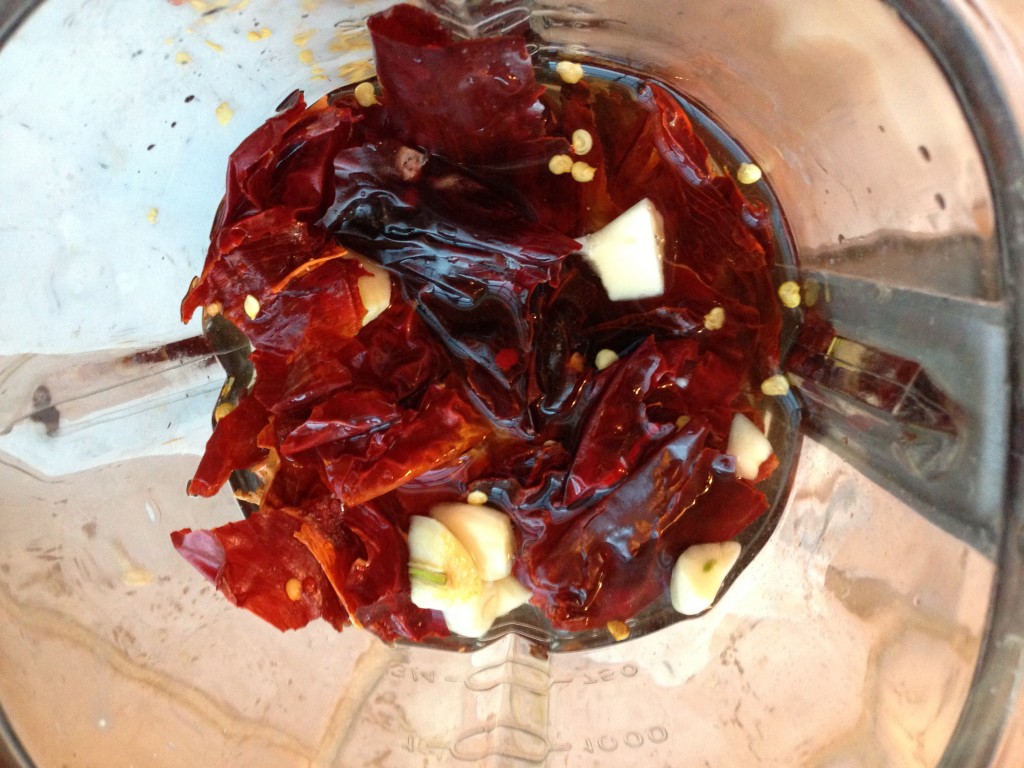
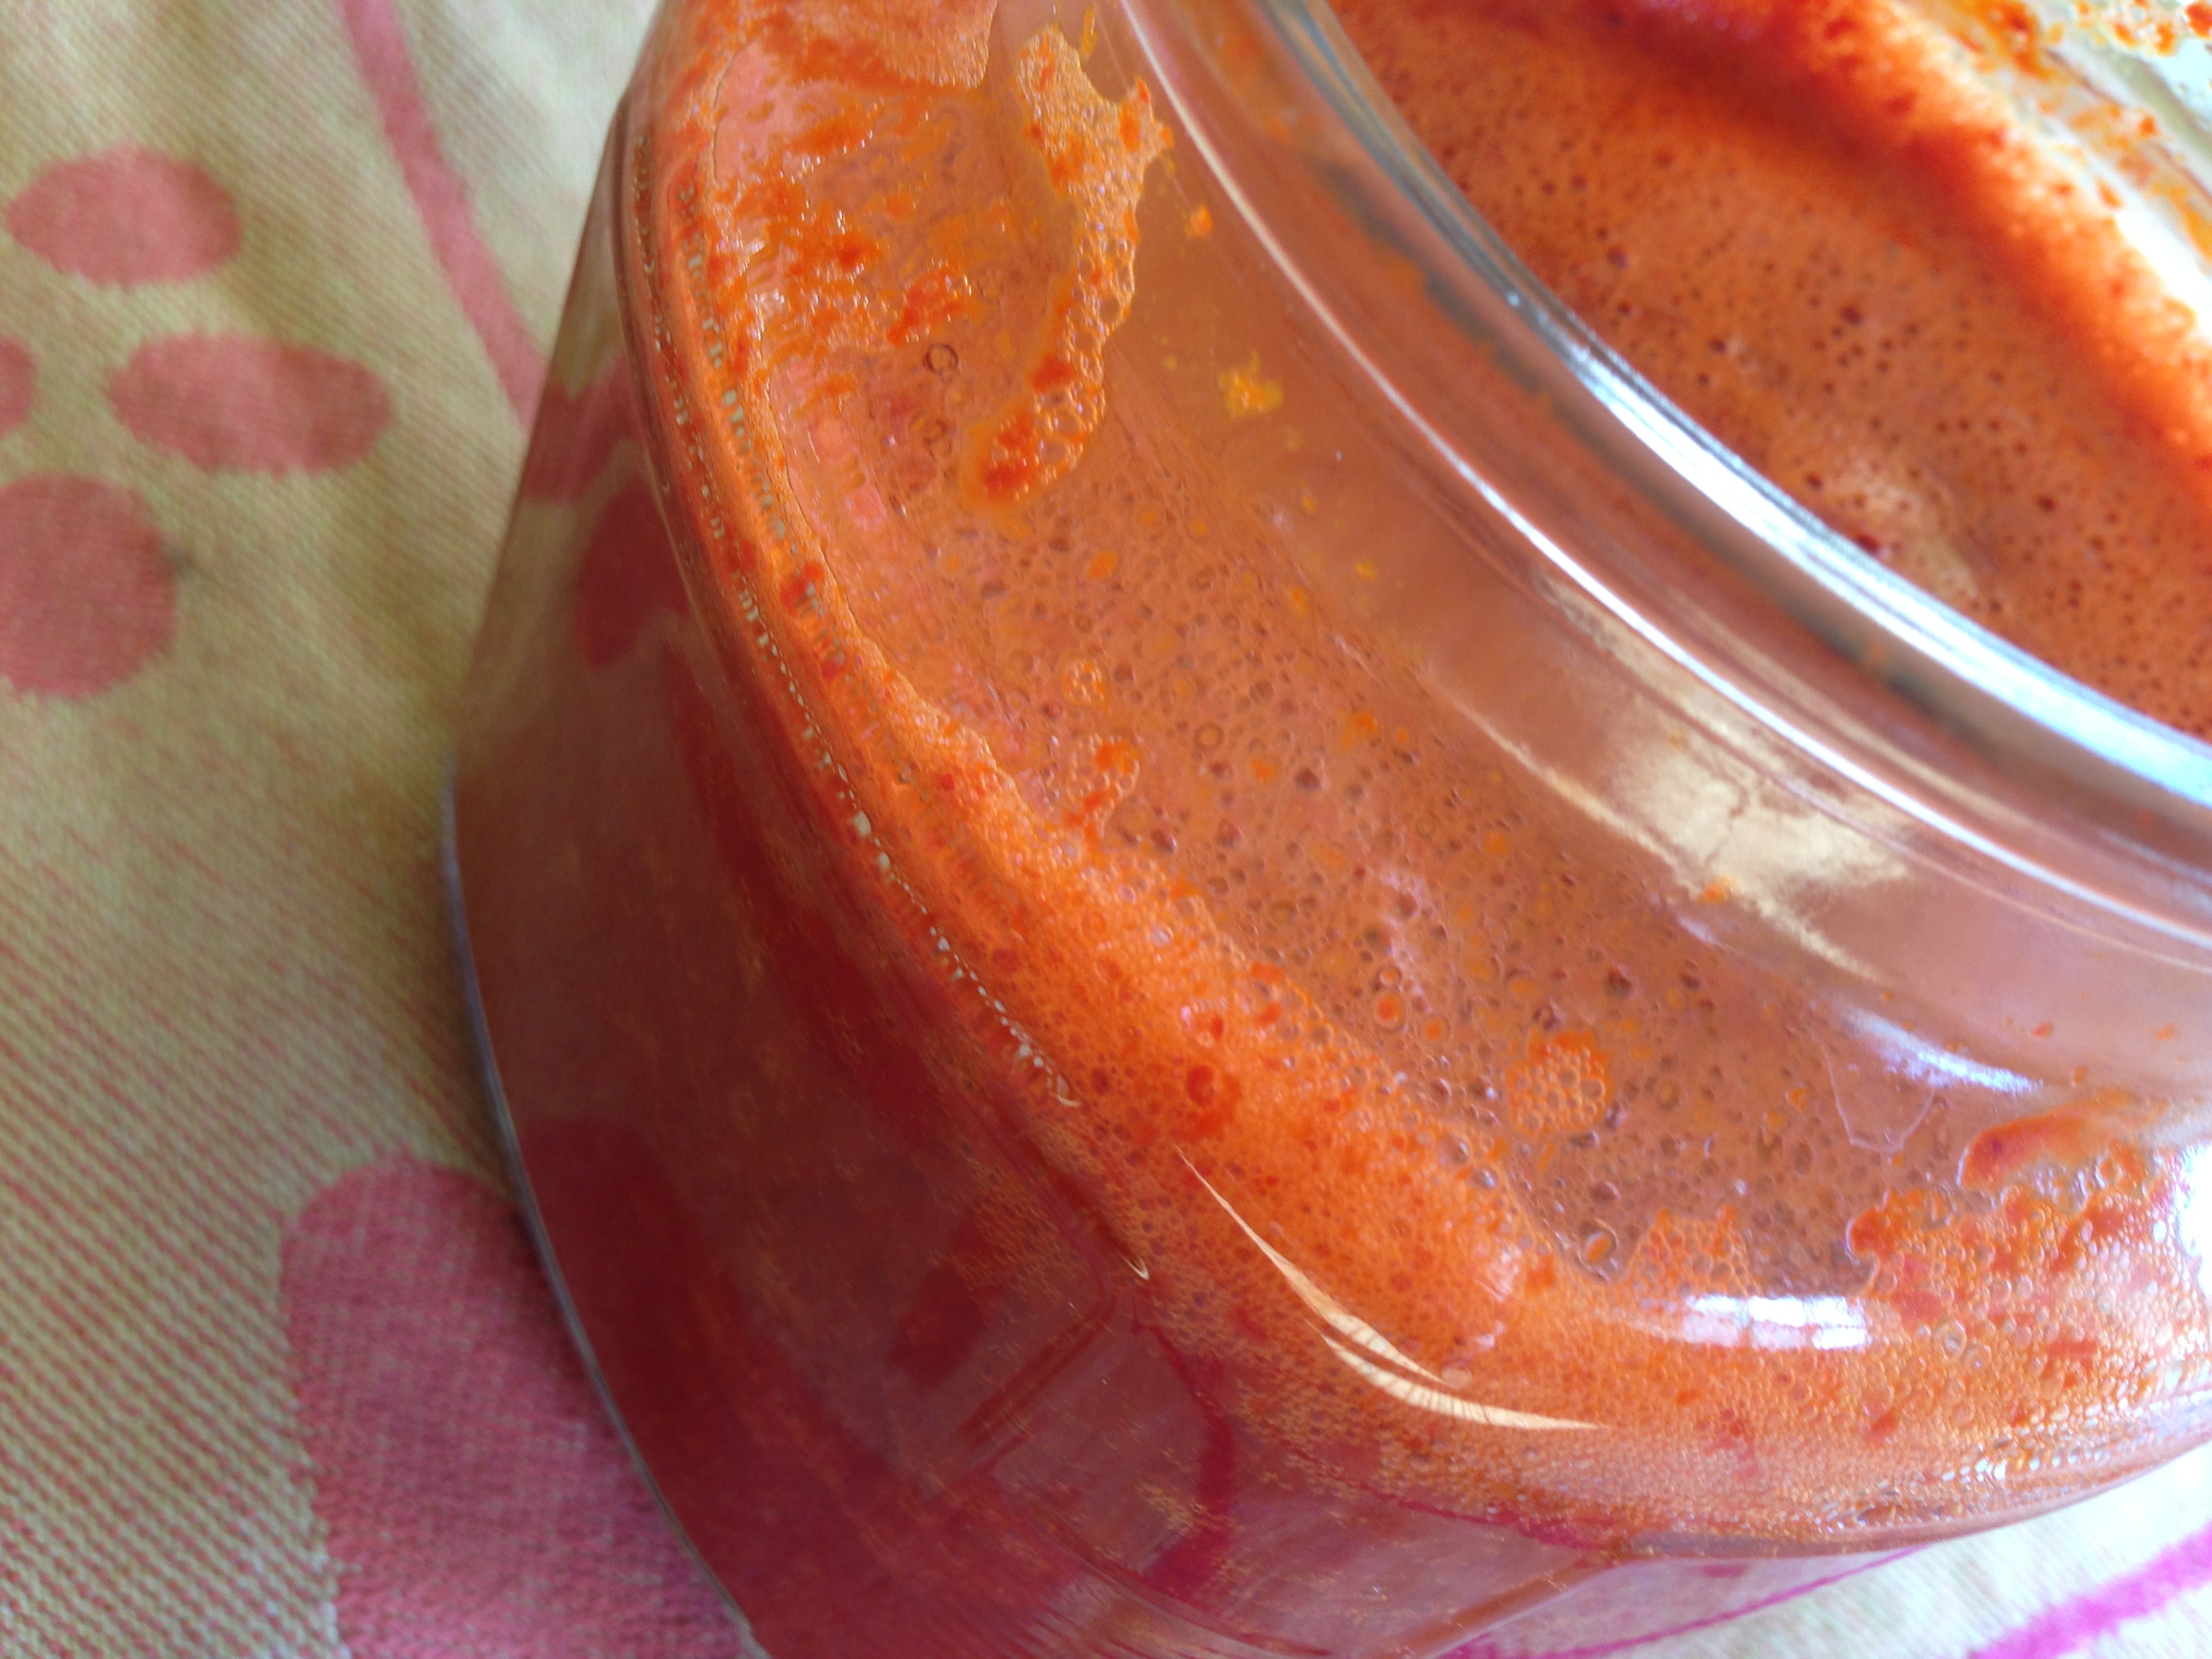
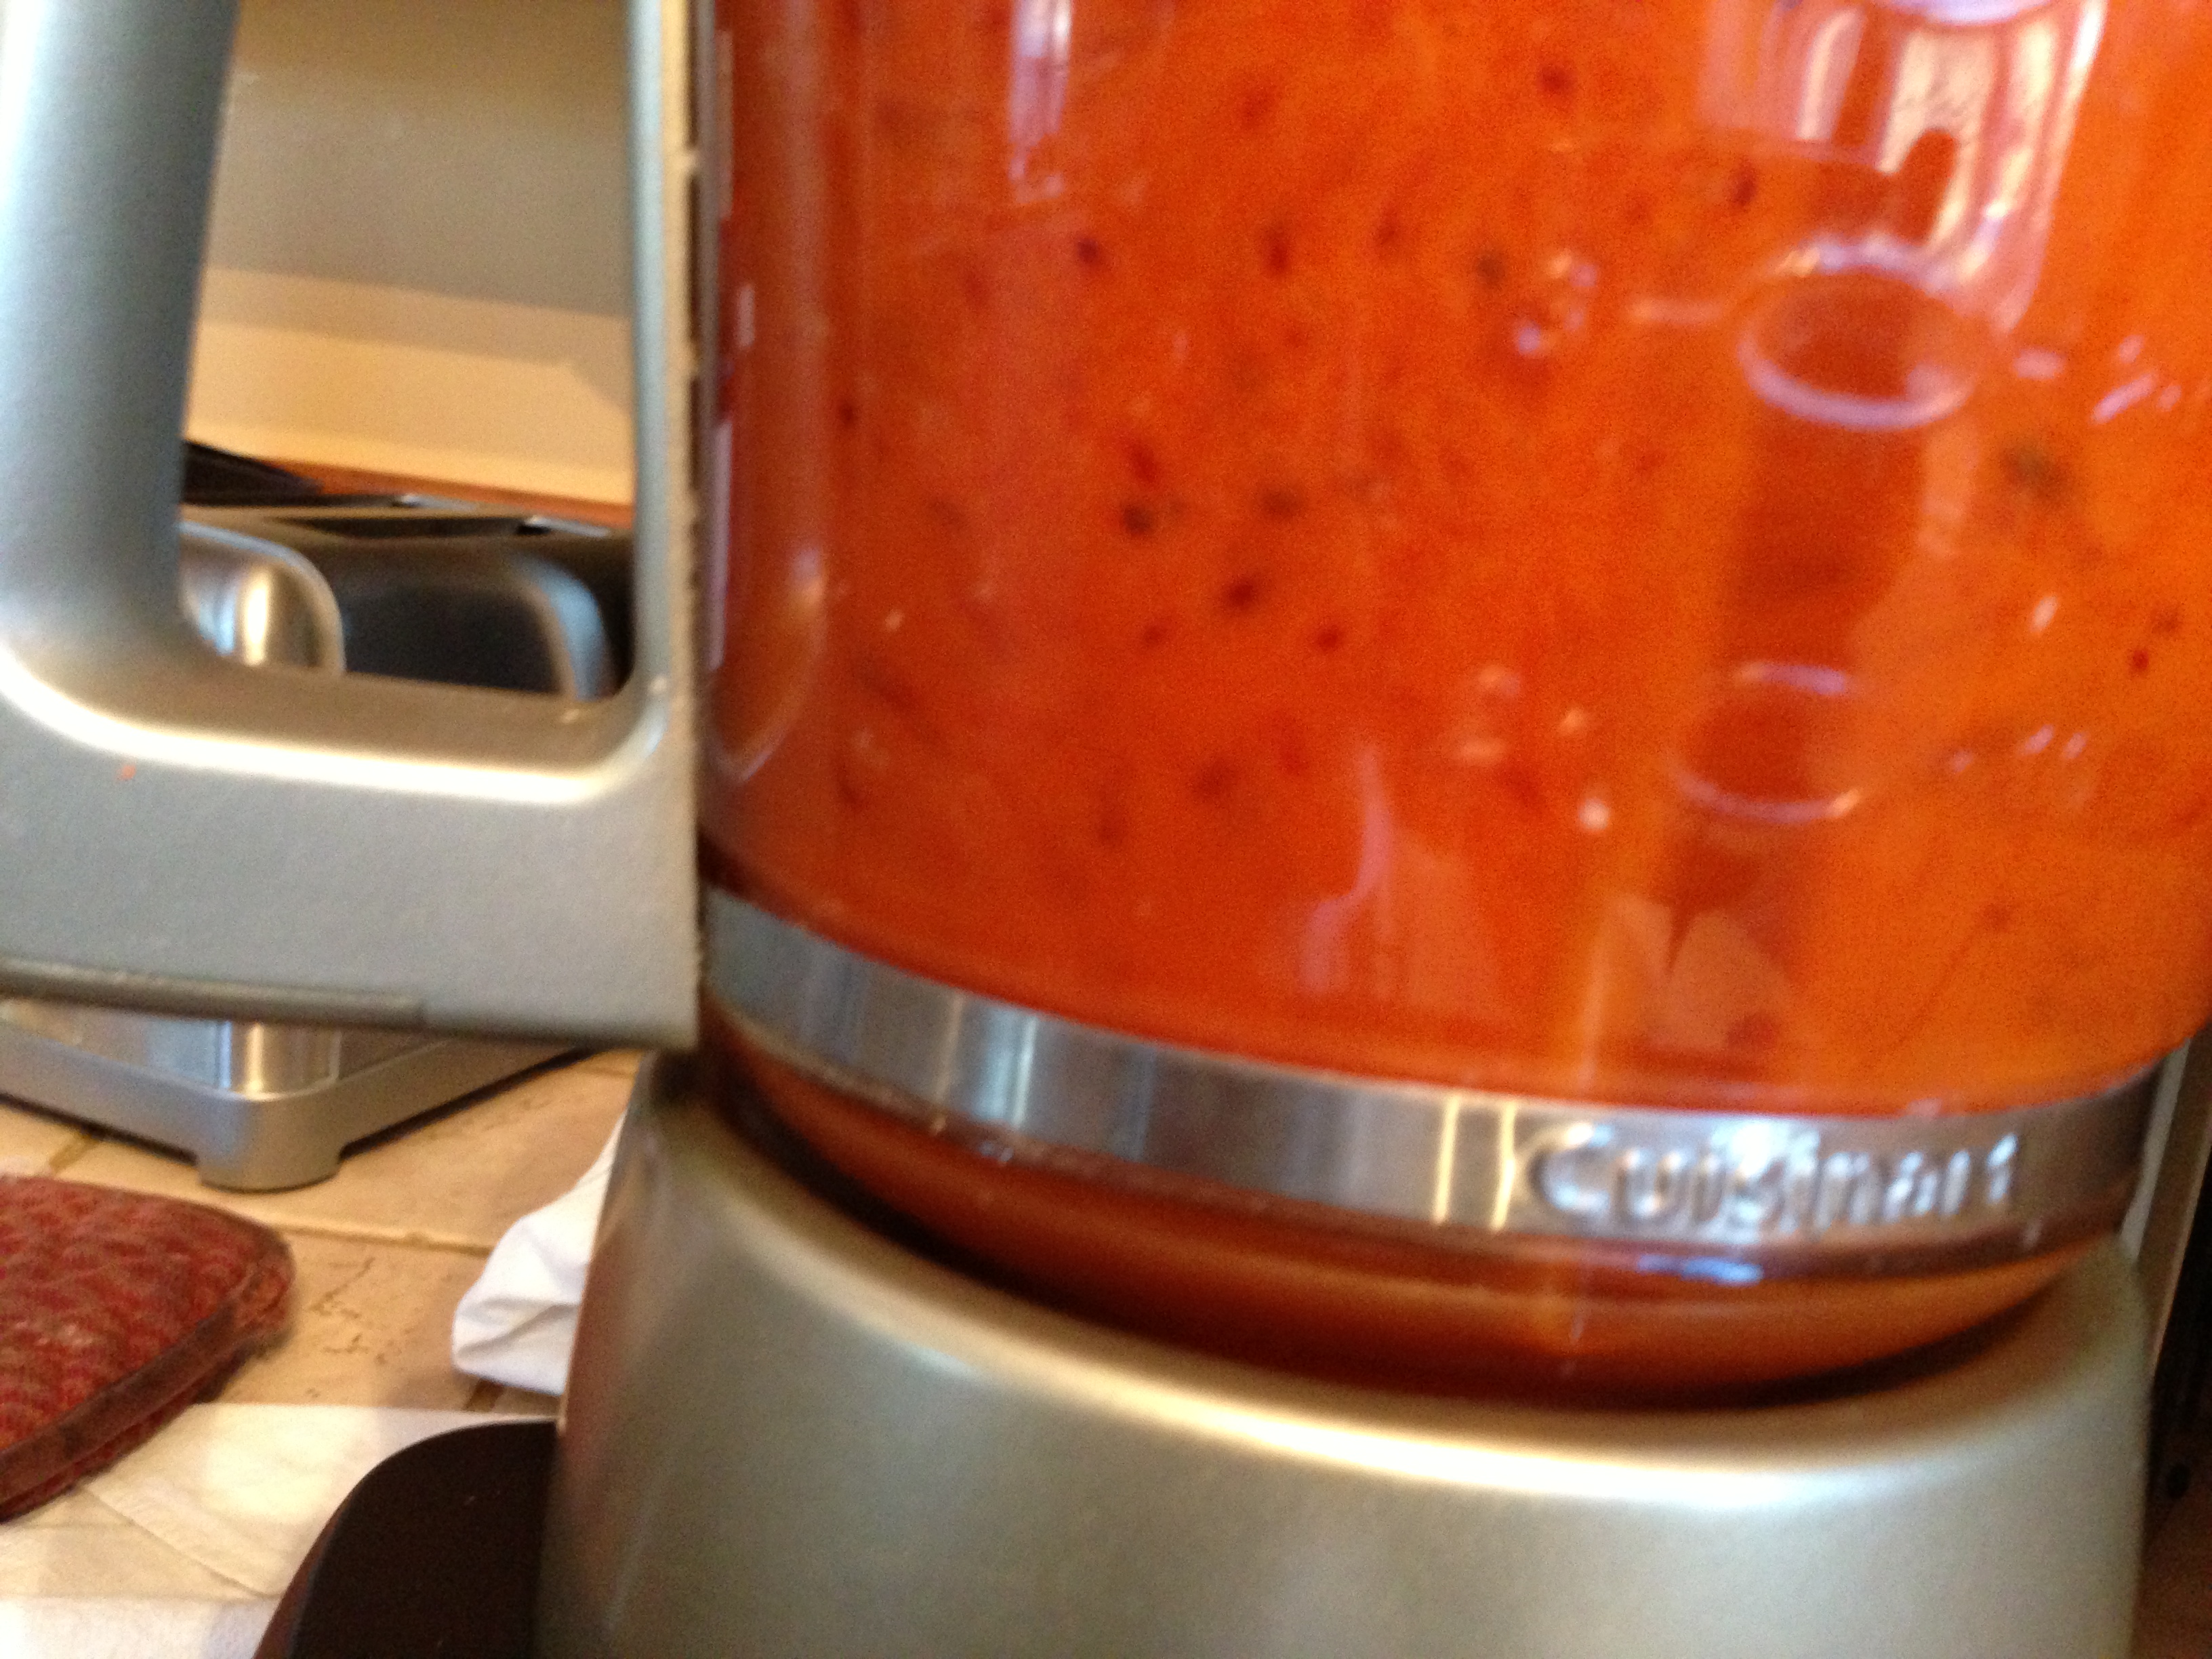
Blend or process the ingredients for 2 to 5 minutes depending on your mixer or food processor. The end result will be a smooth burnt orange color with no chunks. Taste your chile at this point to determine if you need extra salt, garlic or even more water. This will depend on your taste buds.
Reserve half of the red chile for pouring on individual servings of enchilada when they come out of the oven, and put the other half into a bowl that’s wide enough for dipping the tortillas.
Enchilada Ingrediants:
1 dozen blue or yellow corn tortillas warmed in the oven or in the microwave or you can fry them in 2 tablespoons of canola oil
1/4 cup chopped yellow onion
2 cups monterey jack cheese (you can also use manchego, longhorn cheddar or a combination of longhorn cheddar and monterey jack cheeses)
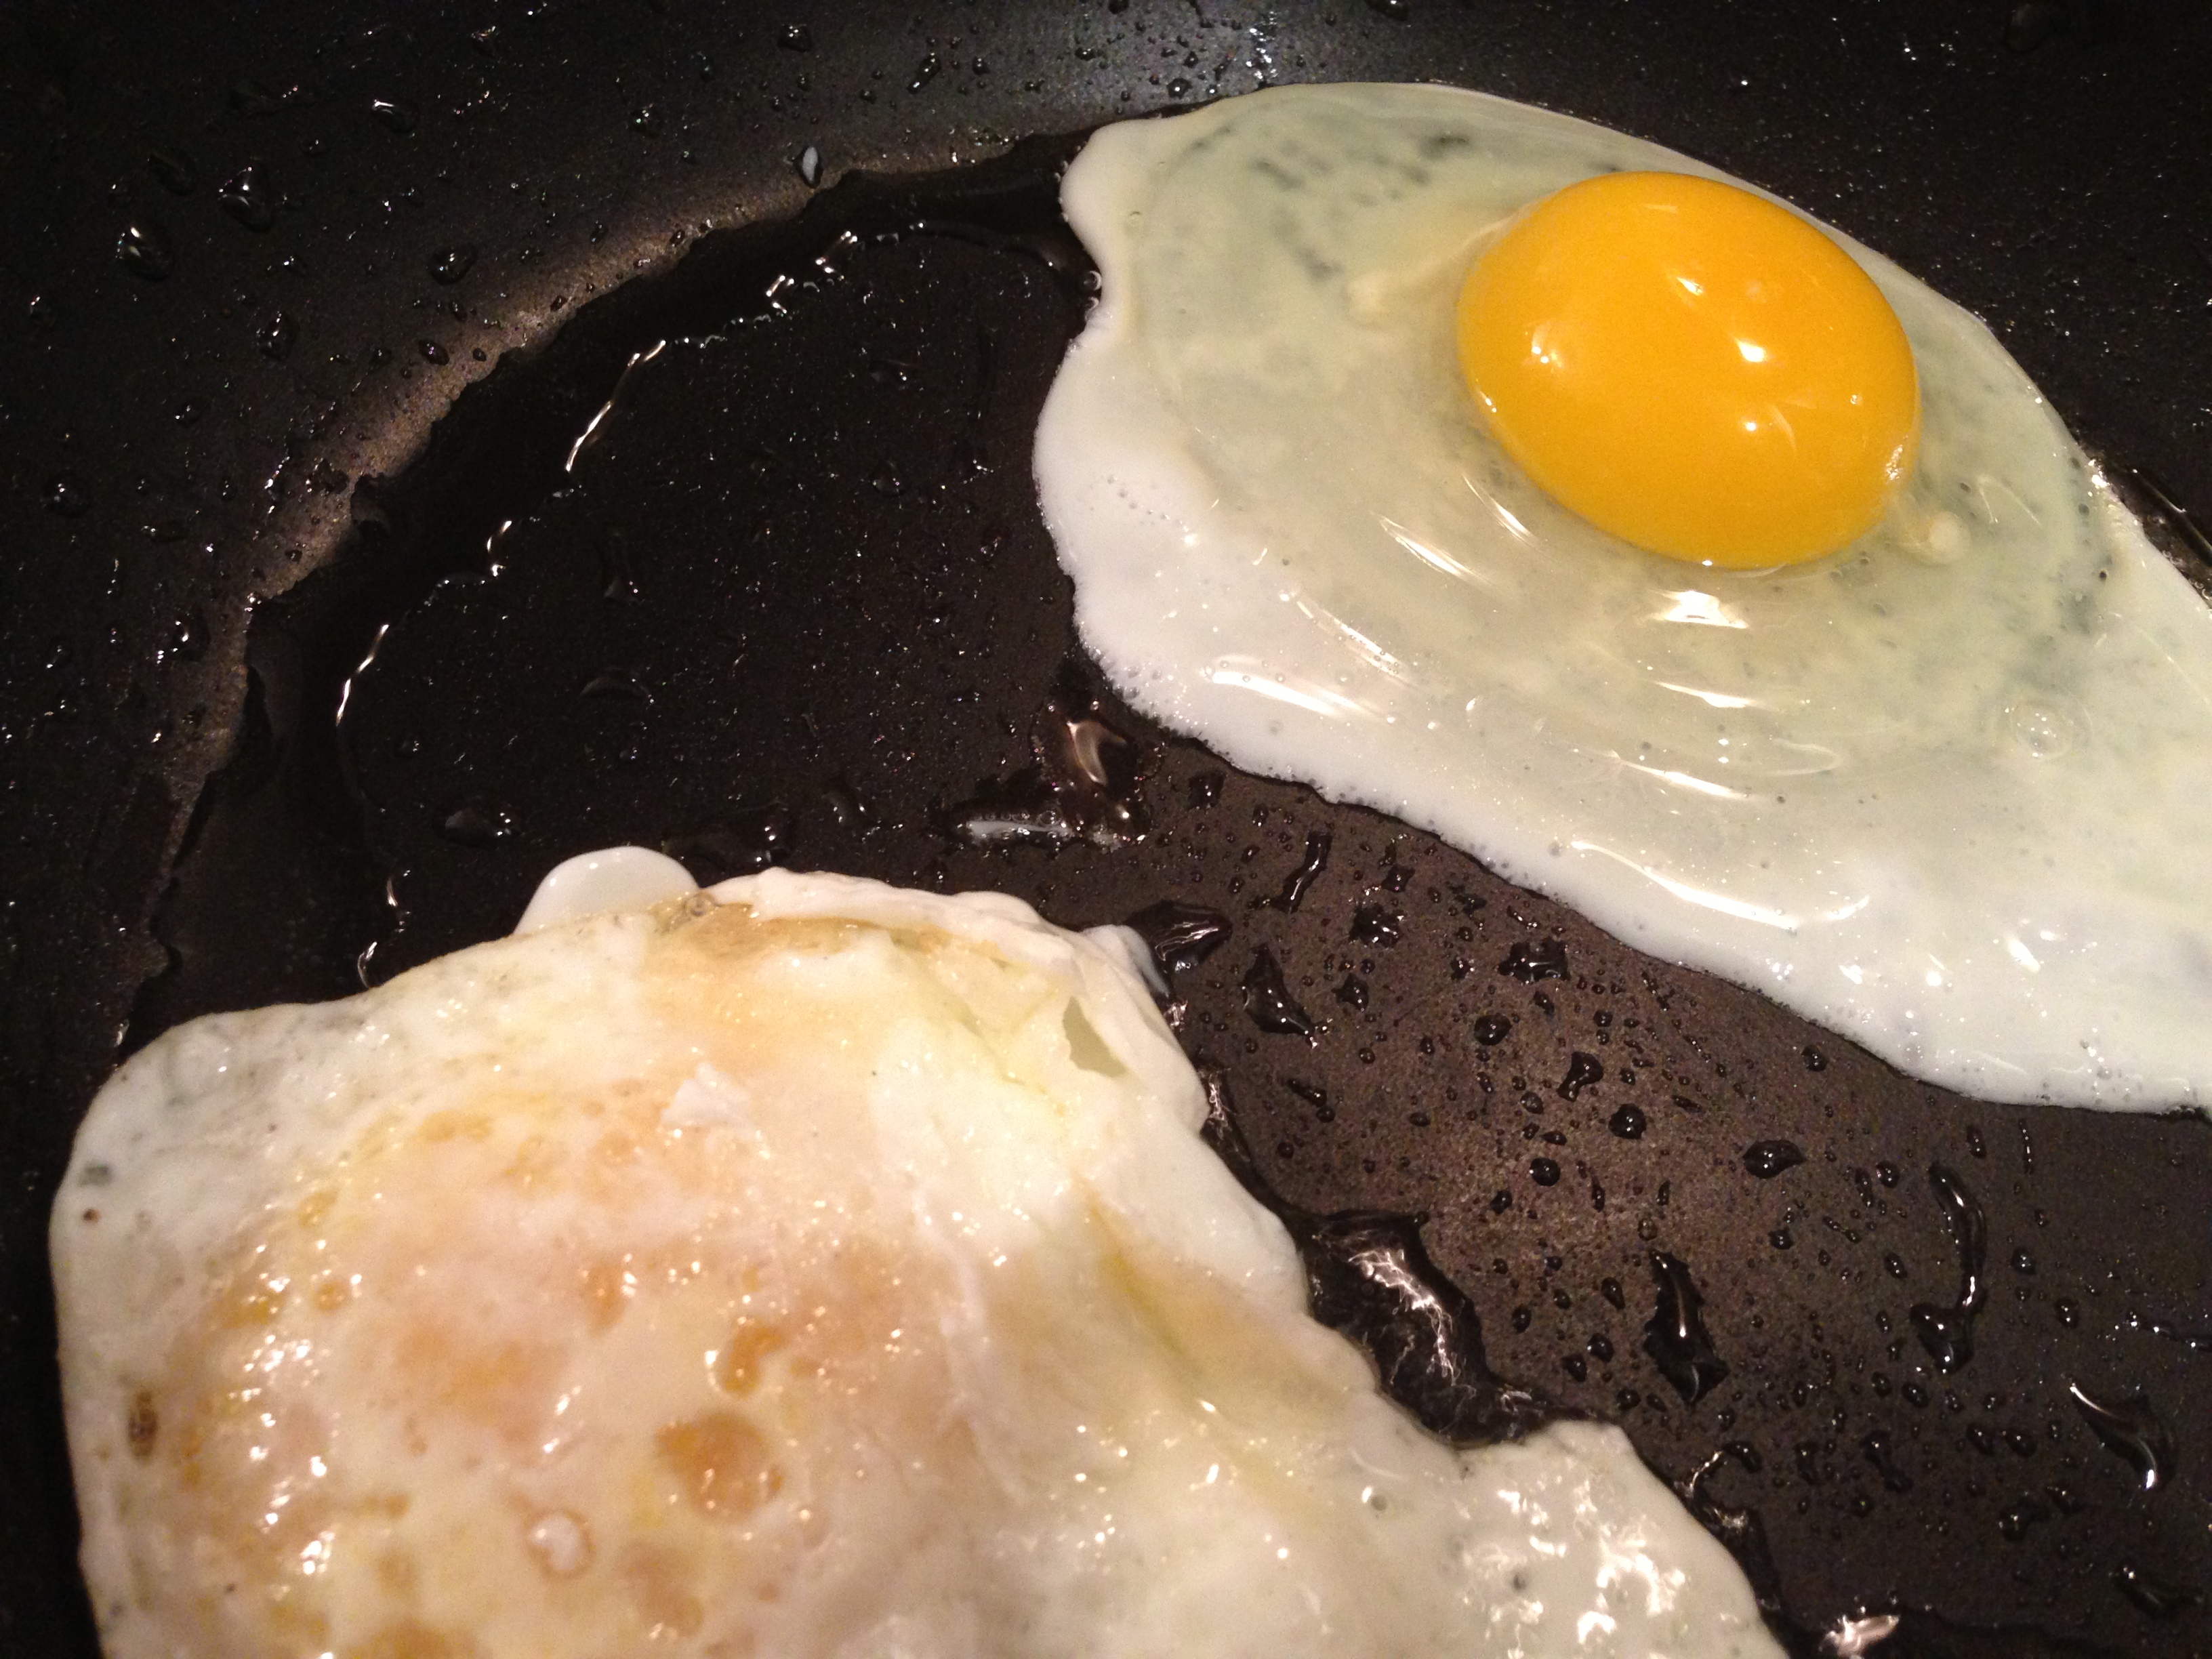
Optional: 6 fried eggs for garnish – – it’s traditional in New Mexican culture to place a fried egg on top of each serving of cheese enchilada.
Preparing the Tortillas:
Preheat the oven to 375° fahrenheit and lightly rub the bottom of a 13X9 baking dish with olive oil.
Brisa fries her tortillas in a light coating of canola oil, but I found that warming the tortillas in the oven wrapped in a wet towel for 20 minutes or warming them in the microwave for 30 seconds works just as well.


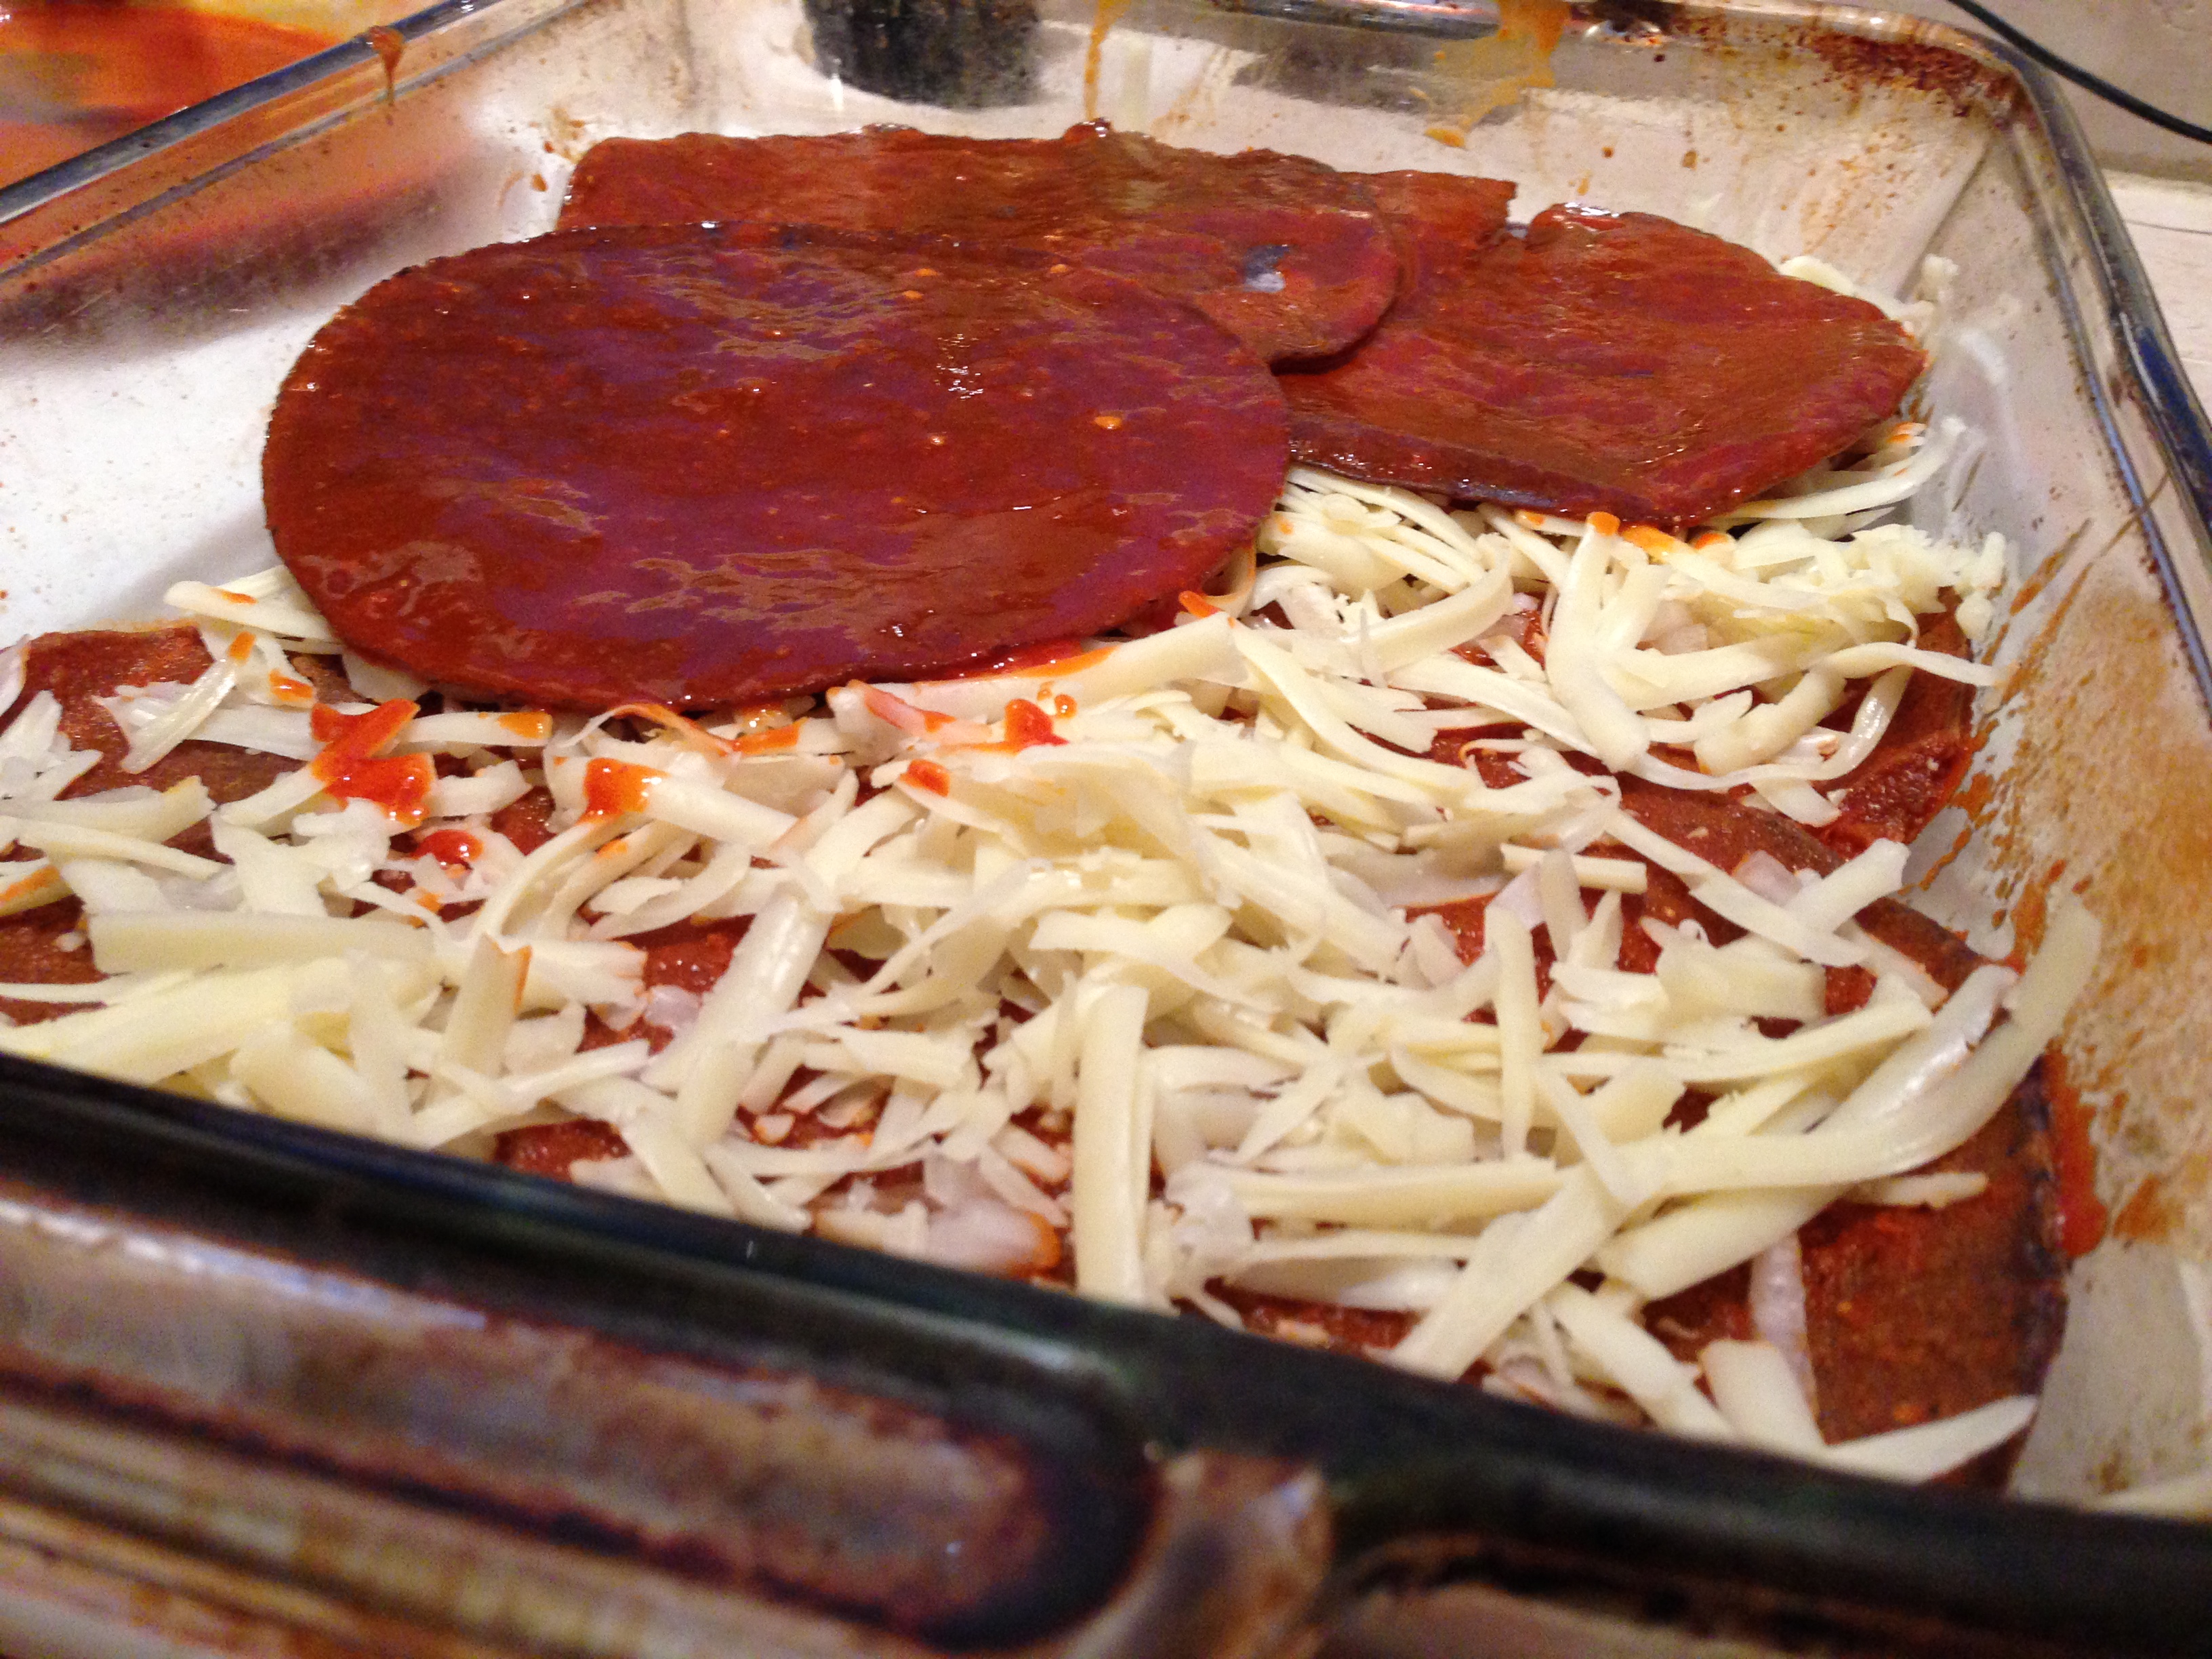
Assembling the Enchilada:
Once all of your tortillas are heated in whichever method you choose, dip them one at a time into the red chile making sure to cover both sides of the tortilla.
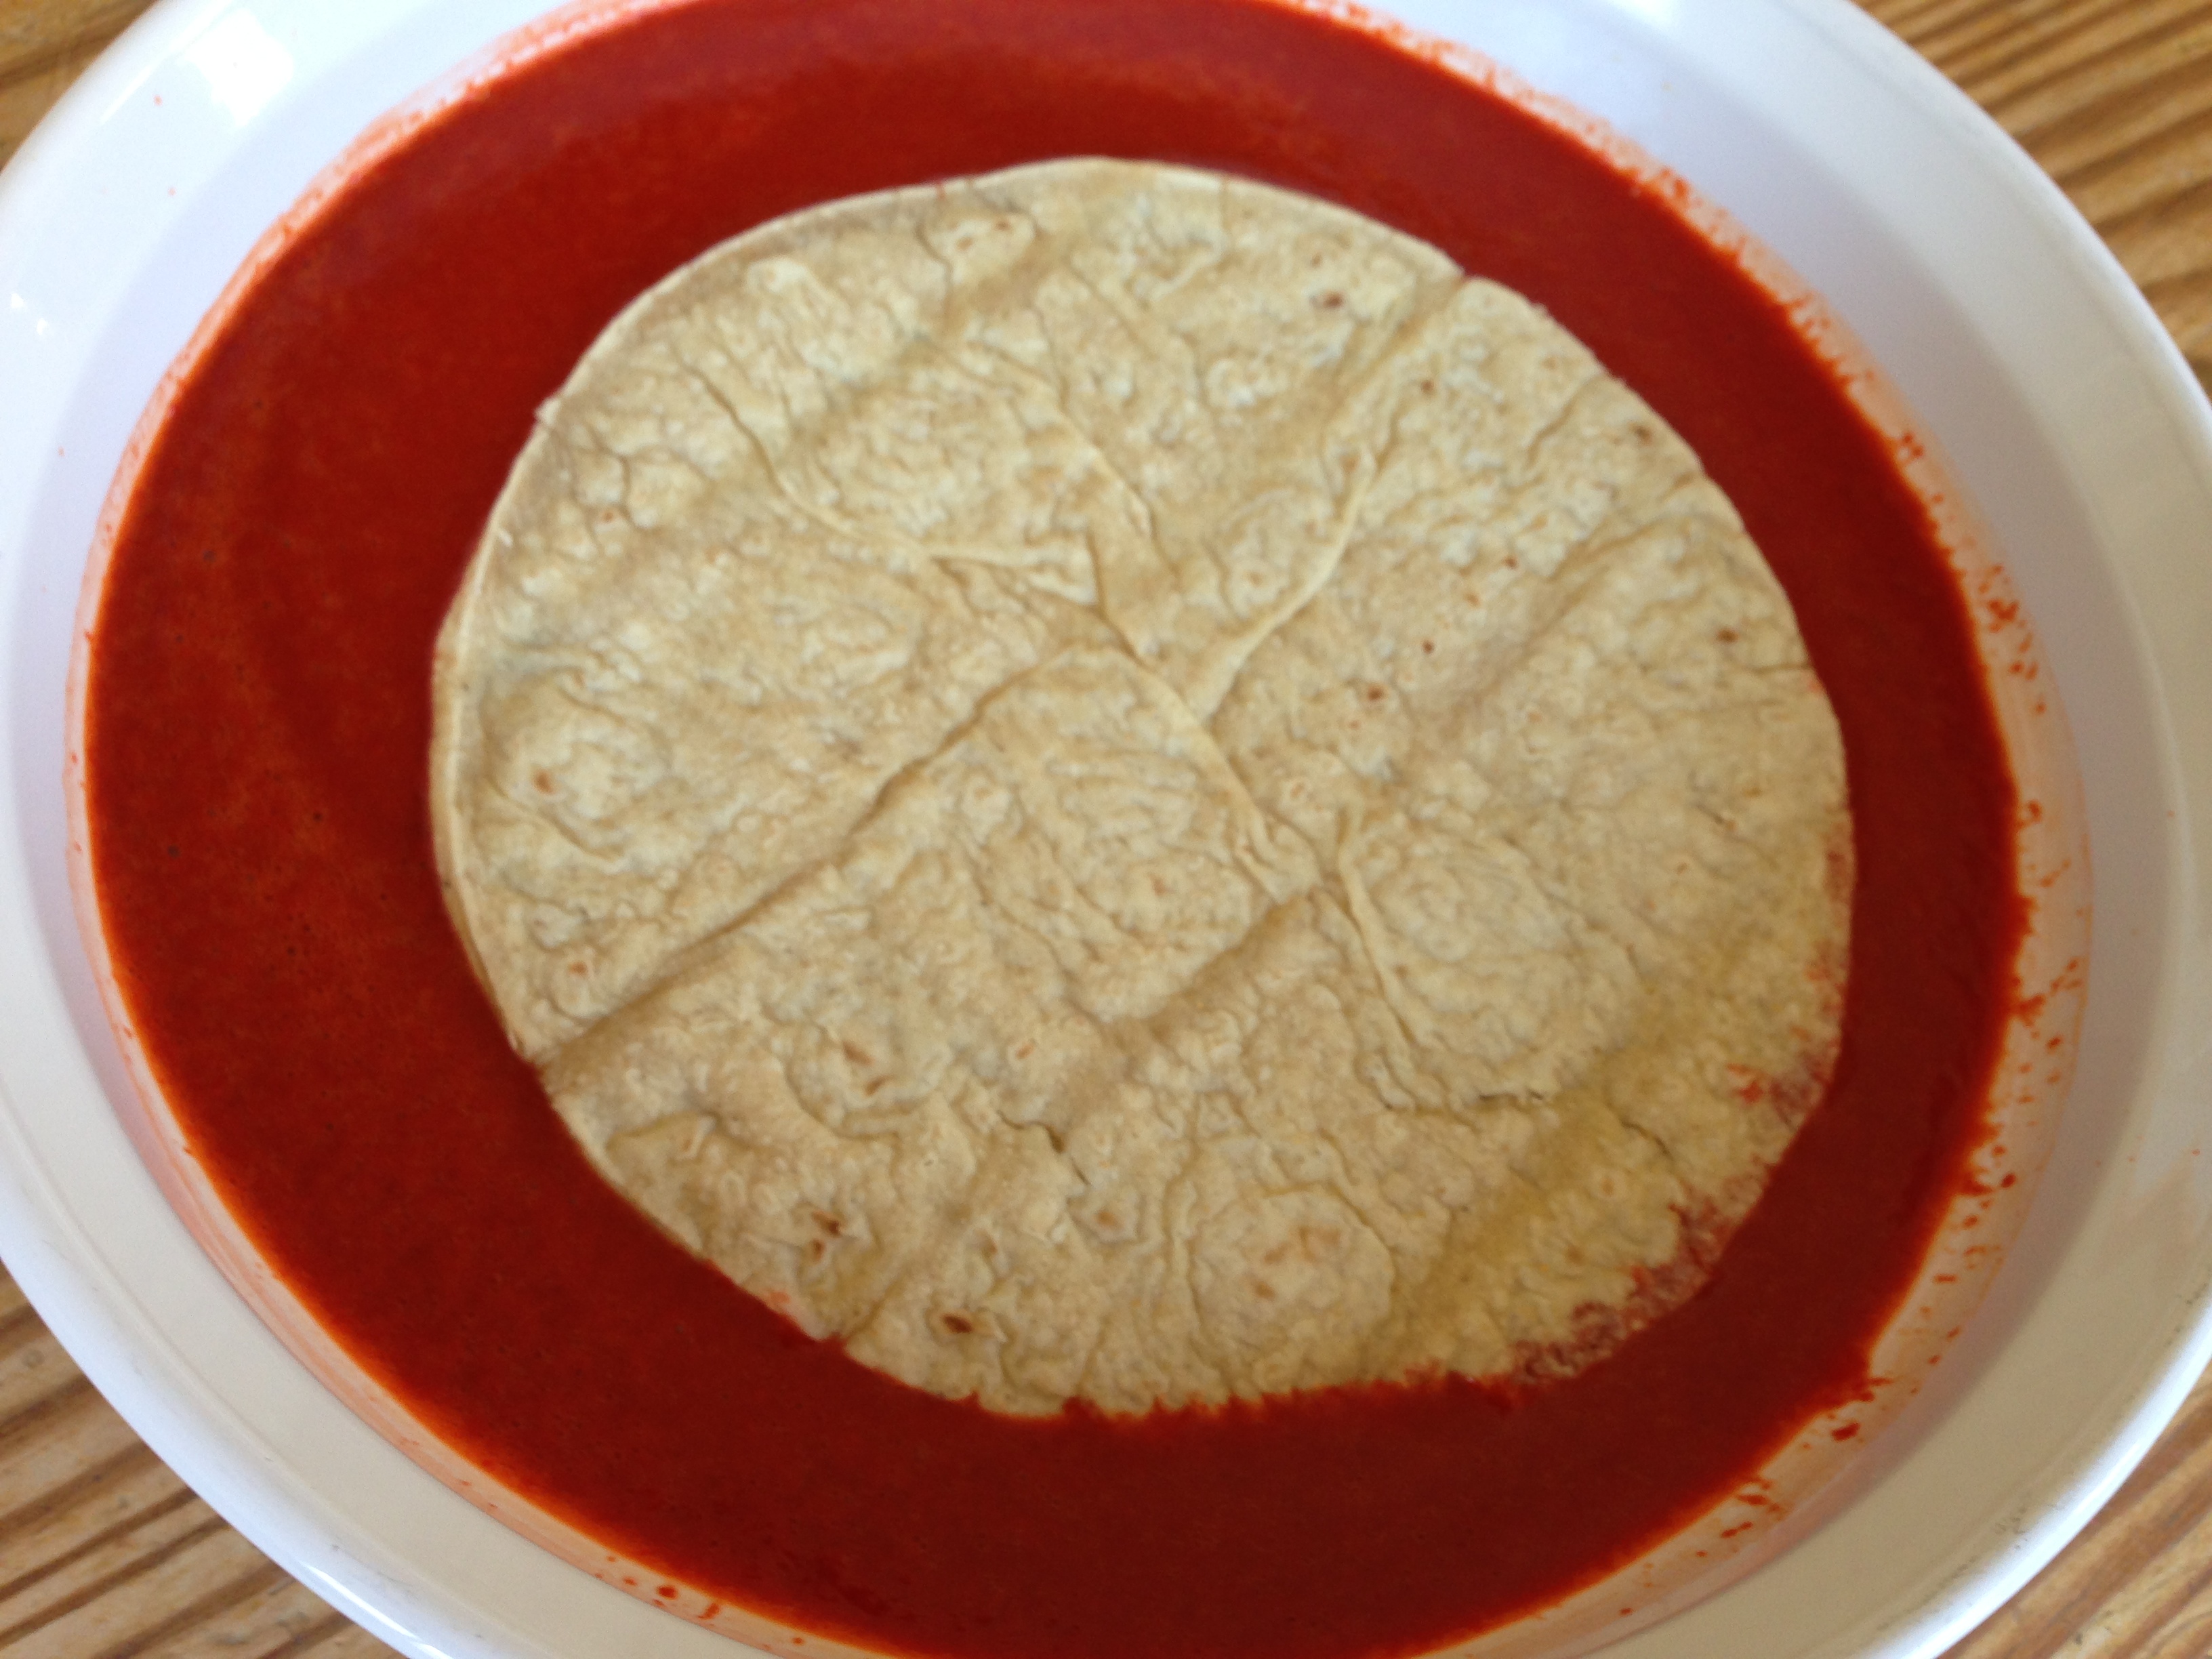
Place a single layer of 6 chile covered tortillas on the bottom of your baking dish and cover with half of the cheese and half of the chopped yellow onion. Then repeat for one more layer.
You can bake the enchiladas immediately or put them in the refrigerator covered with foil and bake later. Bake at 375° until all the cheese is melted — about 20 minutes. Buen Provecho!
Serves 6
About Brisa Apodaca:
Brisa, which means breeze in Spanish, learned to make many New Mexican favorites by watching her mother in the kitchen. Some of her specialties are Chile Rellenos, Green Chile Stew, and these enchiladas. Brisa was born and Raised in Northern New Mexico, spending most of her growing up years in Santa Fe. The Apodaca’s can be found in Northern New Mexico dating back to the 1600’s. Brisa lives in Taos, with her partner and their doberman Ruby.

Brisa & I in New Orleans – we’ll get photos in her kitchen next time!
