Although I discovered these wonderful potato and flour dumplings at a party 20 years ago, I still feel like I’m new to gnocchi. It was love at first sight when I spotted those small pillows of potato tucked in a pot of rich tomato sauce at my friend’s house. I loaded up a plateful and was transformed with the very first bite. The gnocchi’s light and fluffy texture was a surprise since they looked dense and even felt heavy in my mouth. I wanted to know the mystery of those magical potato pastas, but they seemed so intimidating. I didn’t begin my experimentation with actually making them until the past couple of years.
Most gnocchi recipes make them sound difficult — even scary, like you will definitely fail the first time you try to tackle such a complicated fight between flour, potato, and egg. Some recipes warn it is a very delicate balance to achieve — too much flour and they will be dense, too much potato and they will fall apart while cooking. Some recipes don’t even call for an egg. (My Grandmother is rolling over in her grave just thinking about a dough made without egg.)
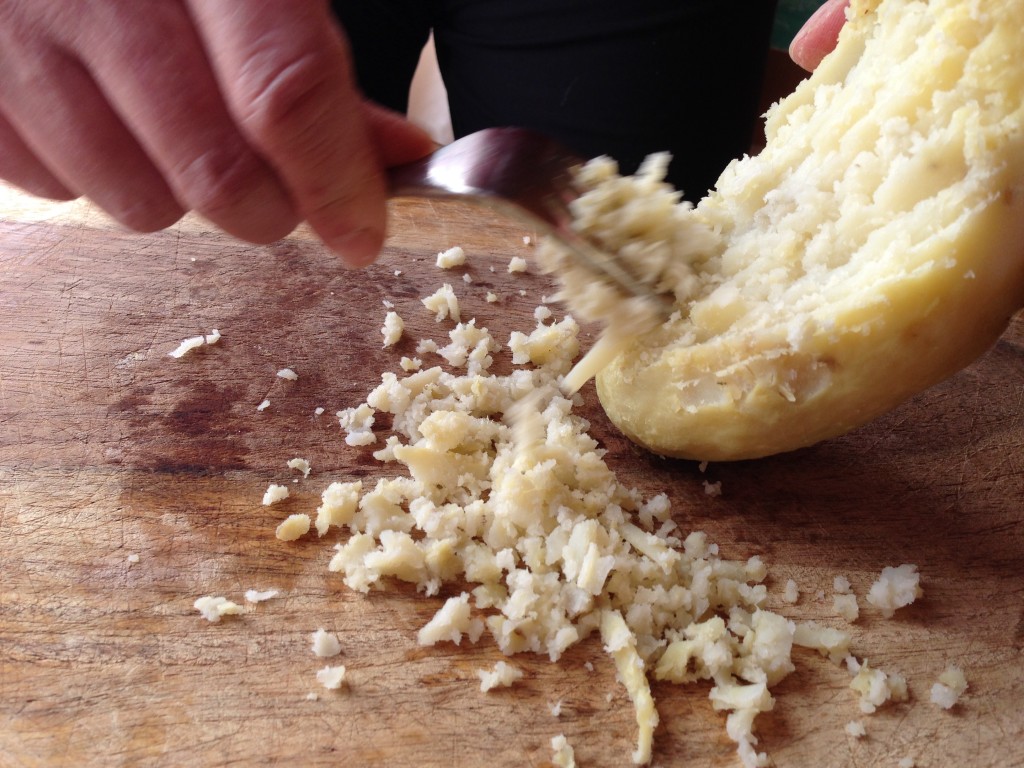
And then there’s the issue of a ricer or a food mill – two cupboard-clutterers most recipes require to achieve the exact texture and size of the potatoes before you incorporate them into the flour and egg. Thankfully during my early research on gnocchi and ricing potatoes I discovered Heidi Swanson at 101 Cookbooks and she recommended the perfect method. Heidi suggests using a fork. Scraping the prongs of the fork down the sides of the potato creates tiny bits of potato that resemble rice – the exact result you would get from a ricer. I don’t know about you, but I have no vacancy for another cooking gadget. A fork on the other hand…
During my first attempt at making gnocchi, I guided myself with my experience of making flour and egg dumplings and doughs with my grandmother. I kept reminding myself the end result needed to be more like dough than potato, and this became my gnocchi mantra. That was a huge help and my gnocchi have always turned out light as a feather.
Today, was our second day of being snowed in at our cabin, and when we’re snowed in we use what we have. I had two large russet potatoes in my refrigerator that I baked for a dinner party the other night, and decided why not try using them to make gnocchi? They fell apart into large chunks as I was ricing them, but I was able to rice the parts that fell off just as easy. The potatoes were also a little drier than they would’ve been had I boiled them, but that didn’t create any problems with the end result.
I usually cook and serve the gnocchi as soon as I am done rolling and cutting them, but today, with all this snow time on my hands, I decided to stretch out my cooking throughout the afternoon. I made the gnocchi early and froze them for dinner. Since there are just two of us, not including our menagerie of four legged family members, the recipe left us with another bag of gnocchi in the freezer waiting for the next snowfall.

Gnocchi are not as temperamental as they sound, and they are actually fun to make. Something about mixing the dough, cutting them into little dumplings and rolling them against the prongs of a fork and my finger makes me feel like an old world nona in the Tuscan countryside. So, if you’re new to gnocchi like I am, don’t fear, jump in, and remember the gnocchi mantra — dough not potato.
Gnocchi
Ingredients:
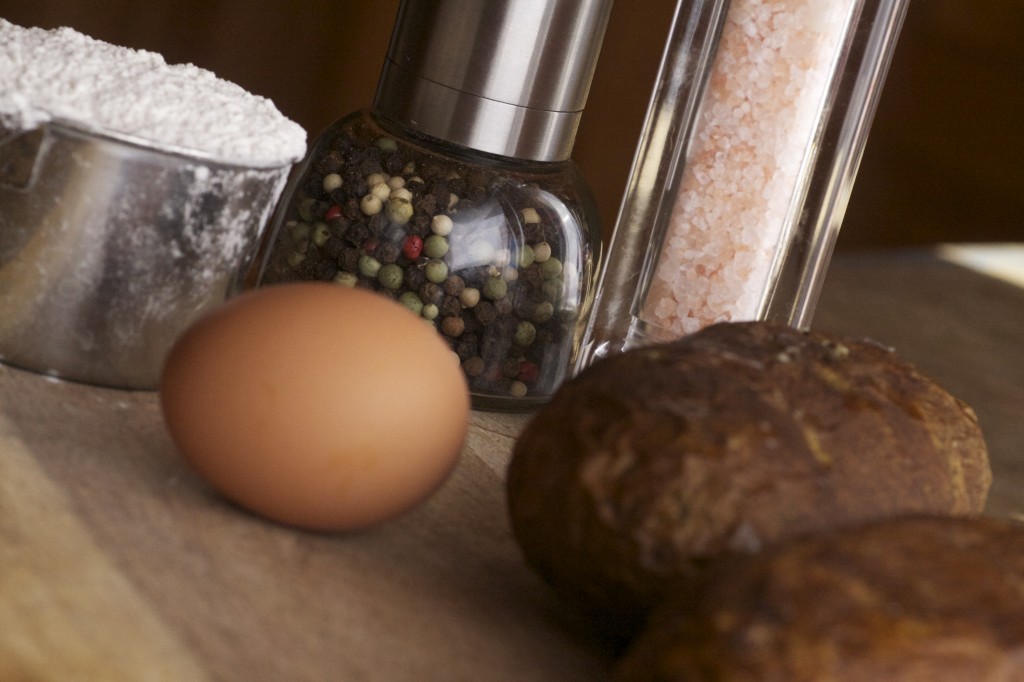
2 large russet potatoes (approximately 2 pounds)
Note: You can also use Yukon Gold potatoes which will give the gnocchi a golden color & a more buttery flavor
1 large egg
1 -1/4 to 1 -1/3 cup flour
hearty pinch of sea salt
dash of white pepper (today I used multicolored peppercorns because I’m snowed in and don’t have any white pepper)
Preparing the Potatoes if Using Boiled Potatoes:
Bring a large pot of water to a rolling boil, and place the potatoes, with their skin on, into the water. Boil the potatoes for 30 to 40 minutes until they are soft throughout. Remove the potatoes from the boiling water with a slotted spoon, and peel them immediately. A paring knife works well, but they are also easily peeled using your fingers. They will be hot to the touch, so it is helpful to use a silicone oven mitt or a thick dish towel to hold the potatoes while you peel them.
Preparing the Potatoes if Using Baked Potatoes:
Preheat the oven to 425º fahrenheit. Scrub the potatoes and then poke them all around with a fork – making sure to really puncture them. Pour 1/4 to 1/2 teaspoon of olive oil onto one potato at a time and rub it into the skin with your hands. Wrap each potato in foil then place them onto a cookie sheet. Bake in the preheated oven for 1 hour. Poke with a fork after the hour is up to see if they are tender. If the potatoes still feel firm then return them to the oven for another 15 minutes. Potatoes are done when your fork slides into the potato easily. Allow the baked potatoes to cool and then peel them with a paring knife or your fingers.


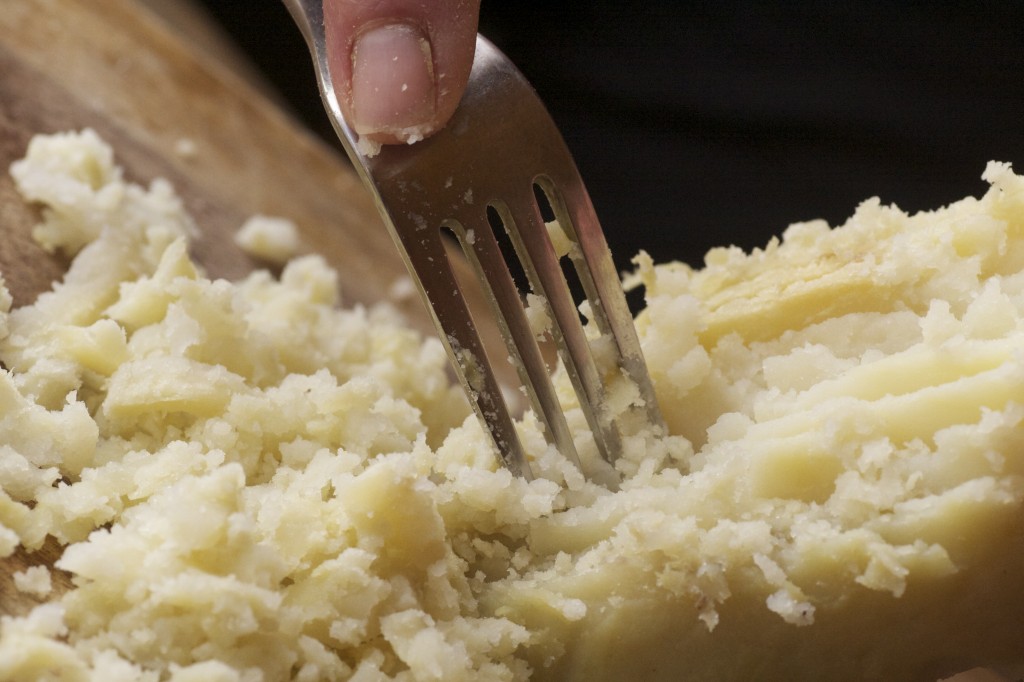
Ricing the Potatoes:
Once the potatoes are peeled, it’s time for the ricing process. Holding the potato upright, use the prongs of a fork to scrape down the side of the potato creating little rice-like bits. If big pieces of the potato break off, just set them aside and rice them separately. If you have small chunks of potato that fall off, use your fork to mash them into smaller pieces. You don’t want any potato chunks, and you want your riced potatoes to be a light, fluffy consistency. Allow the riced potatoes to cool about 10 minutes when your finished.
Preparing the Dry Ingredients:
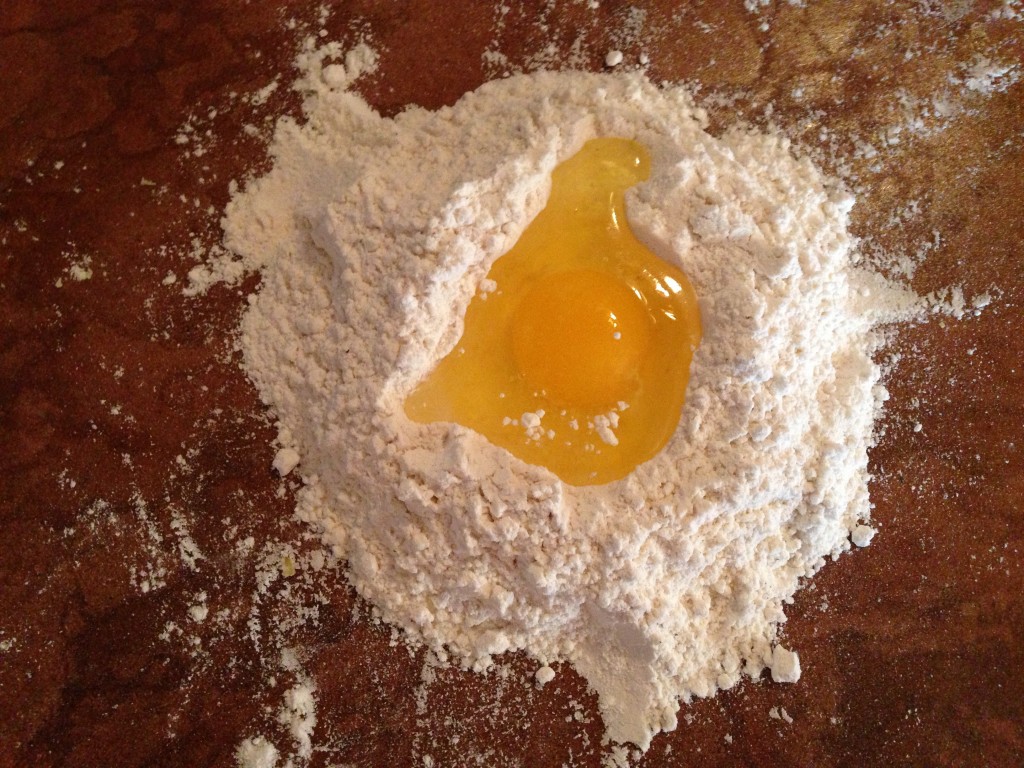
In the meantime, mound one cup of flour onto your work surface. I find working with the dough directly on my kitchen counter works best. If you have a marble board or a stone surface that’s even better. Add the salt and pepper and work the dry ingredients together with your hands. Once mixed, form a new mound with the dry ingredients, create a well in the middle, and add the egg to it. Next, add a handful of potato and begin mixing the ingredients together with your hands. 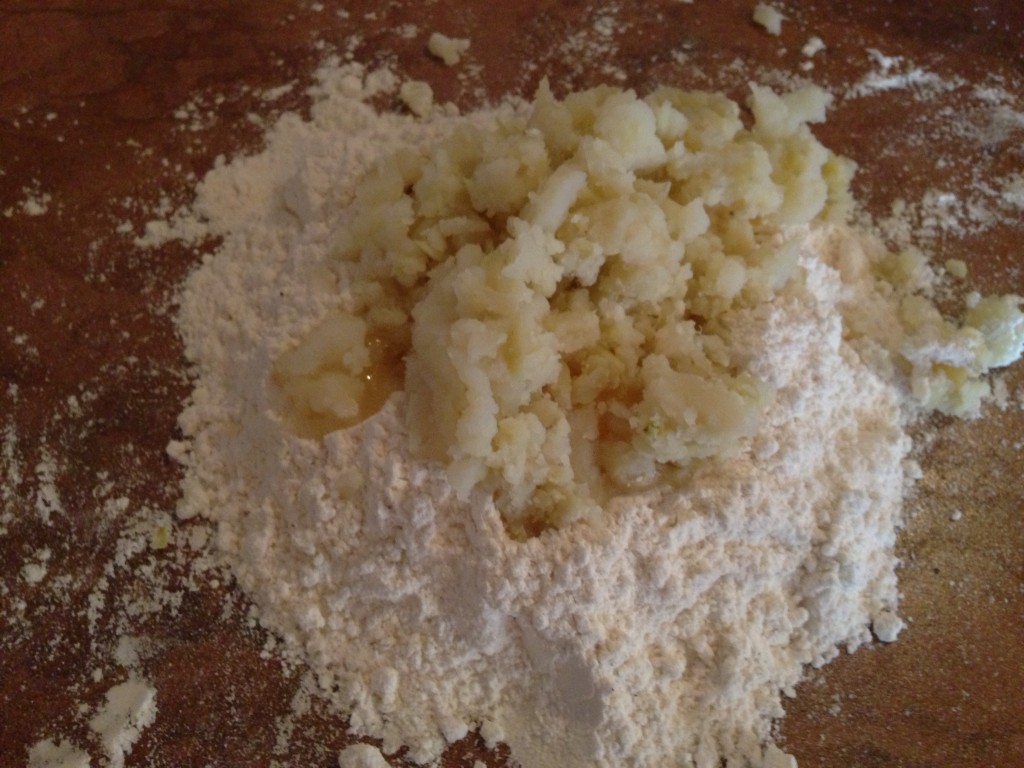
Continue adding potato and flour to the mixture keeping the gnocchi mantra in mind — dough not potato. Sometimes, the exact consistency requires more potato and less flour or more flour and less potato. Trust that you will be able to tell what the gnocchi needs. If the dough is falling apart, add a little more flour at a time to pull it all together into more of a dough. Just be careful not to overwork the dough or it can become too dense. And remember, you don’t have to use all of the potato or all of the flour.
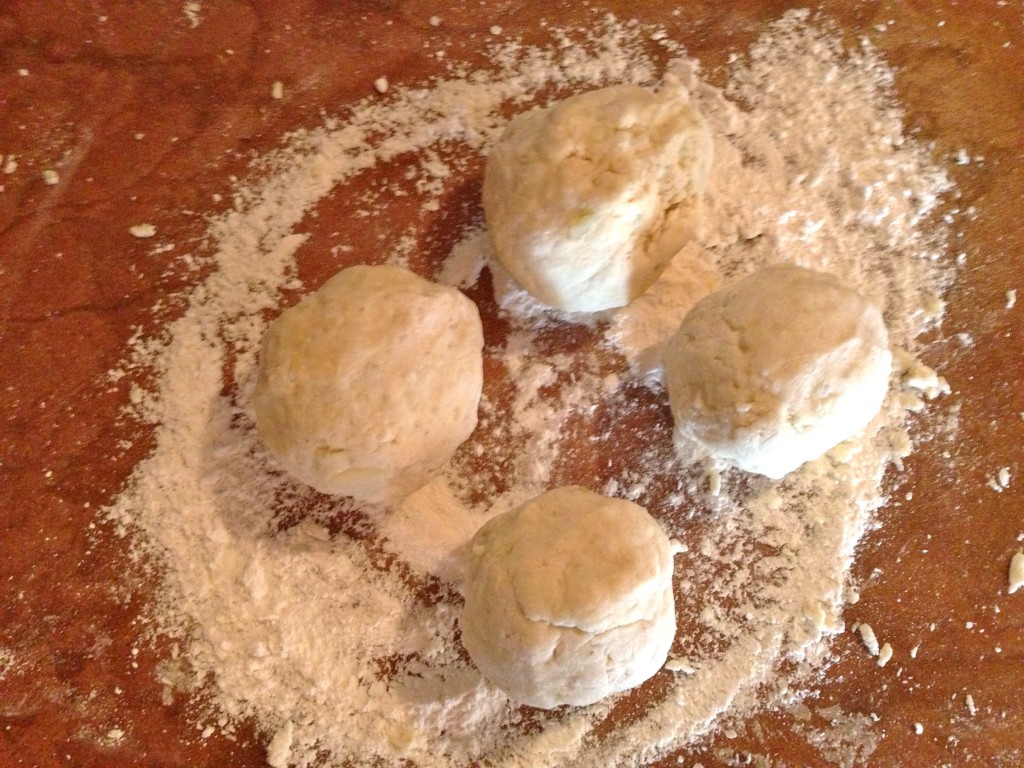
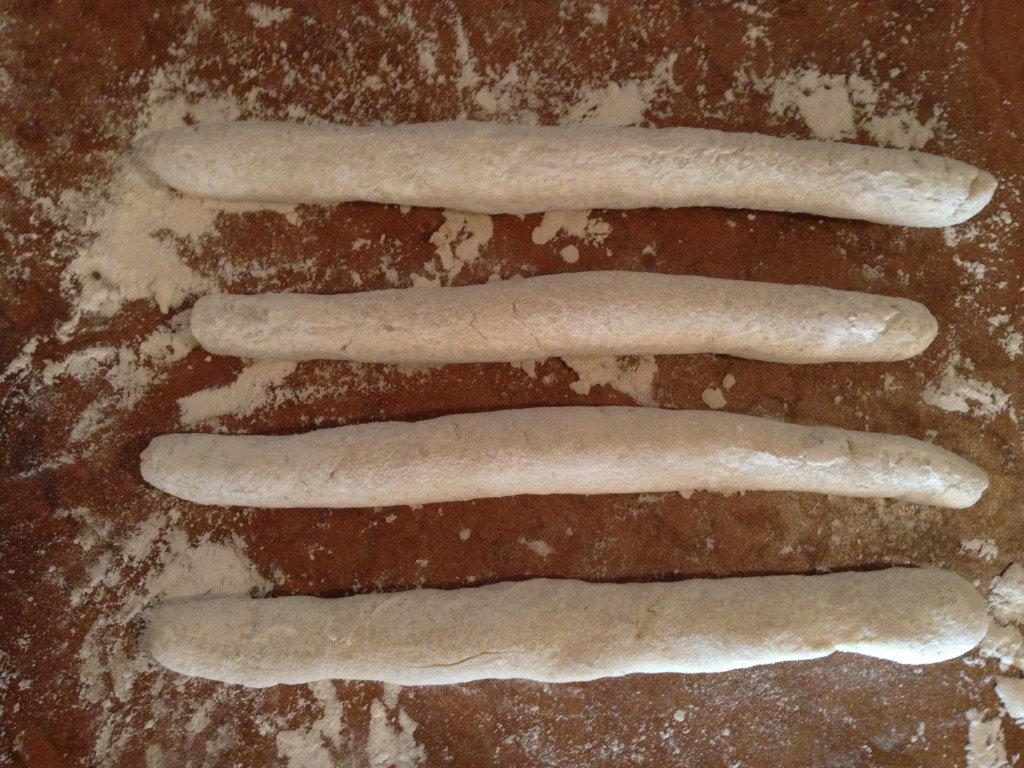
Once your dough reaches a consistency where it is holding together, is no longer sticky, and feels like dough, divide it into four balls.
Forming the Gnocchi Dumplings:
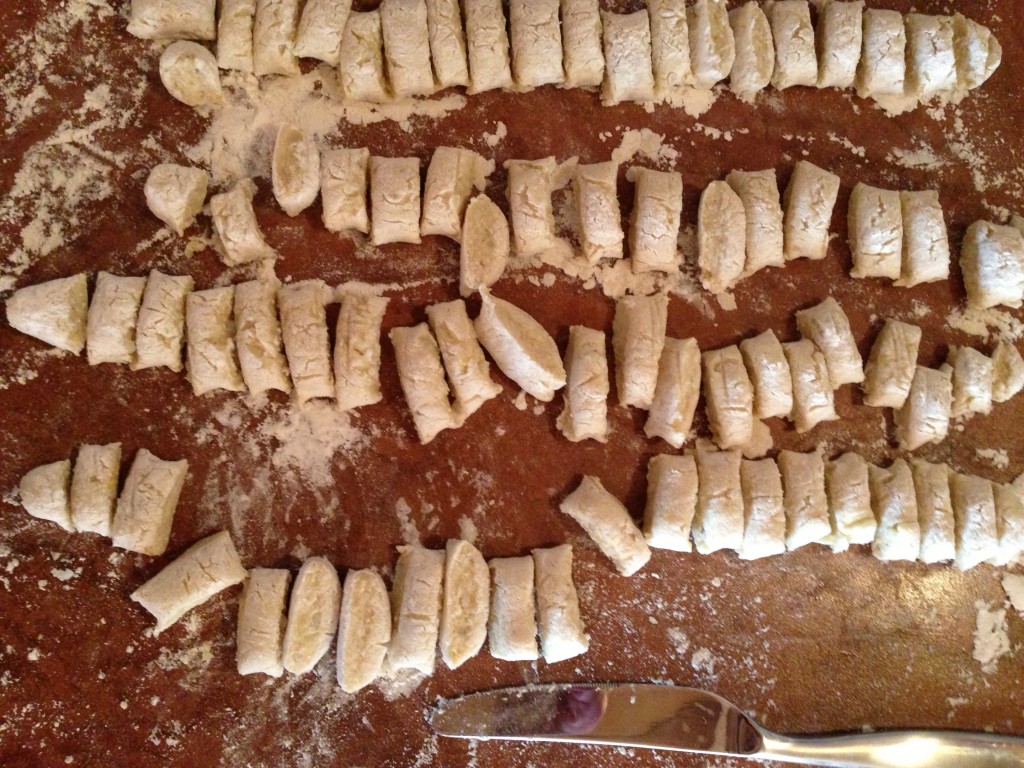
Before rolling your gnocchi, fill a large pot with salted water and bring it to a boil. While your water is heating, lightly flour your work surface. Working with one dough ball at a time, roll the dough back and forth with the palms of your hands until you have a long rope, about 1 inch thick. Using a butter knife, cut 1/2 inch pieces until the rope is all cut.
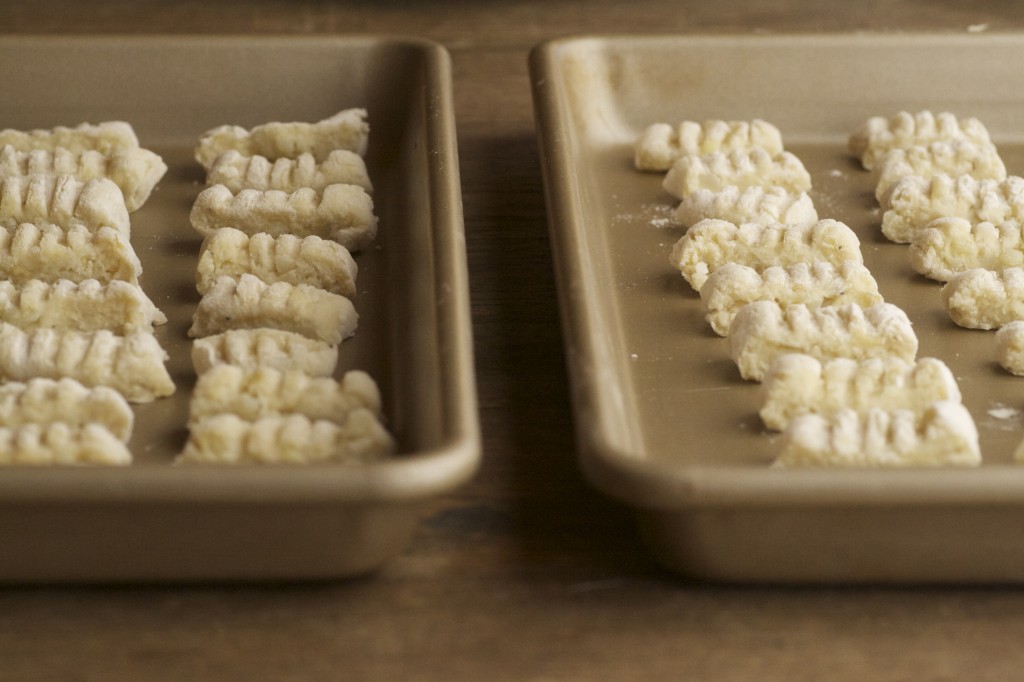
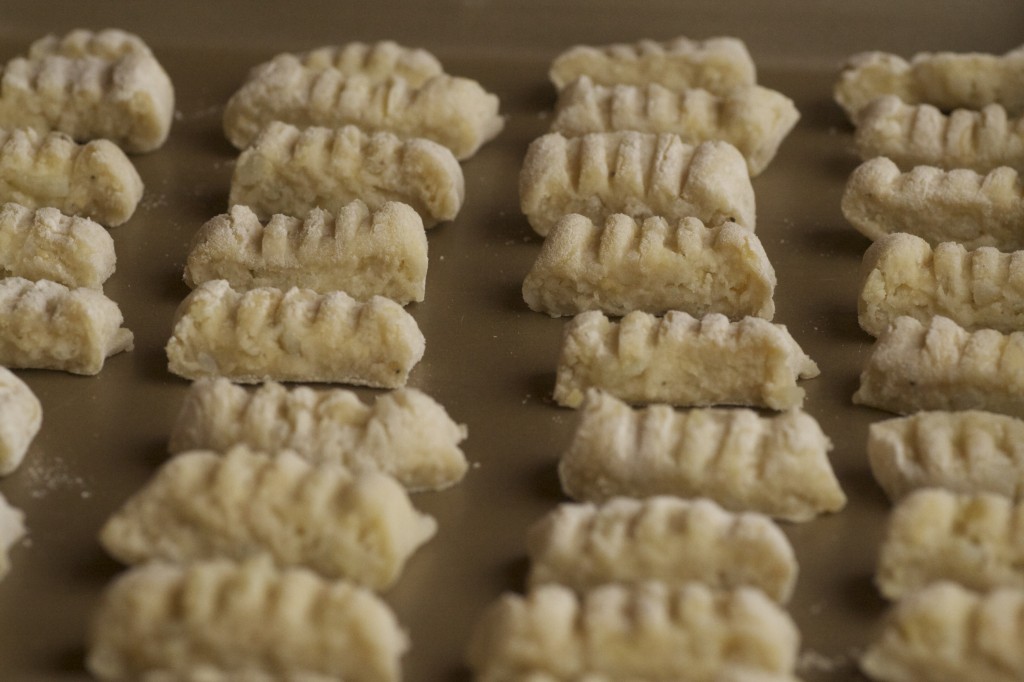
Holding a fork in one hand and holding one of the gnocchi dumplings in the other hand, gently roll the gnocchi along the tines of the fork while gently pushing on the back of the gnocchi with your finger. The gnocchi will have a slight indent in the back from your finger and the front will have the fork tine marks. This creates tiny ridges for your sauce to gather later. Place the gnocchi on a cookie sheet in a single layer until you have worked through all of the dough. Once your gnocchi are formed you can either freeze them or go ahead and boil them.
Freezing Gnocchi for Later Use:
Place a dish towel gently over the cookie sheet of gnocchi and place the cookie sheets in the freezer. Once they are completely frozen (about three to four hours) gently remove the gnocchi from the cookie trays and place them in a zip lock bag for later use.
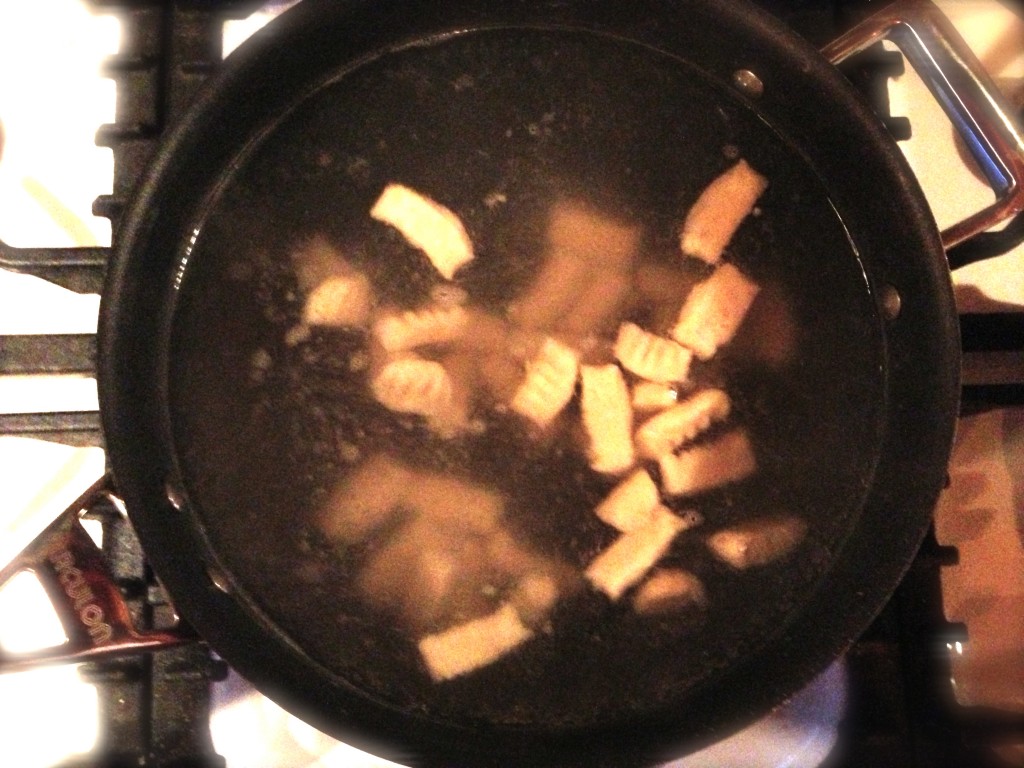
Boiling Gnocchi for Immediate Use:
Your water should be at a rolling boil now. Working with about thirty gnocchi at a time, put them into the boiling water and give them a gentle stir to make sure they aren’t sticking on the bottom of the pot. Watch the pot, because it doesn’t take long before the gnocchi pop to the top of the rolling water. Allow them to remain on top of the water for about twenty seconds then remove them with a slotted spoon, placing them into a colander for further draining. Continue boiling the gnocchi in batches of about thirty. This is a quick process, and as soon as all the gnocchi are boiled, they are ready for topping with your favorite sauce, pesto, or other ingredients.
Working with Frozen Gnocchi:
If you are working with frozen gnocchi, you will boil them in the same manner, but the time it takes for them to rise to the top of your boiling water will be longer since the frozen gnocchi will cool your boiling water a bit. Follow the same method for boiling your frozen gnocchi – waiting for them to come to the top of the boiling water then giving them an additional 20 seconds to finish cooking.
Gnocchi Toppings:
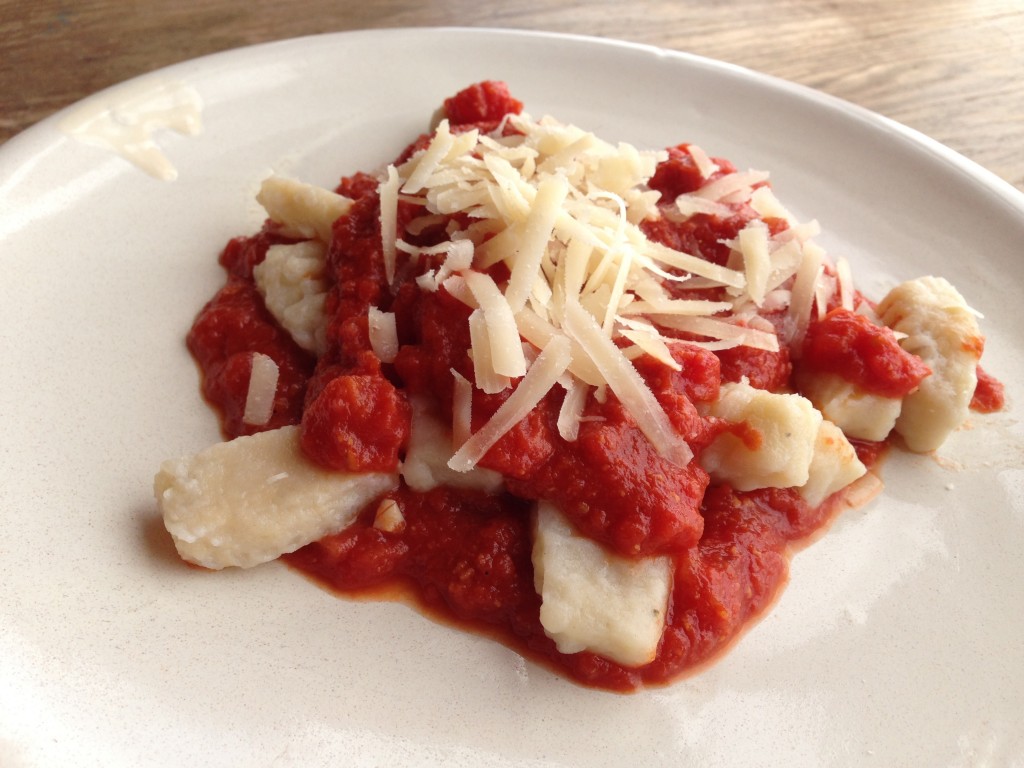
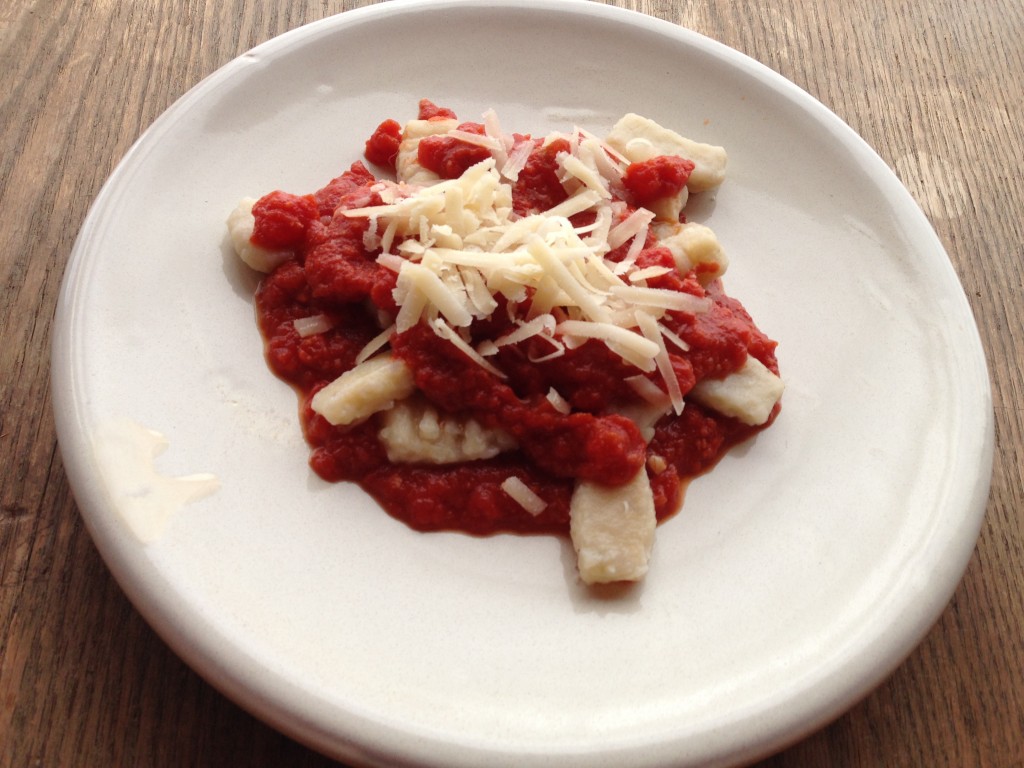
I like gnocchi in a simple tomato sauce topped with fresh grated parmesan, but gnocchi is one of those pastas that can be a blank slate for your creativity. It can be tossed into your favorite pesto, or topped with sauteed vegetables of your choice. Use your imagination, and let me know what you come up with for topping these magical potato and flour dumplings.
Serves 4
 Print This Post