I’ve been on a Mediterranean eating craze lately, which translates to: I’ve been eating healthy. Well, aside from the nut roll and cake I’ve made over the last couple of weeks. But overall, on a daily basis, I’m giving it a good effort, by eating way more fruits, vegetables, whole grains, and beans than ever before.
Along with my new food obsession, comes an ongoing search for interesting ways to incorporate more vegetables into my meals – especially how to make both raw and cooked vegetables more exciting. I know the words vegetables and exciting don’t really go together, but I think this artichoke spread really is exciting.
Last week, I was thinking about artichokes and remembered a sandwich I had on my first trip to New Orleans in 2002. I was in graduate school at the time, getting my Master’s in Social Work and was in town presenting at a conference. I fell in love with the city and spent my non-conferencing time roaming the streets, taking pictures, and eating the most amazing array of foods. This story isn’t about those foods, but about a sandwich I discovered on that trip.
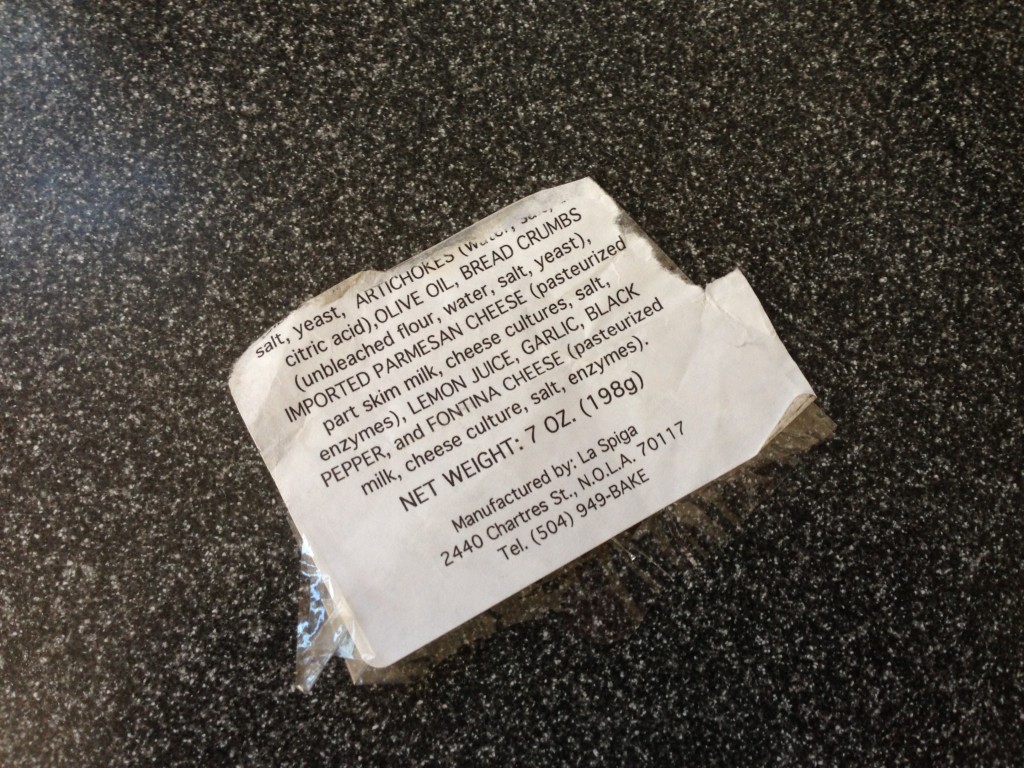
One of the touristy things I did while visiting New Orleans that first time, was a Cemetery and Neighborhood Tour in the Garden District. Before the tour, I ate lunch at a deli on Magazine Street. I have no idea what the place was called, but I loved my artichoke sandwich so much I saved the ingredient’s wrapper, so I could replicate it later on.
I don’t remember what type of bread was involved in their version (it was 11 years ago), but I like to make mine wrapped in a whole wheat tortilla with some spinach and cherry tomatoes added.

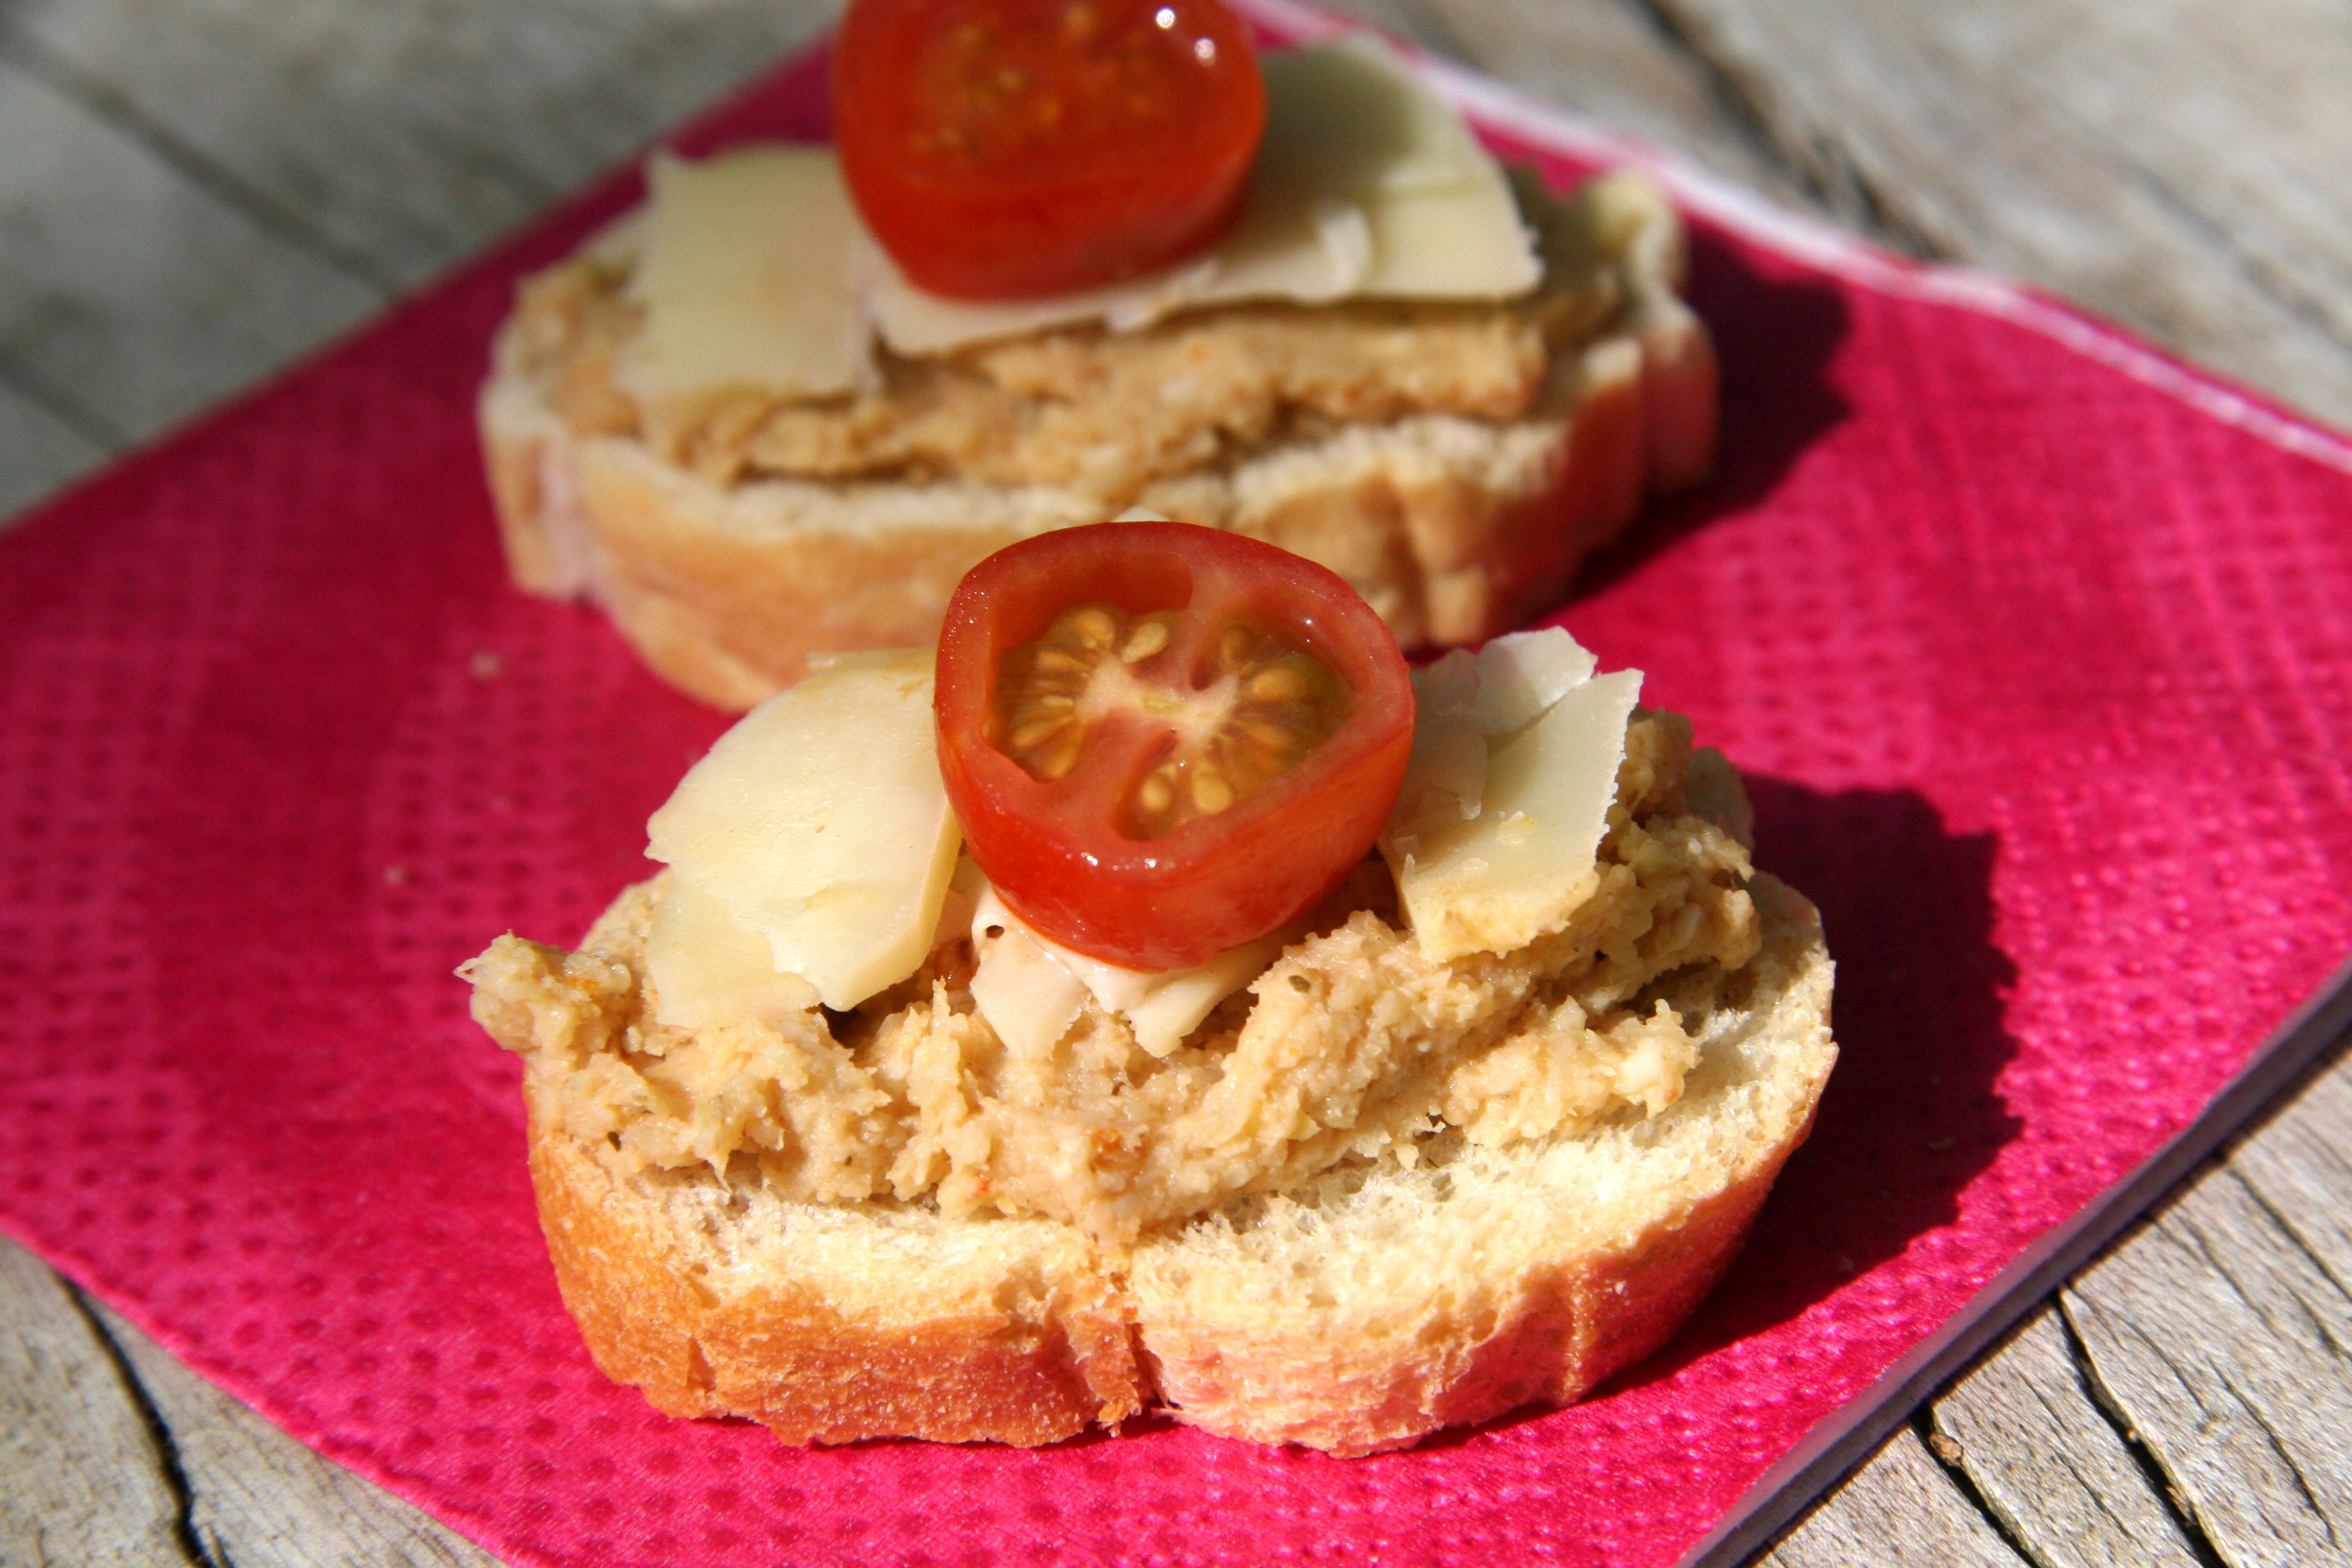
I also like to put this savory mixture on top of crostini and make hors d’oeuvres for parties.

Either way, I’ve held onto this tiny scrap of sandwich wrapper for 11 years and have come up with my own version of their zesty artichoke spread.
When I went searching for the ingredients list this week, I almost feared the black hole of my deteriorating recipe binder swallowed it. Luckily, I found it tucked down in the corner of the appetizer section.

(I know it’s time for a new recipe organizing system, but this one has served me well for almost 22 years — it’s like an old friend.)
La Spiga was listed as the maker of my long ago sandwich, and I wondered if it was still in existence. I assumed the place I ate the sandwich was La Spiga and that they had been the maker, too. It wasn’t until my internet search that I realized La Spiga was a pre-Katrina bakery located on Chartres Street a couple blocks from the house I now own in The Marigny neighborhood of New Orleans — on the opposite side of the city, downriver from the Garden District. La Spiga must have sold sandwiches to deli’s across the city, and that’s how one ended up on my plate in the Garden District.
By the way, the current tenant of the Chartres Street address is my favorite Marigny breakfast spot called the Cake Cafe. Next time you’re in New Orleans, you should try their shrimp and grits — it’s a good way to start a day in NOLA.
It seems fitting that I’m thinking about artichokes and that long ago sandwich as I’m coming upon the two year anniversary of owning my house in New Orleans — a genuine 122 year old Victorian diamond in the rough. Whether you put this artichoke spread on a whole wheat tortilla for a picnic, or a crostini for a party, it’s a nice little surprise. Get creative and see what you can do with this blend of fresh Mediterranean ingredients.
Artichoke Mediterranean Wraps & Hors d’oeuvres

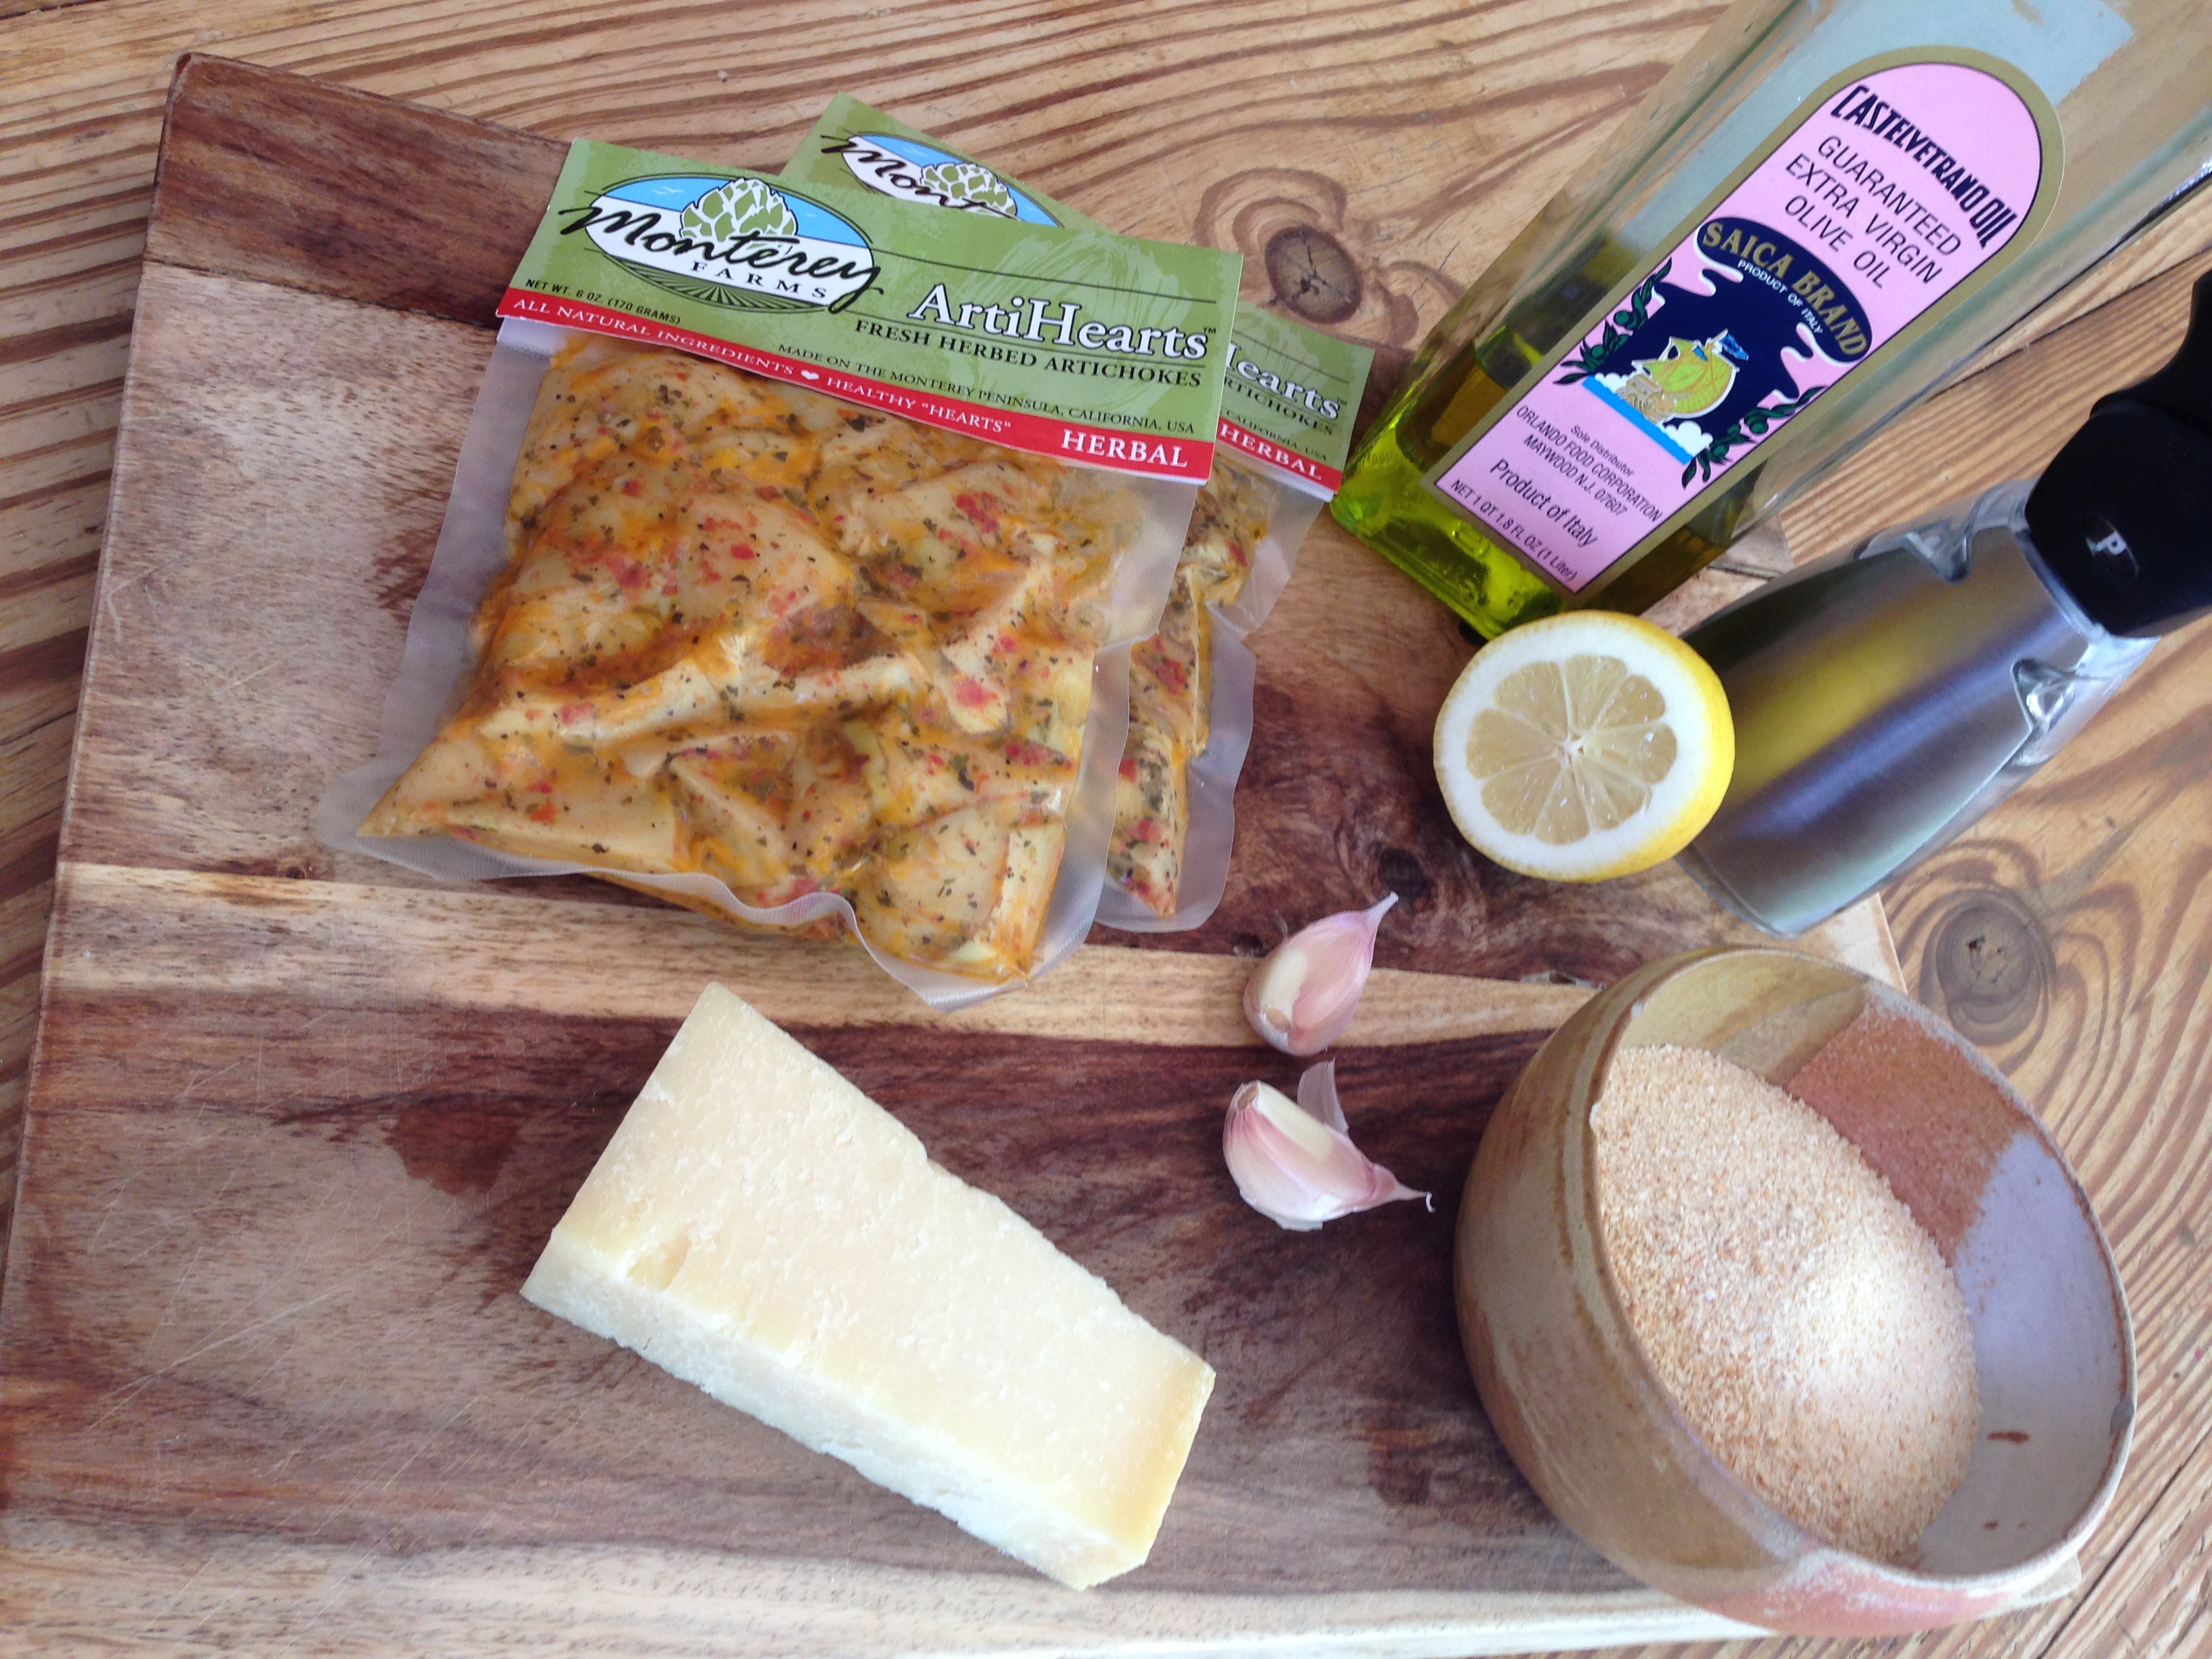
Ingredients:
12 ounces marinated artichoke hearts
1 tbsp extra virgin olive oil
2 tbsp fresh squeezed lemon juice
2 large cloves garlic
1/3 cup breadcrumbs
1/3 cup fresh shredded parmesan
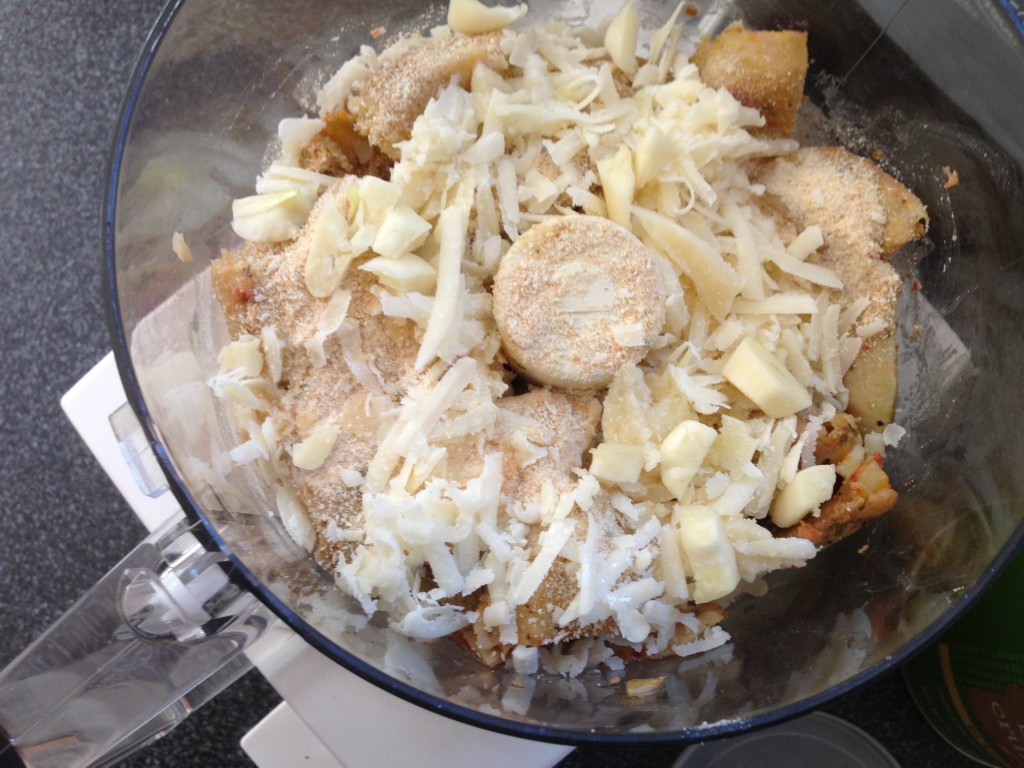
Notes: This time, I bought bagged marinated artichoke hearts that had very little liquid. If you use jarred or canned marinated artichokes drain them before putting them into the food processor.

Making the Artichoke Spread:
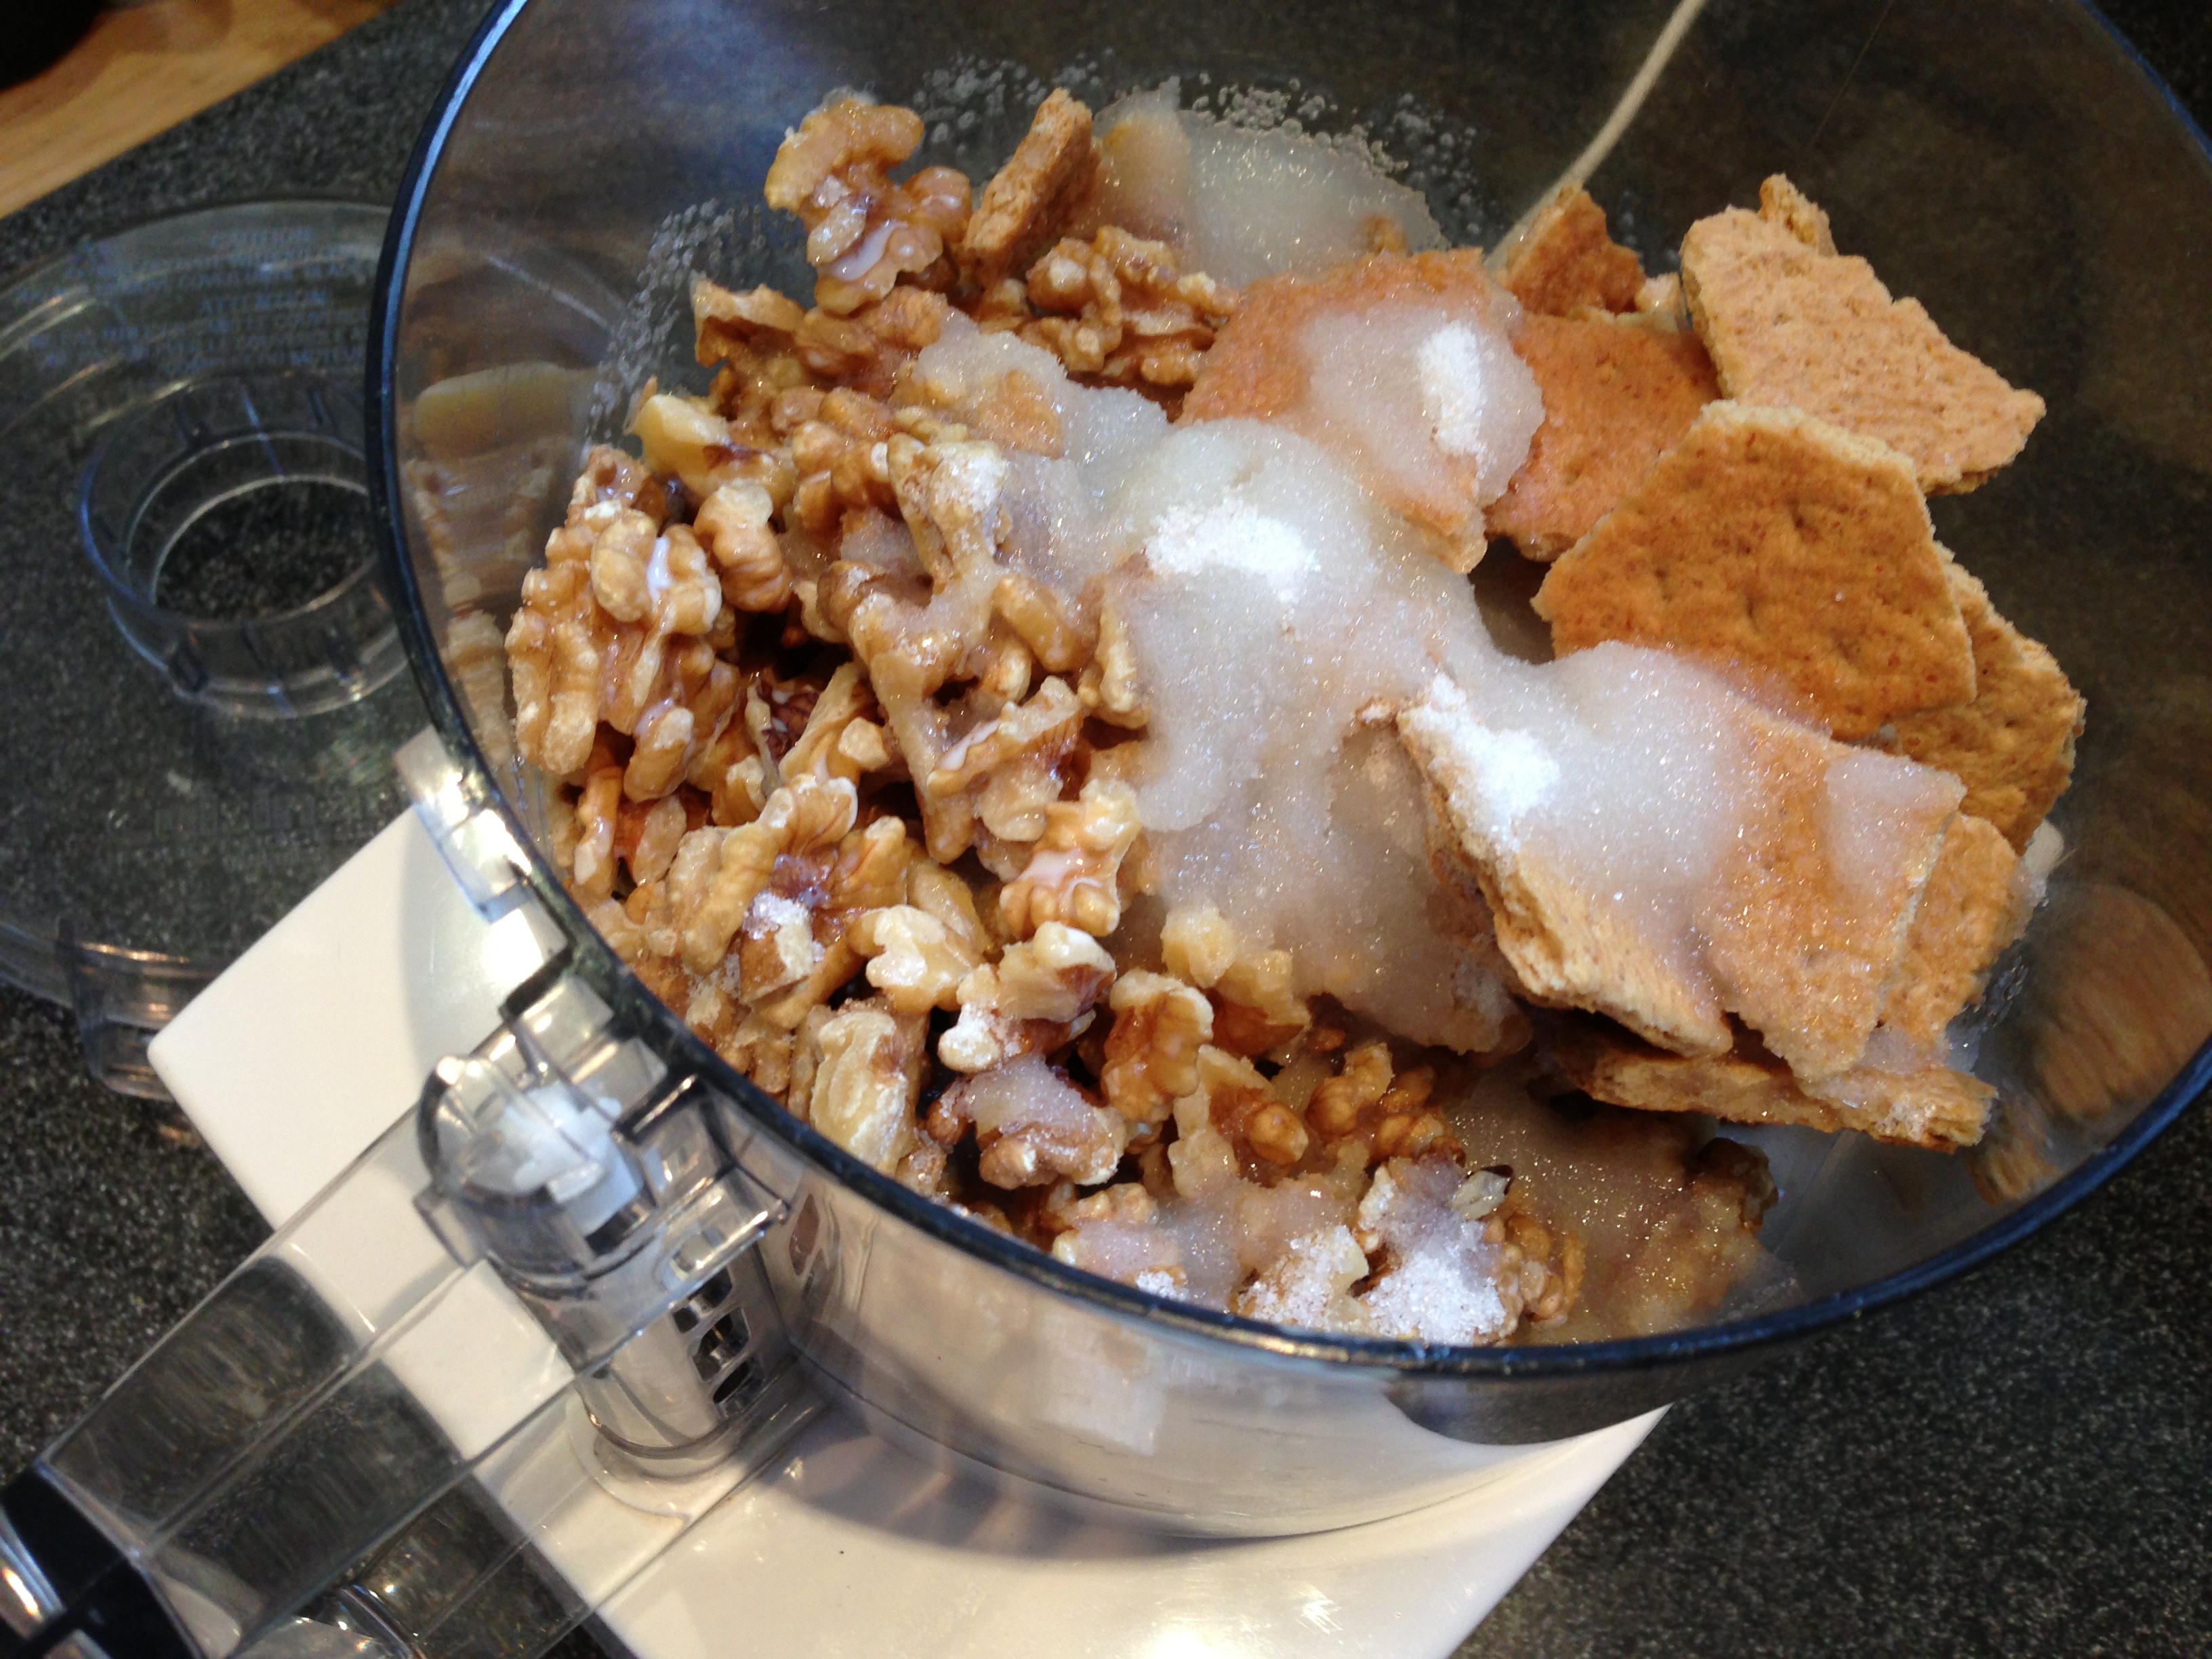
Place all ingredients into a food processor and blend until paste-like.

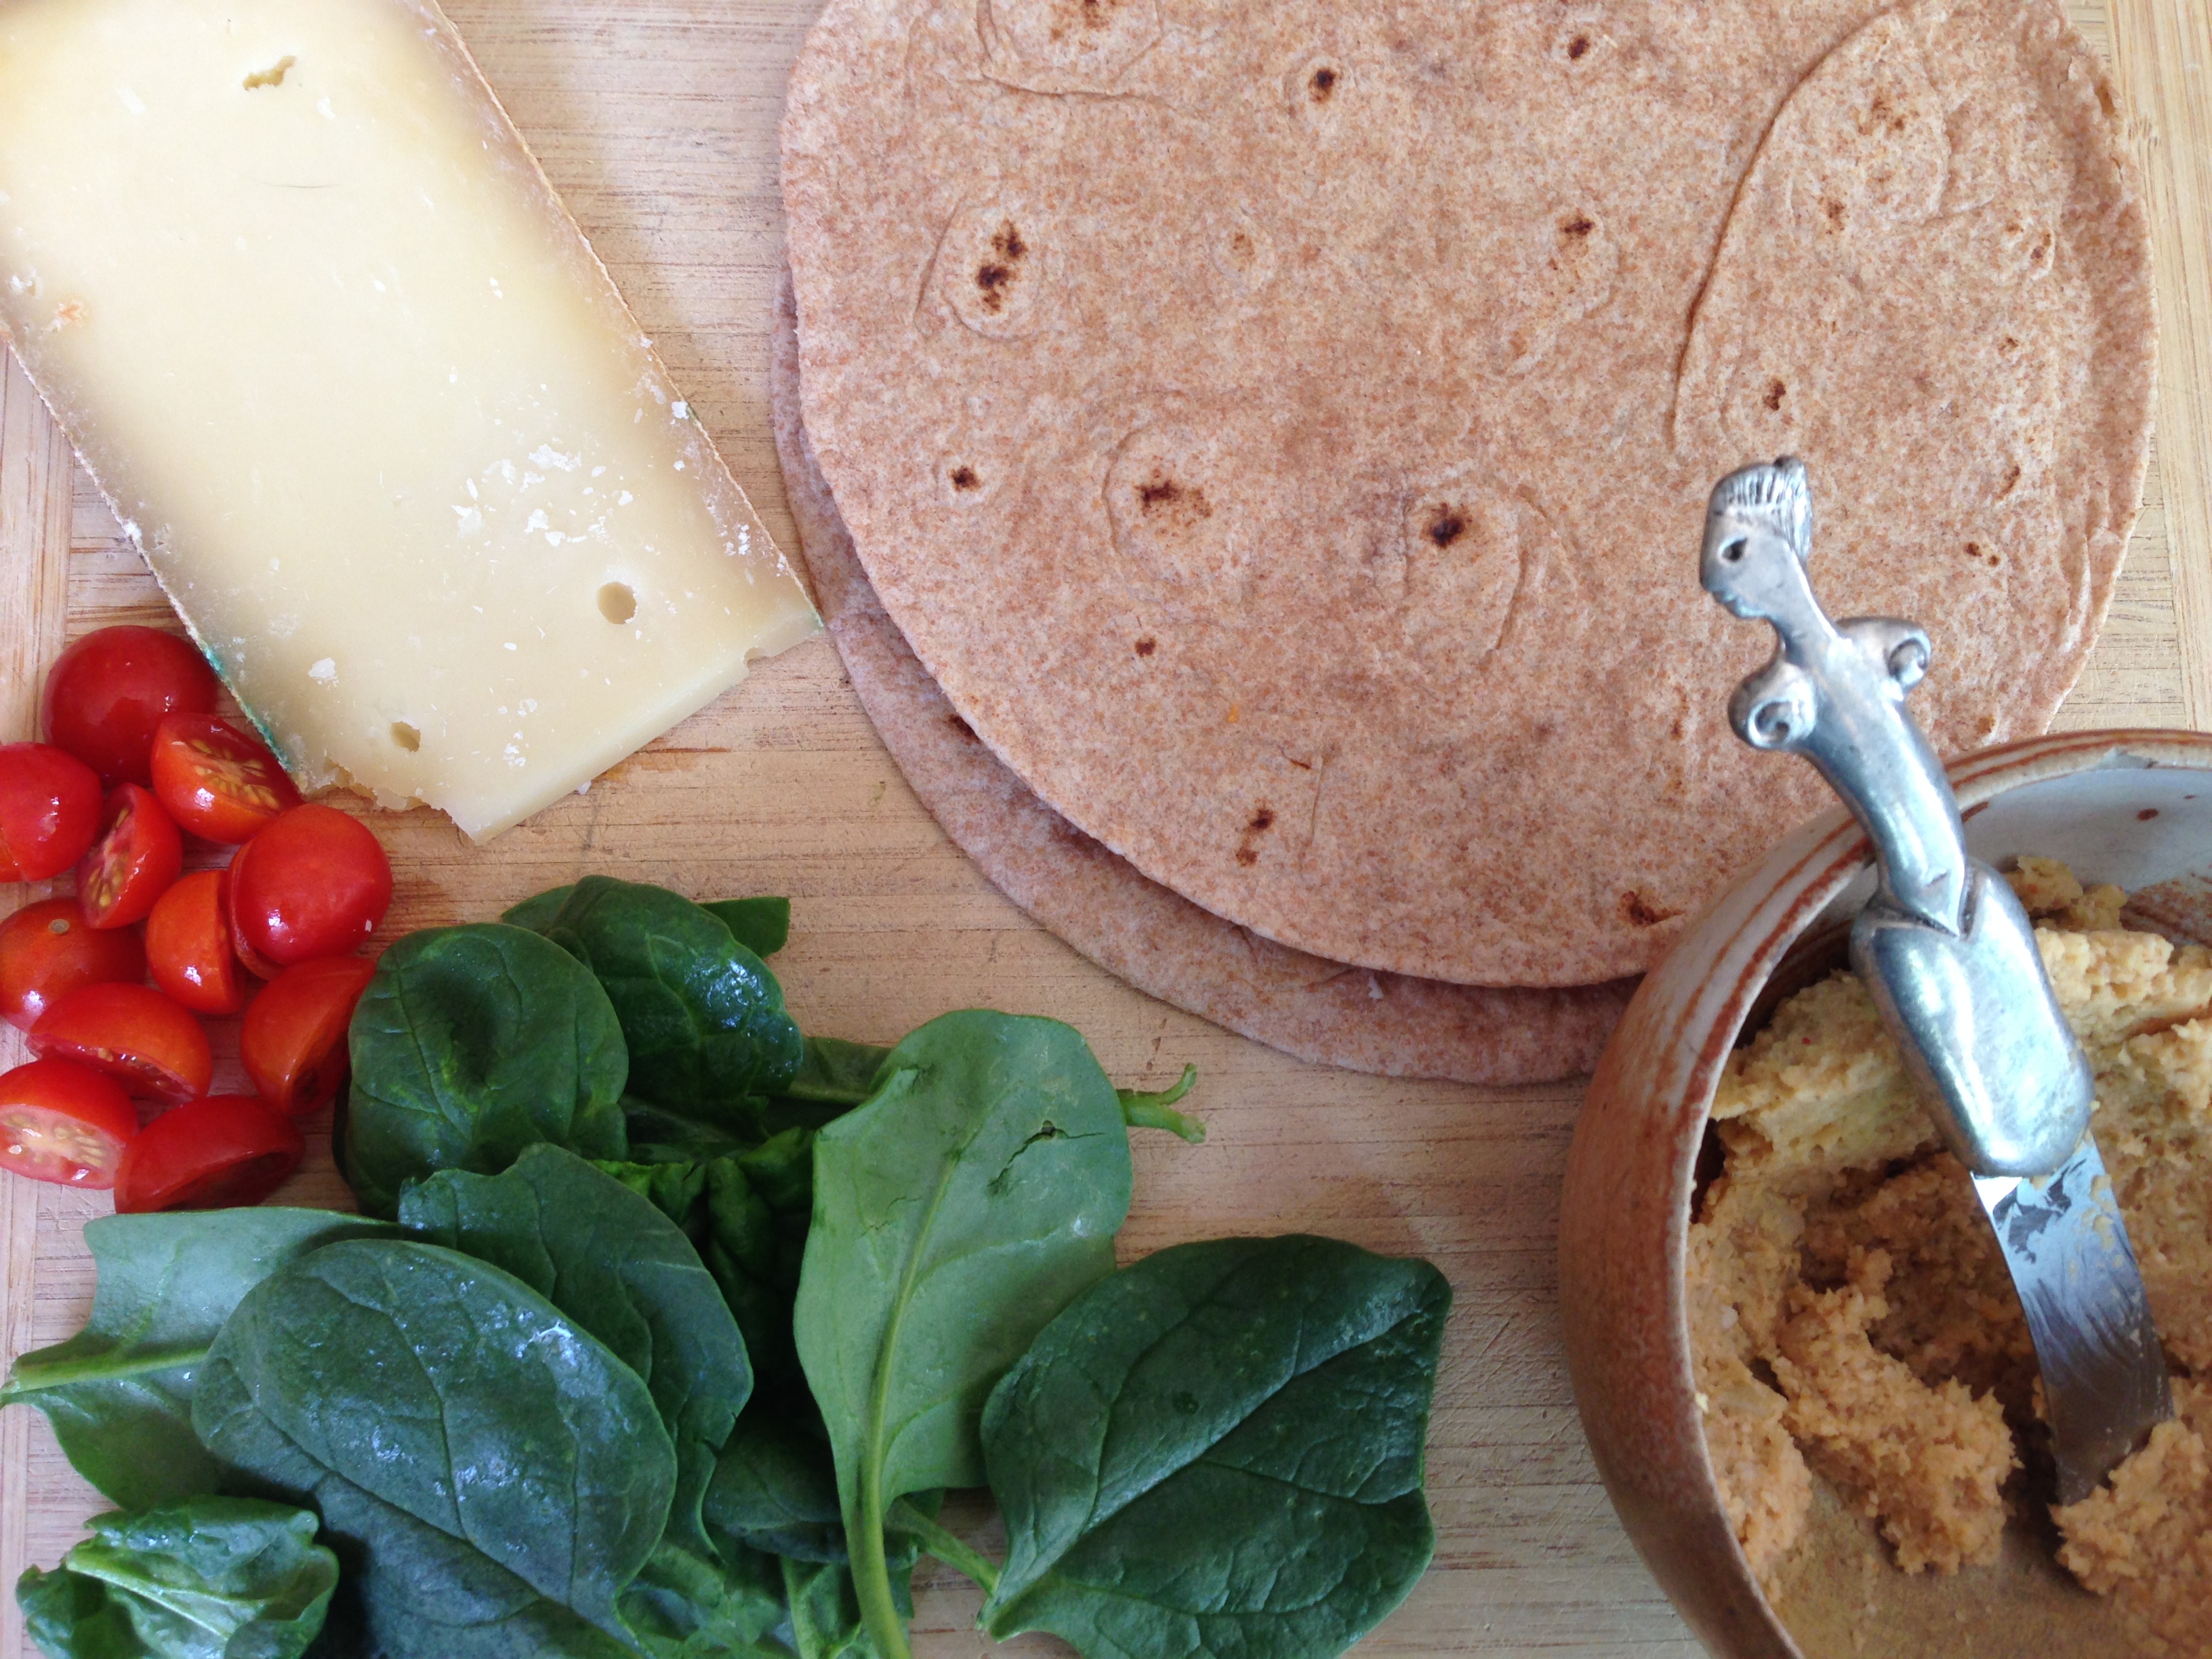
Wrap Ingredients:
6 whole wheat tortillas
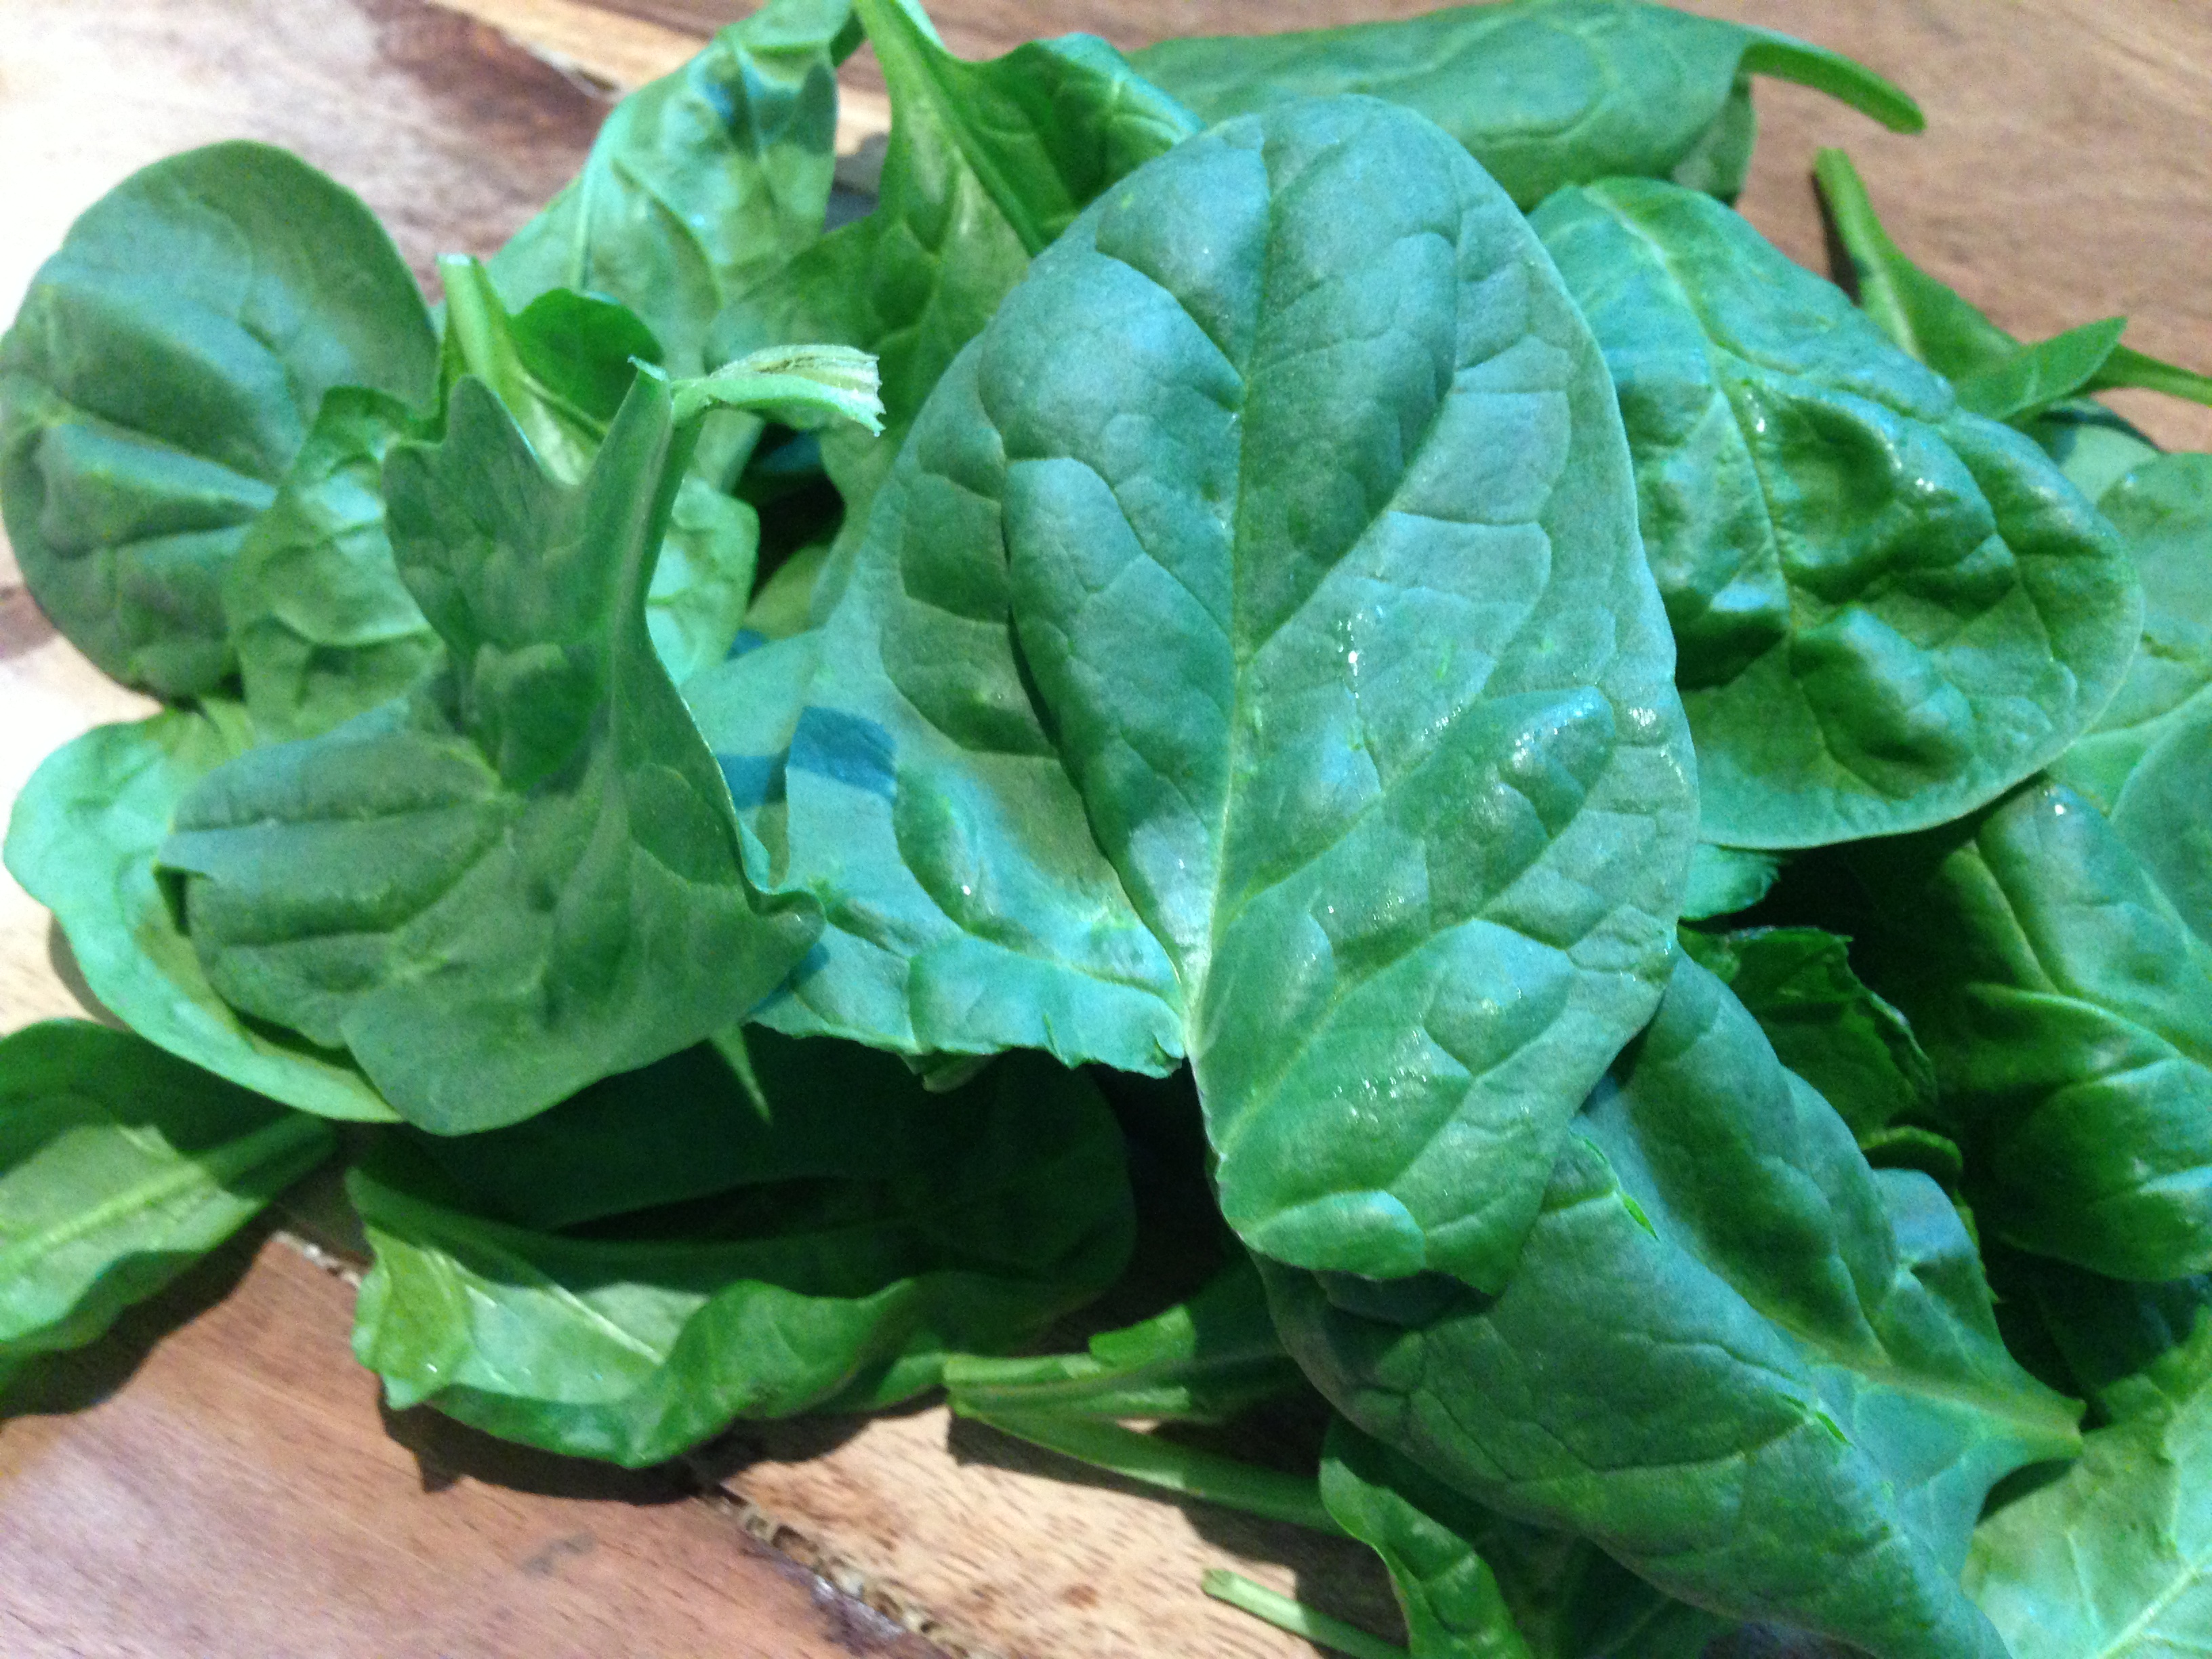
baby spinach leaves washed and dried (about 1/3 cup per wrap)
cherry tomatoes cut in half (4 to 6 tomatoes per wrap)
fontina cheese shaved thin

Assembling Wraps:
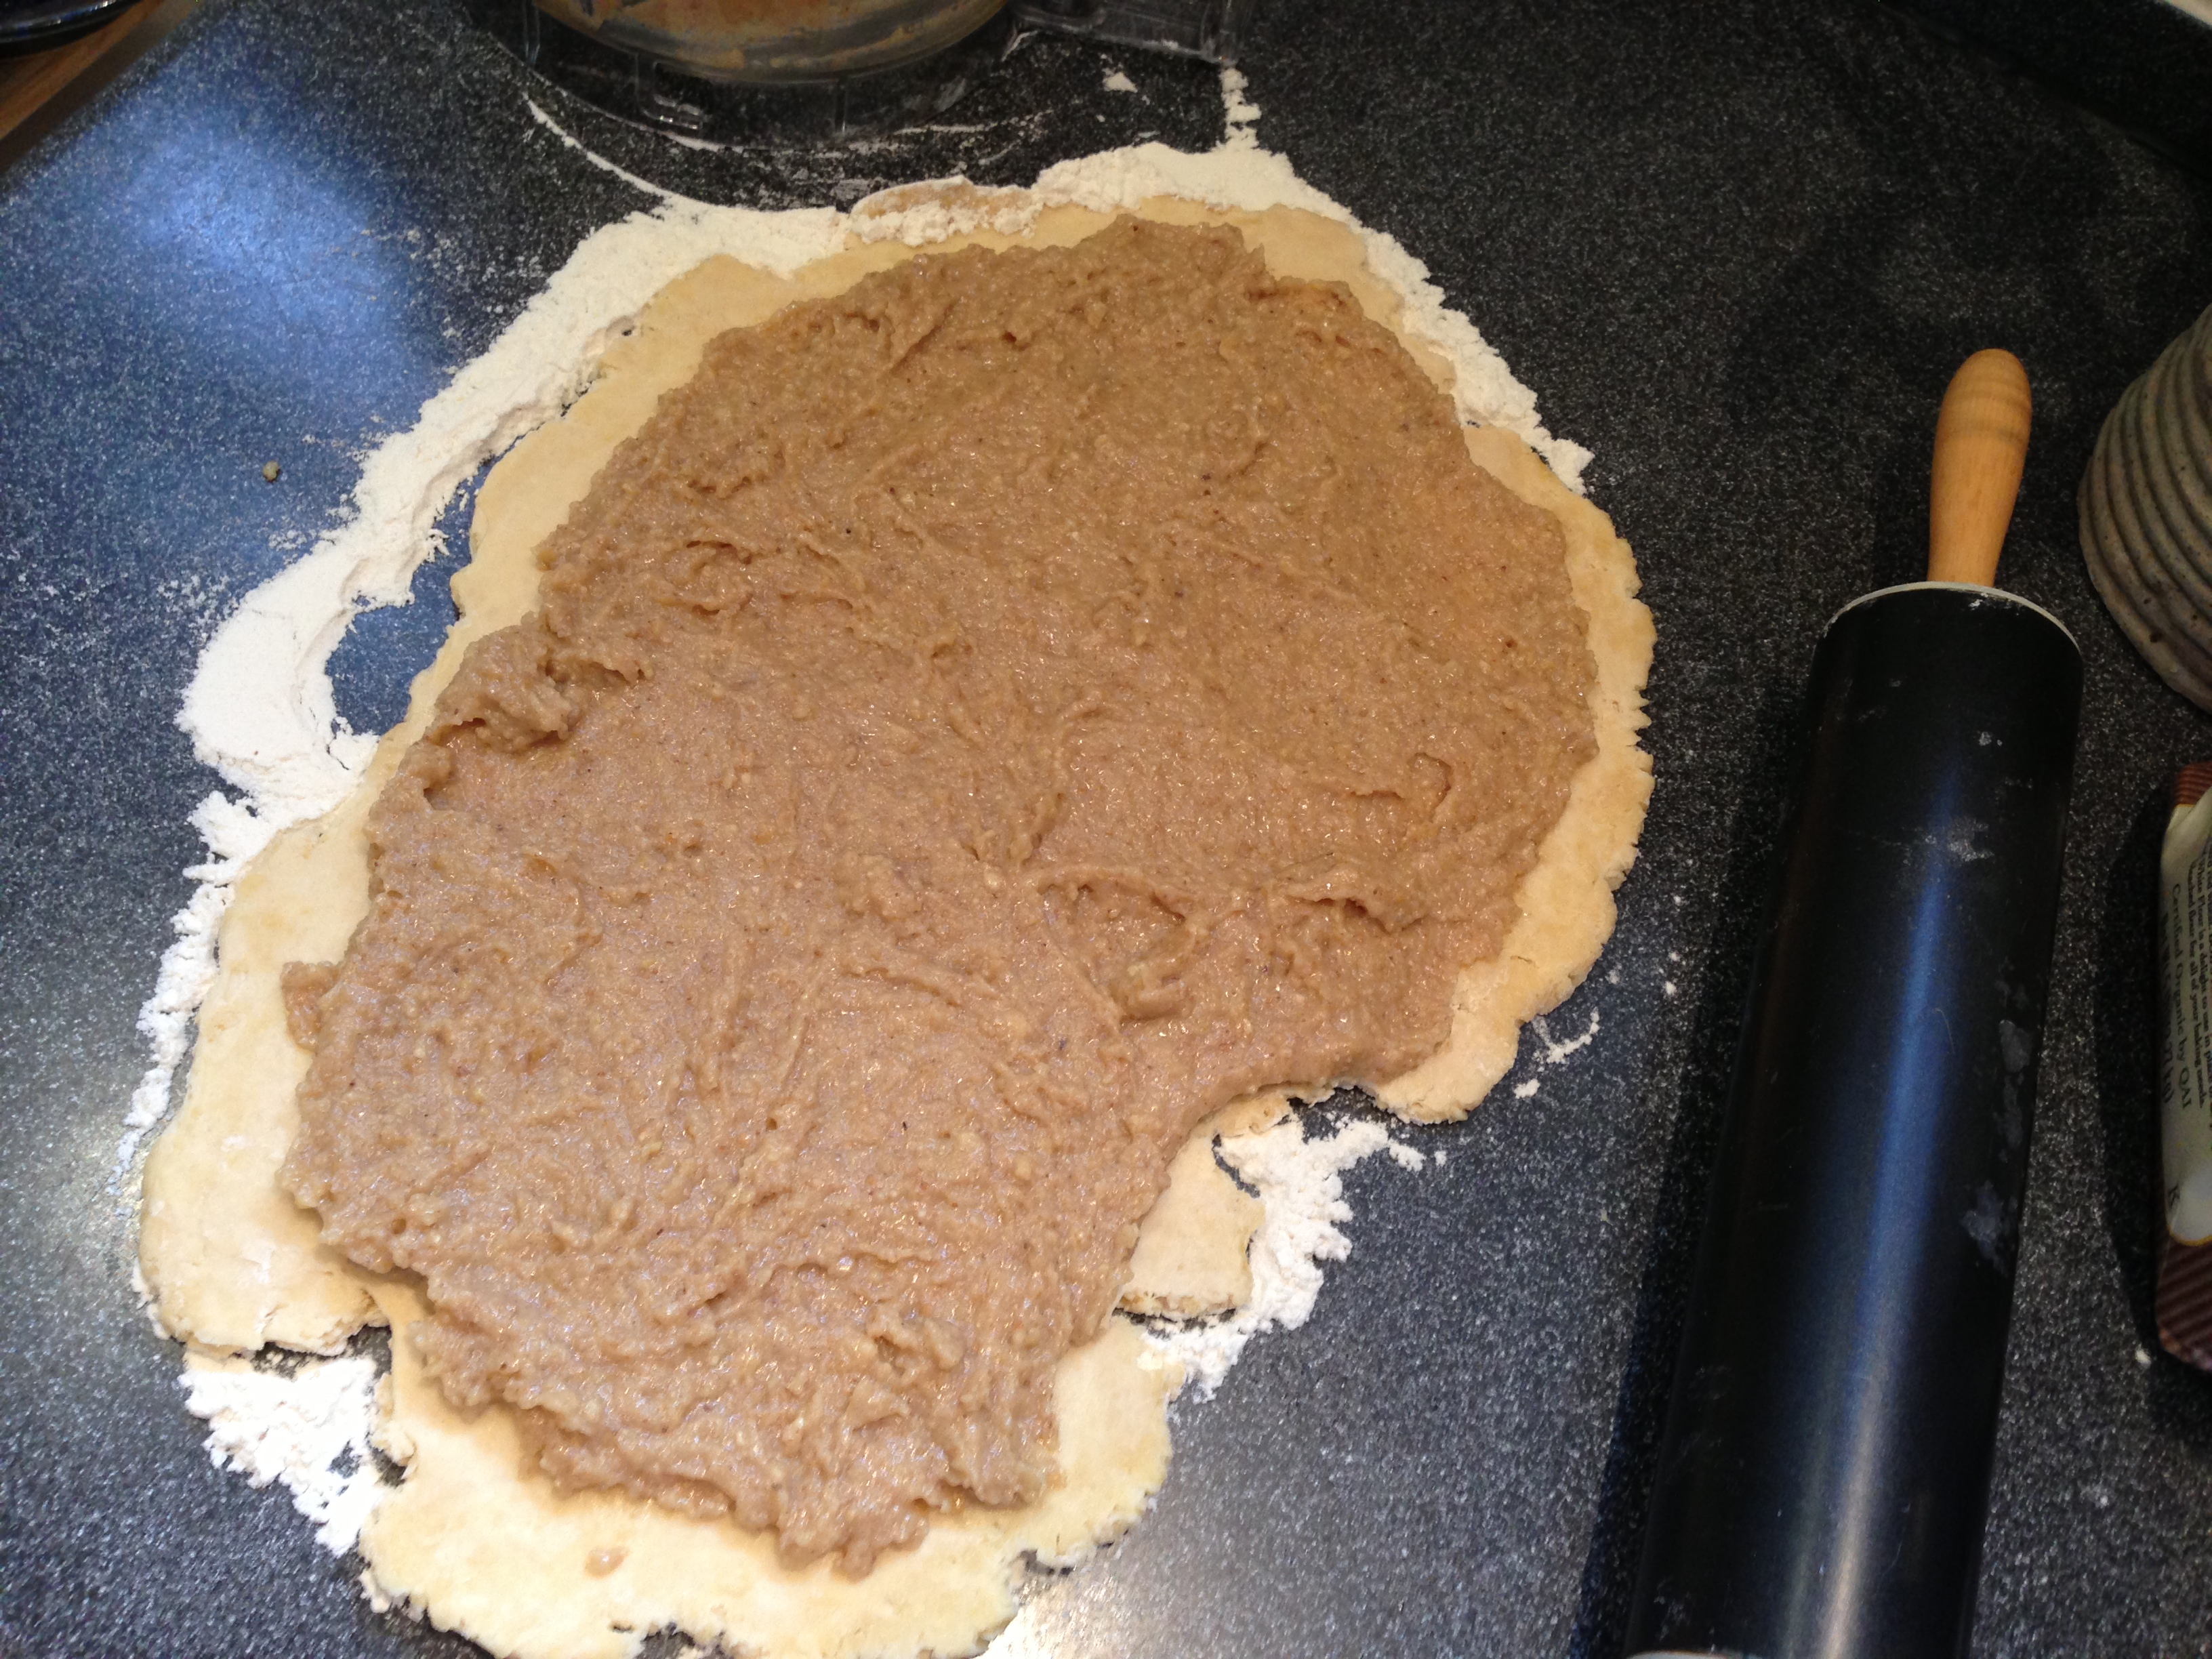
Spread a hearty layer of artichoke paste onto the flour tortillas.

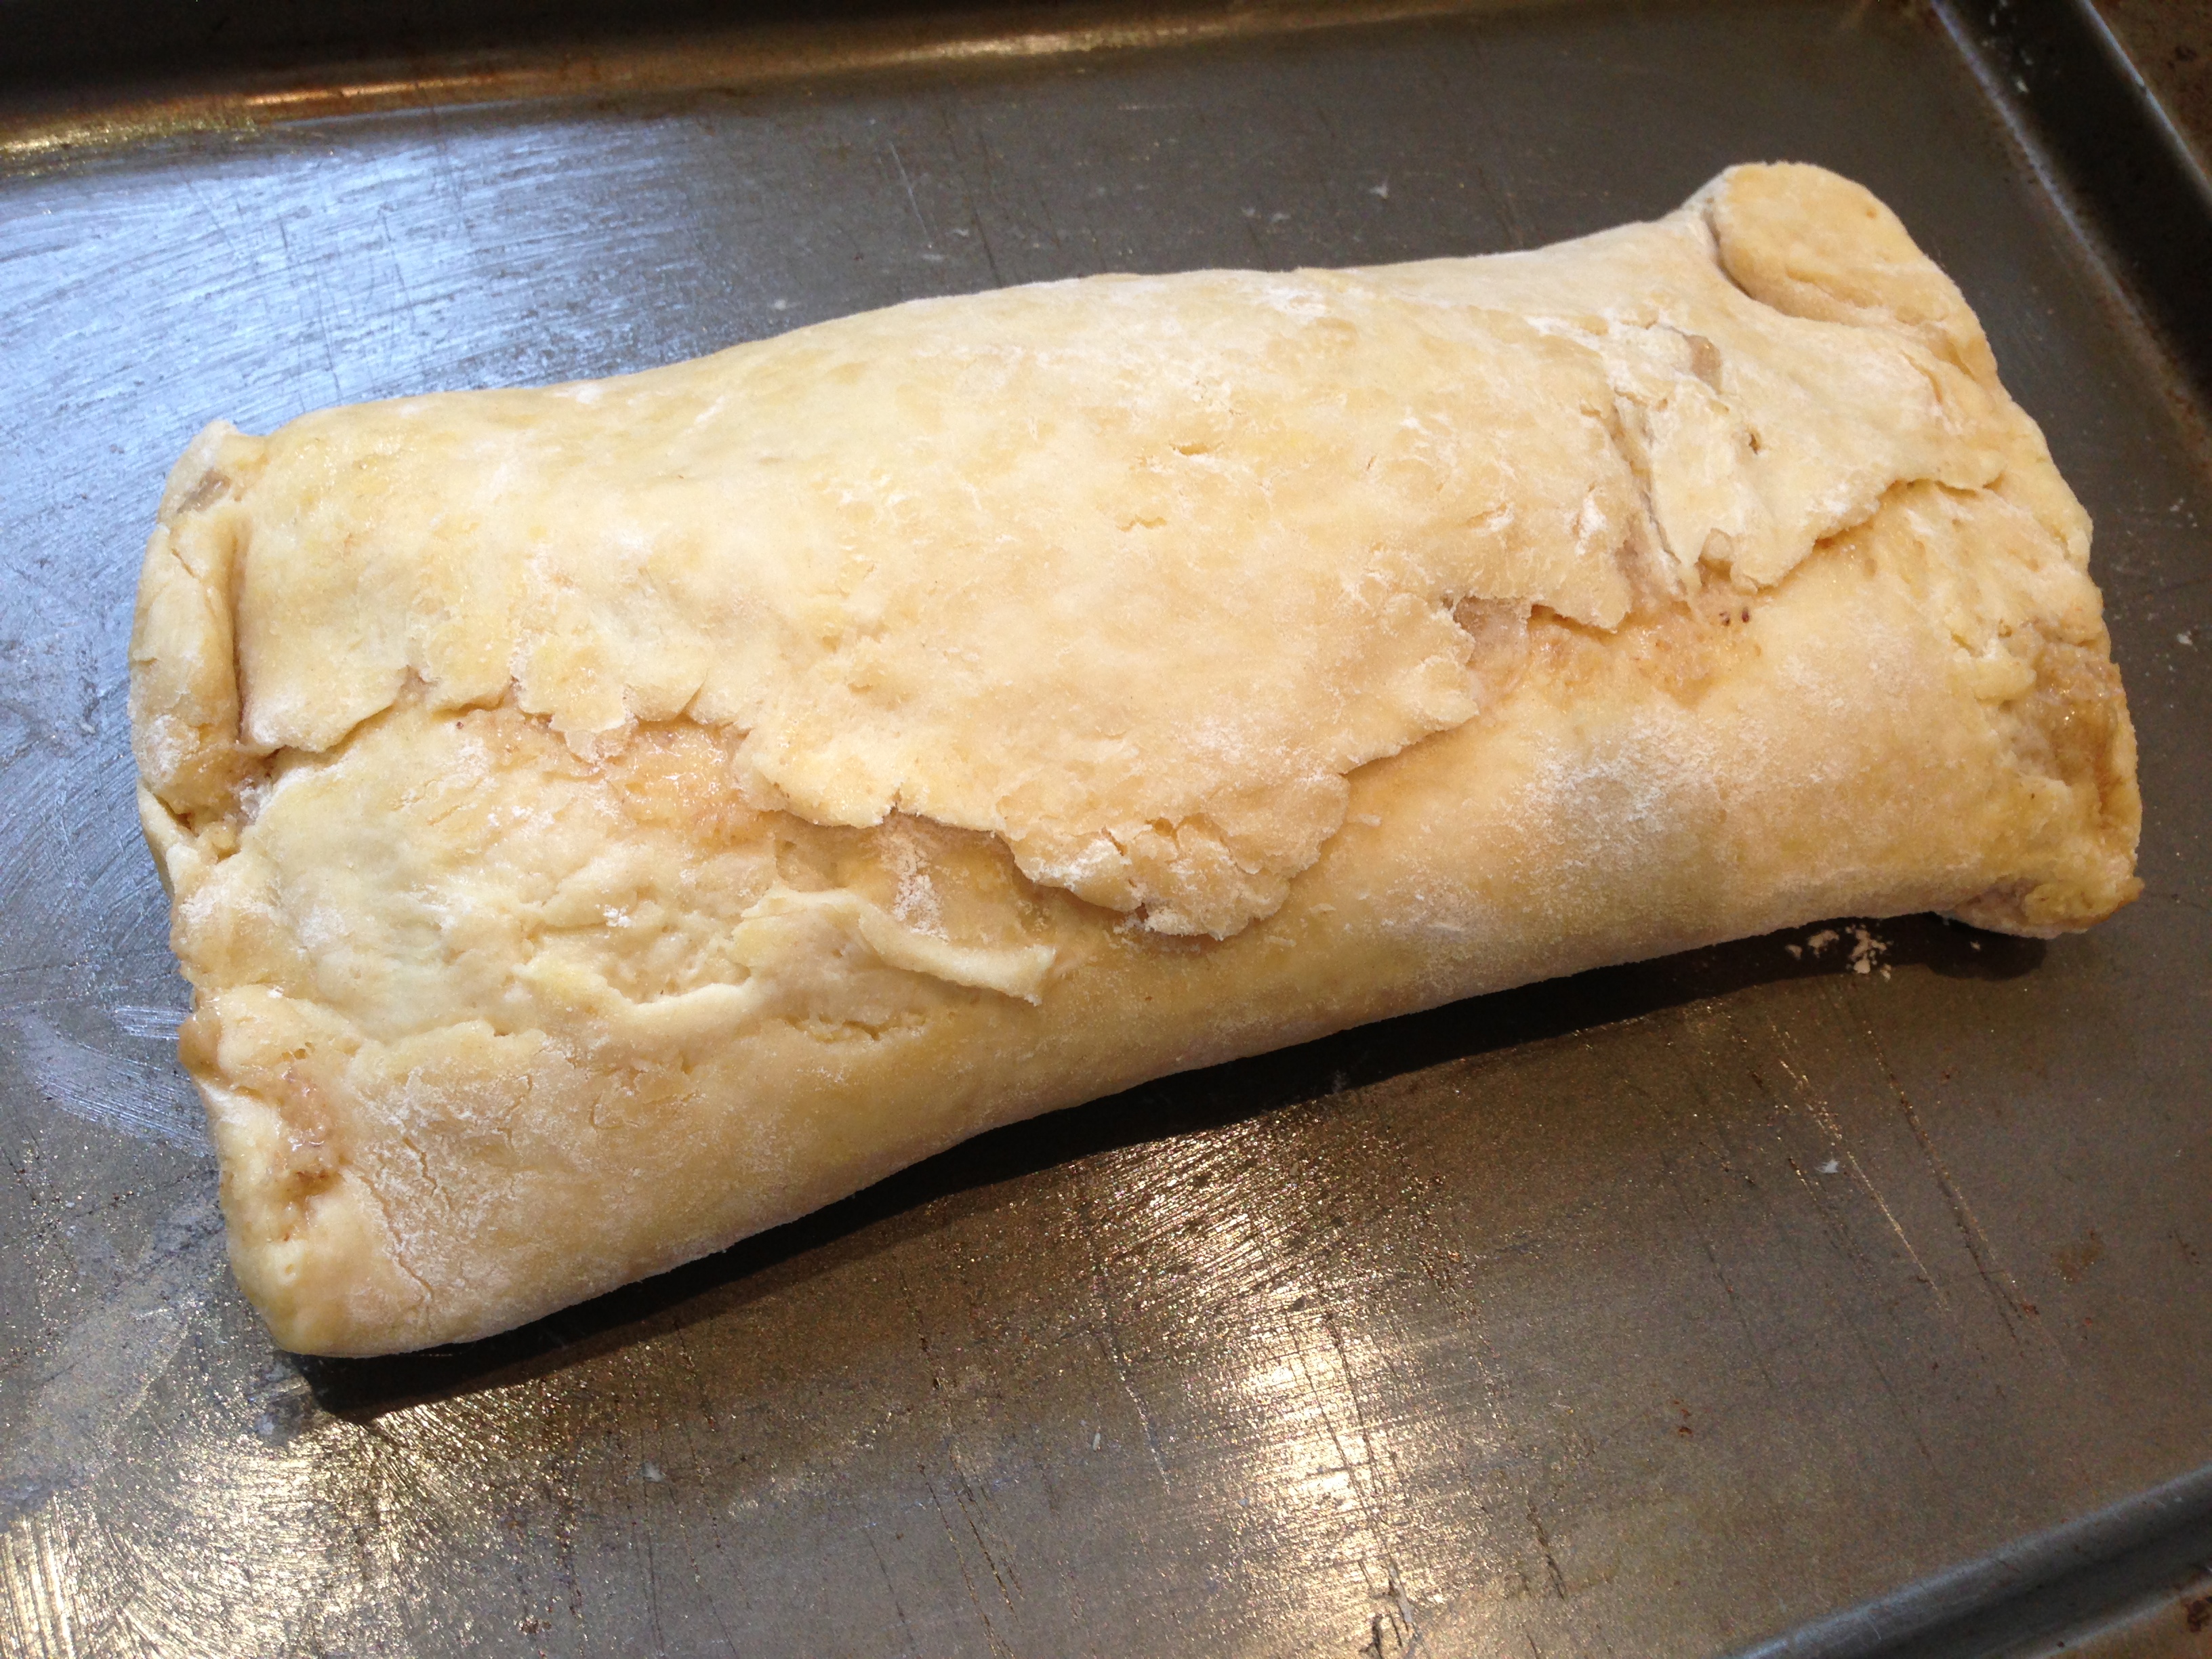
Place an even layer of spinach, tomatoes, and fontina cheese on top of the artichoke mixture. Beginning on one side of the tortilla, start folding it into a compact roll. You may need to use your fingers to tuck the ingredients into the folds of the tortilla as you roll. Slice diagonally in the center and serve immediately or wrap in foil and refrigerate until ready to eat.

Making Hors d’oeuvres:
Spread approximately 1 tablespoon of the artichoke mixture onto a crostini or cracker of your choice. Top with finely shaved fontina cheese and a cherry tomato slice.

Makes 6 wraps or approximately 32 hors d’oeuvres
 Print This Post